Showing posts with label Breguet bizerte. Show all posts

Monday, 1 March 2021

Breguet Br.521 Bizerte Part 2

Hey people...after 5 years of pause with no modeling at all (c'est la vie) I'm here.
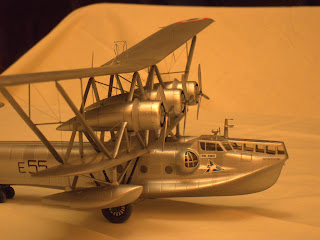
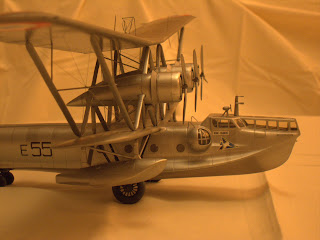
Start quitting the dust from the tools, paint cans and retake my Breguet Bizerte project...the main task was take precise measures of  the engines position, the proper length and position of the longerons. Follows a lot of work straightening the curly stringers, some of them cutting in 3 pieces and rejoin together, lot and lot of cyanoacrylate and putting to rebuilding them, with a very acceptable result.
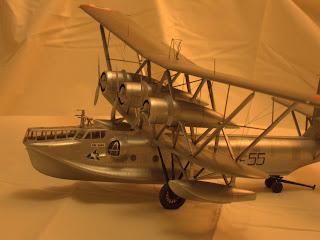
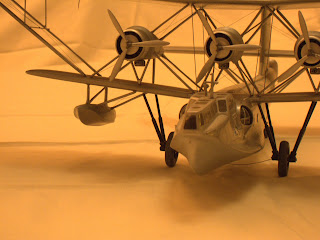
The undercarriage legs has no solution...you must build a new ones with fine tubes from RC stock. This is a little project in its own merit...the result is outstanding:
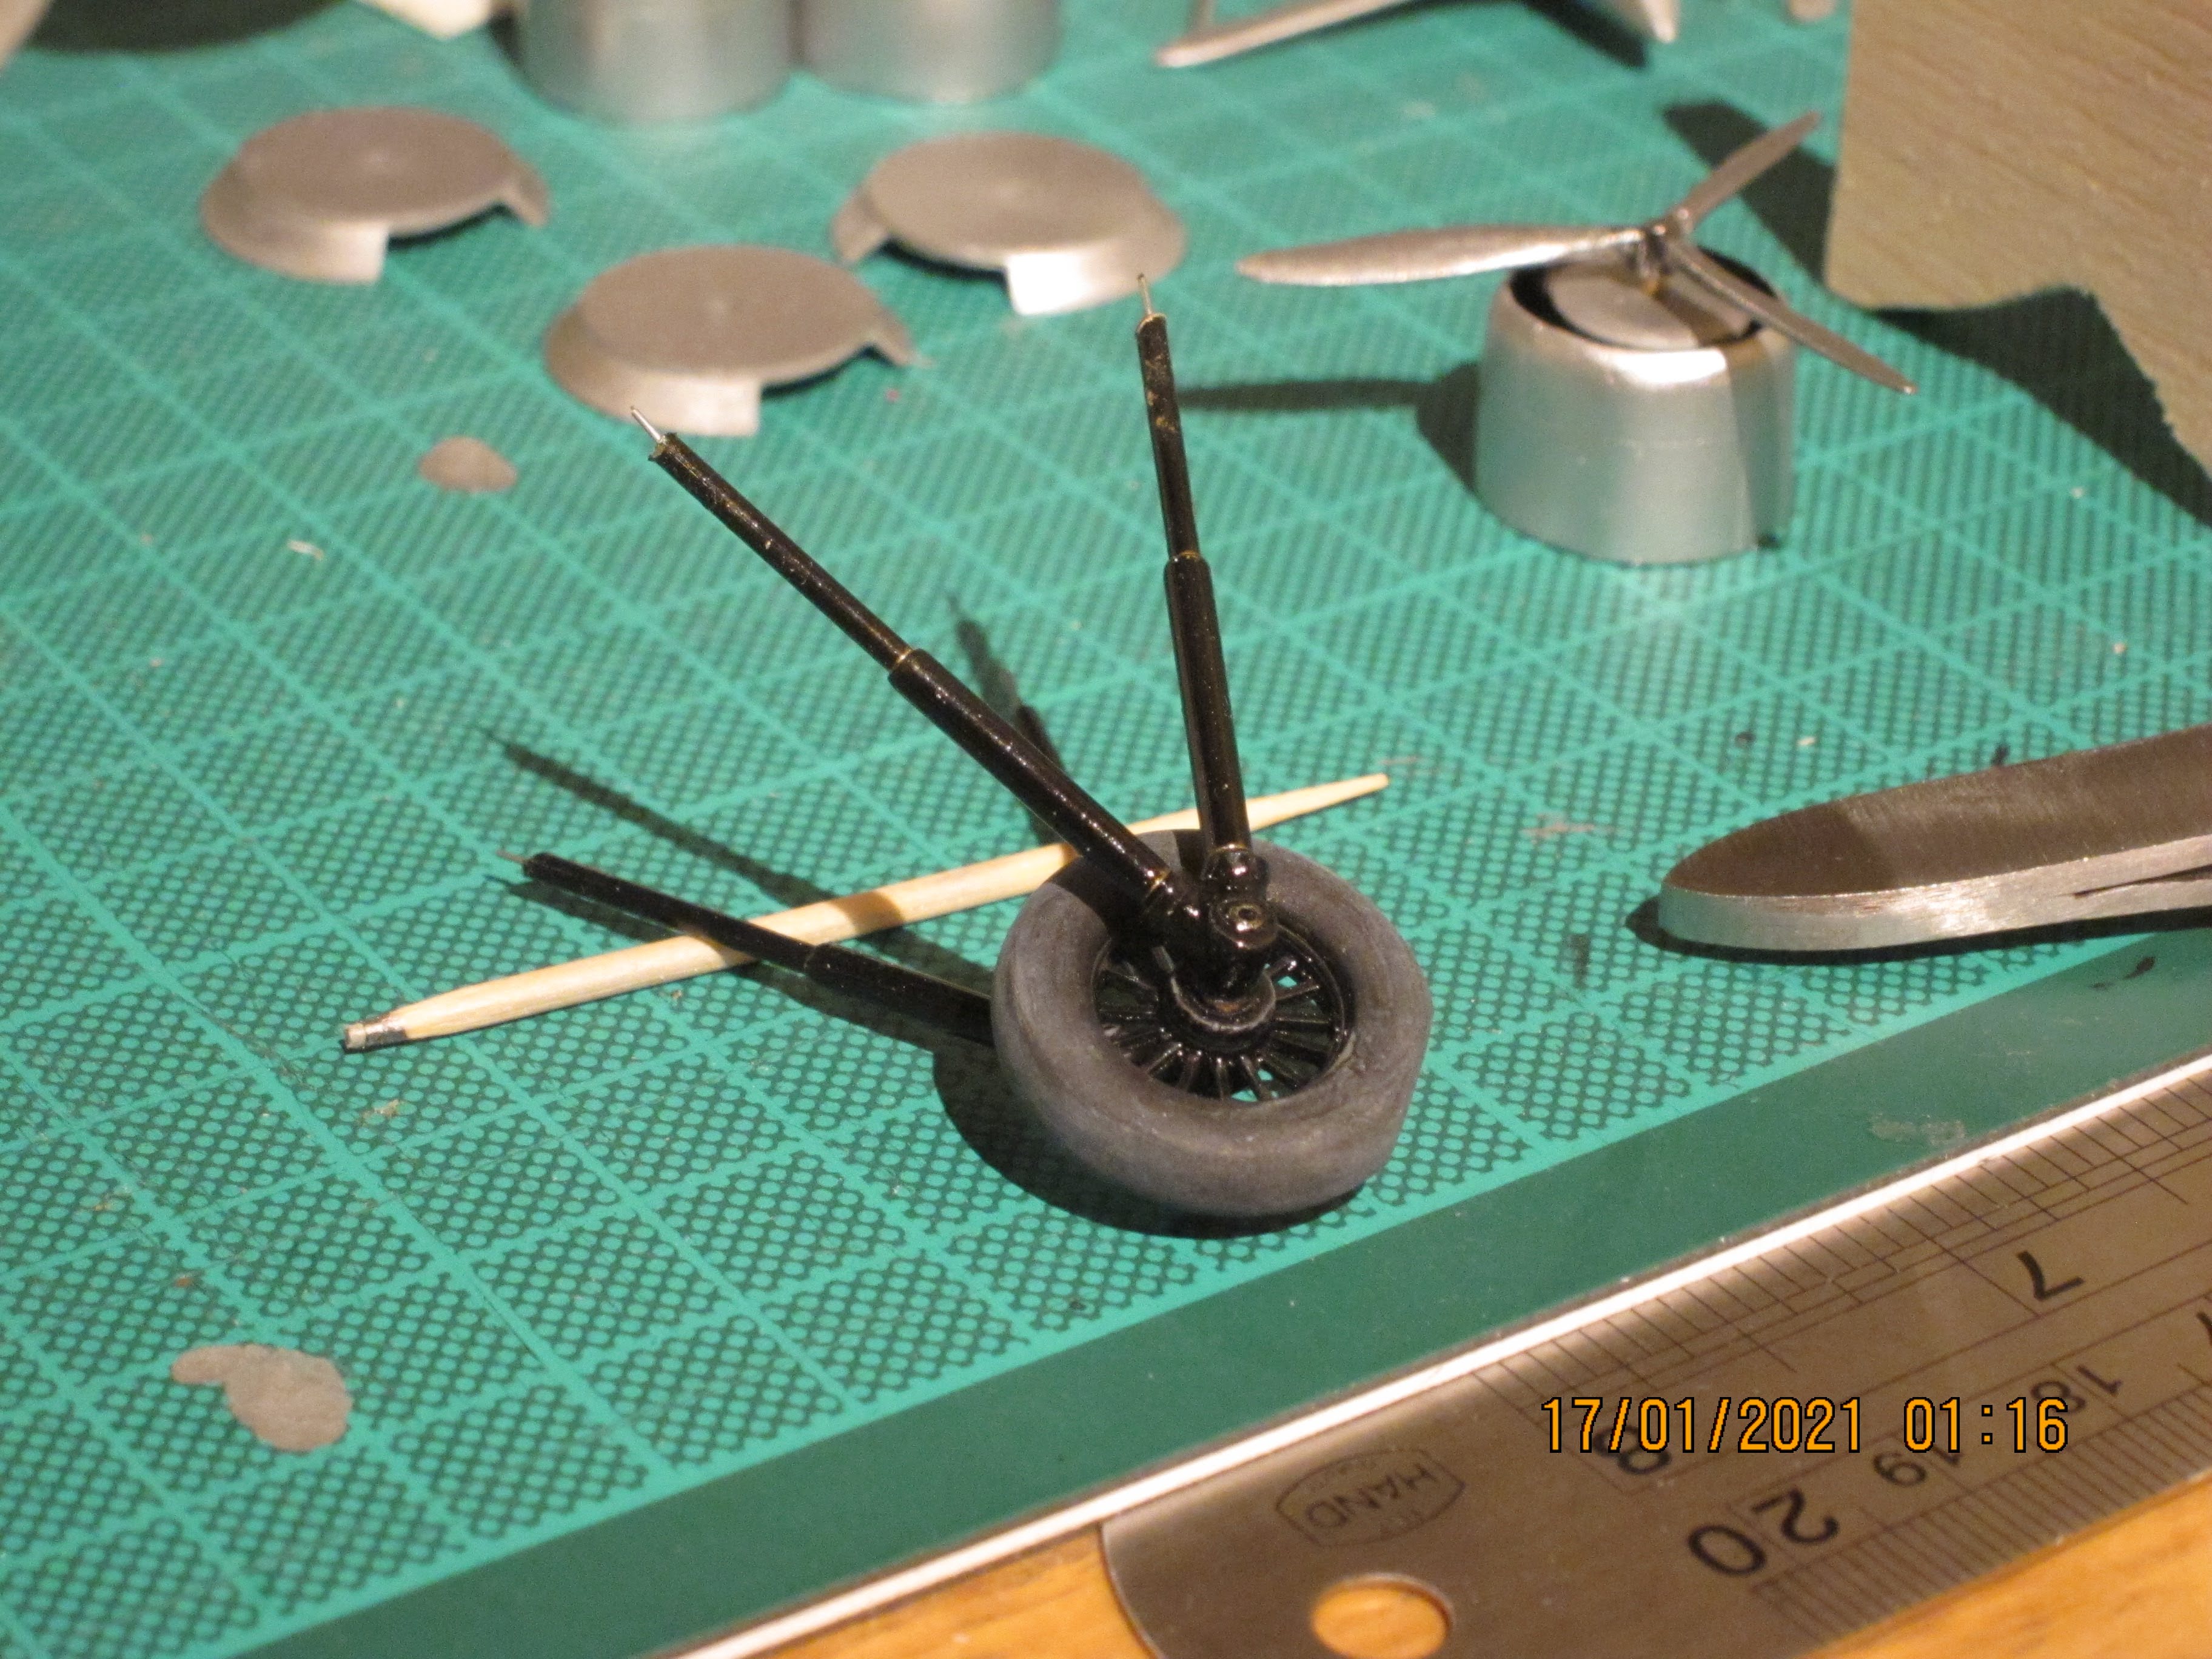
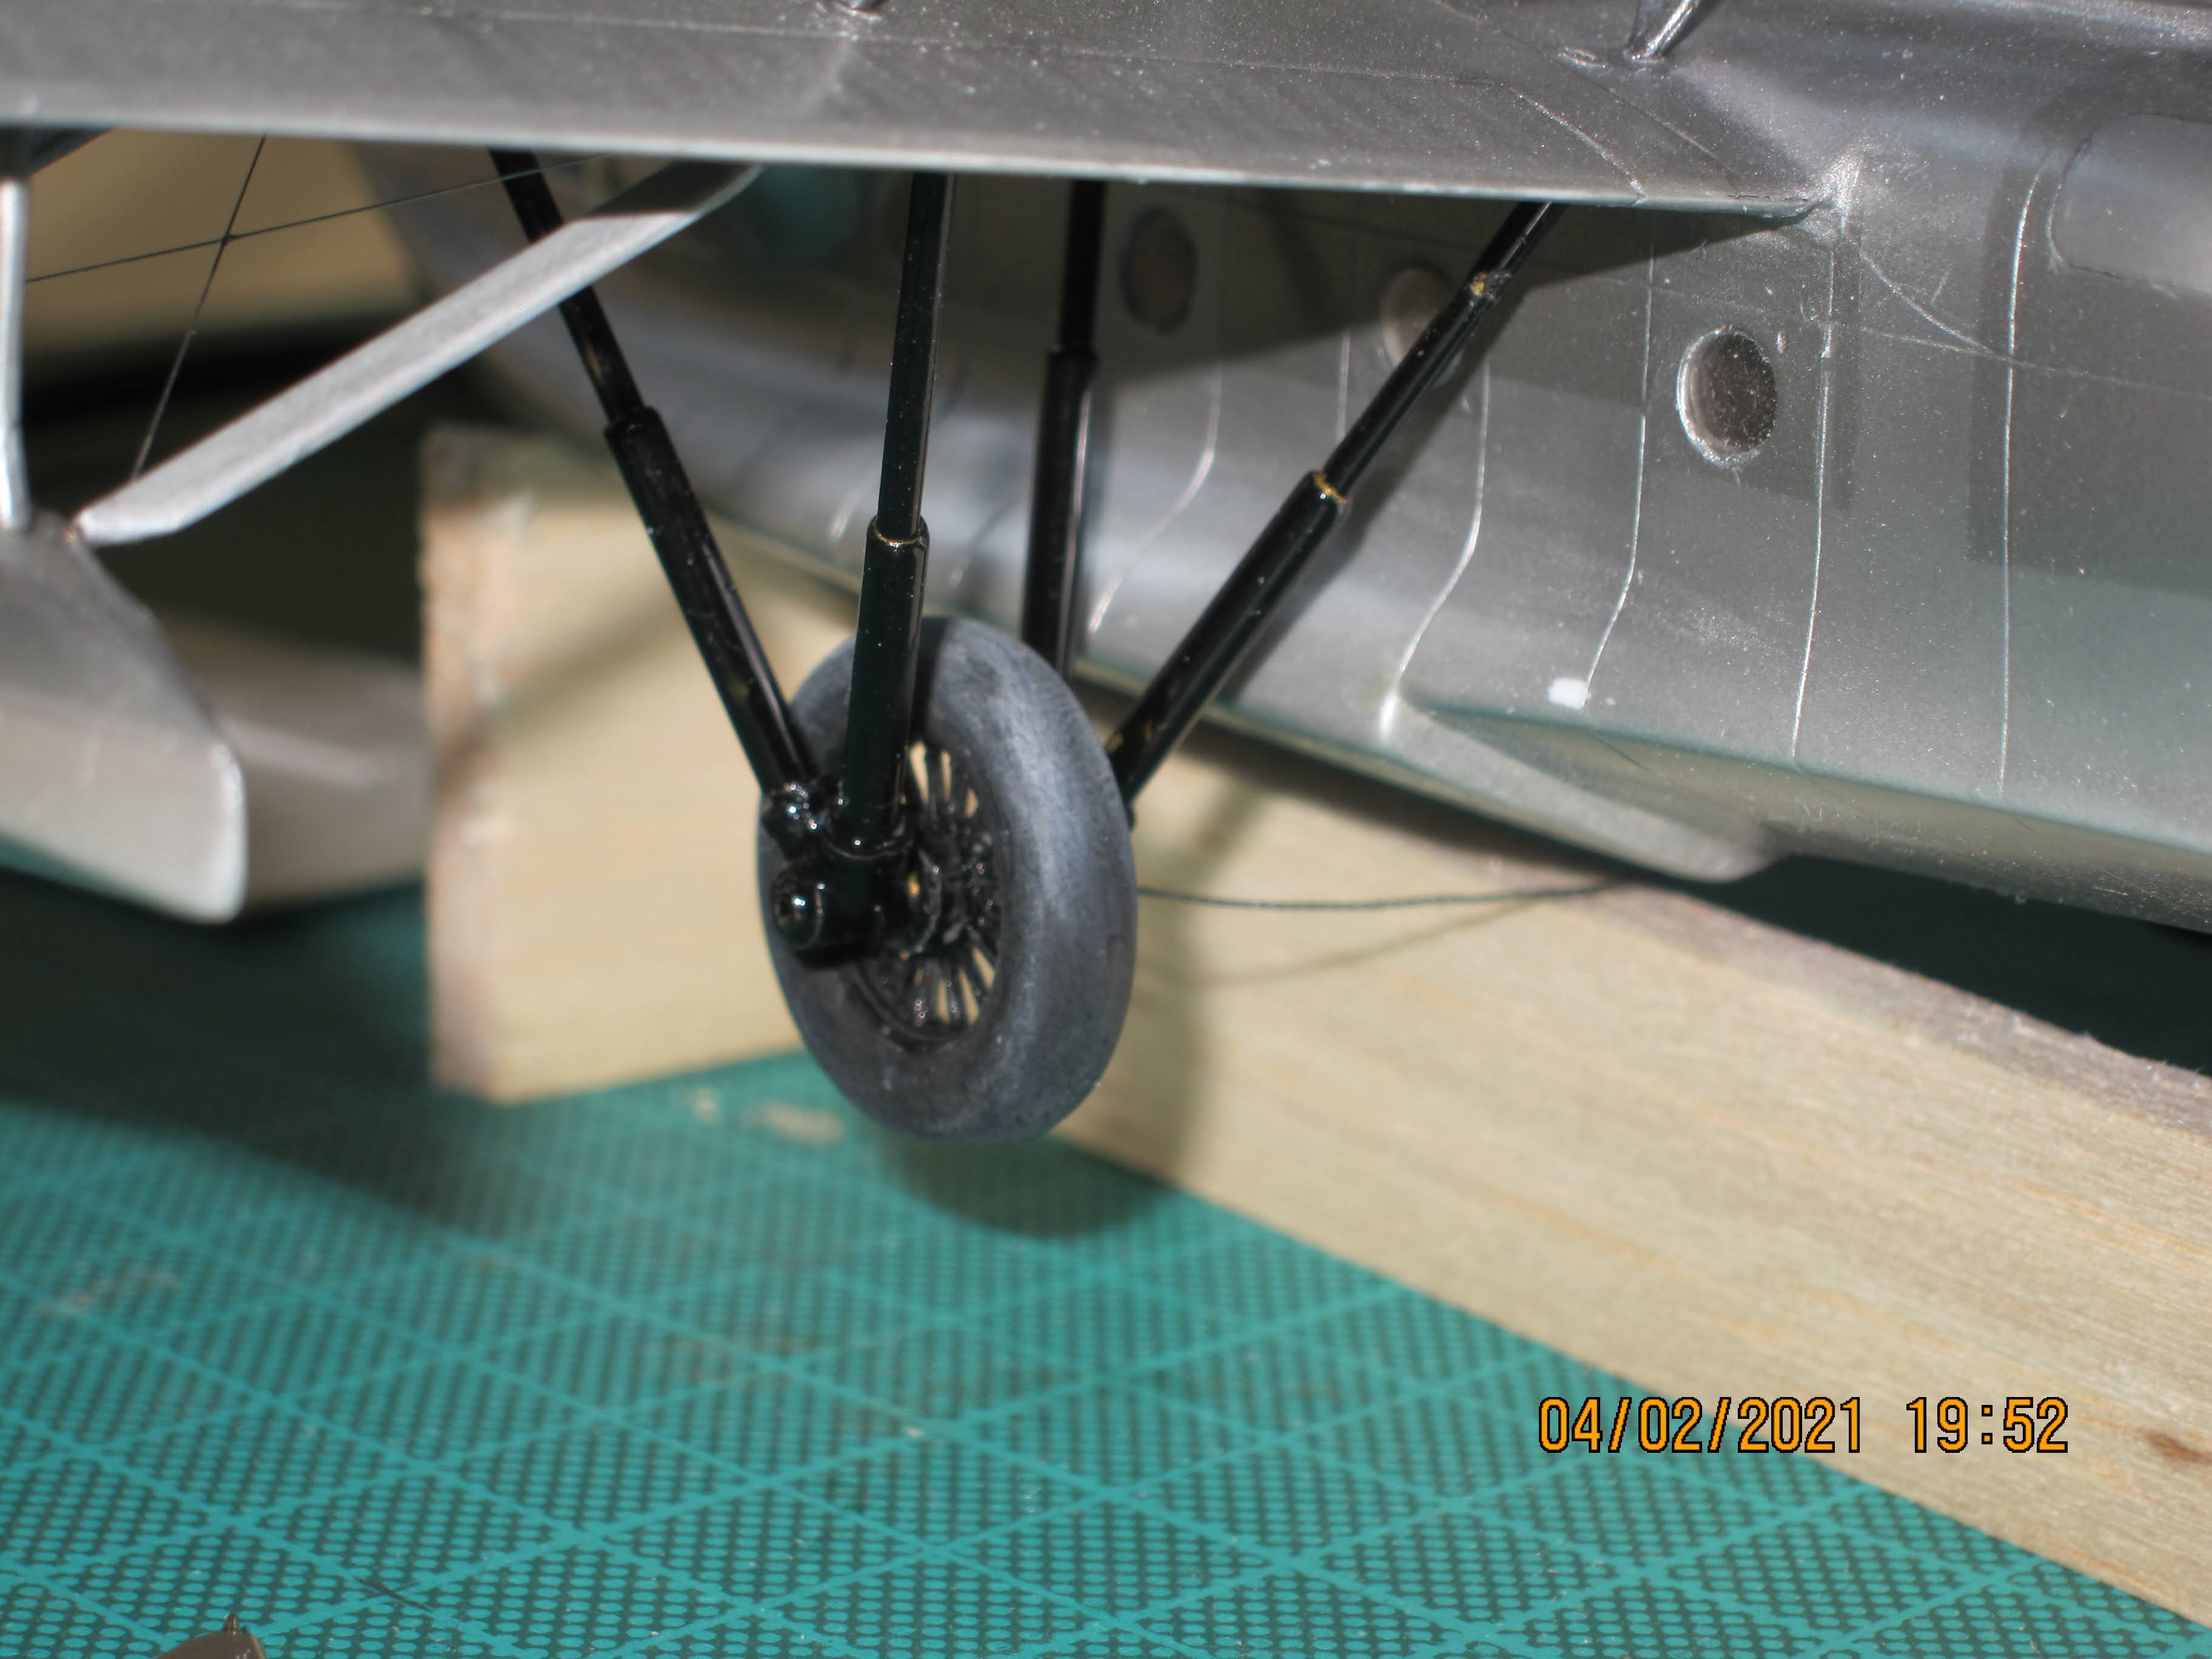
Take in account that the outside legs are a bit larger than the inside ones.

The gloss black of the frames looks great and contrasting well with the pneumatic color (mate black over painted with white chalk dust direct from finger).

A special care was to assemble the undercarriage assuring a free wheel...this is important because you not know what is the correct position of the sanded part of the wheels respect of the legs when the completed project was ready.

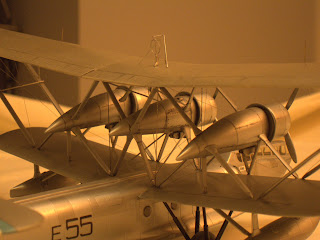
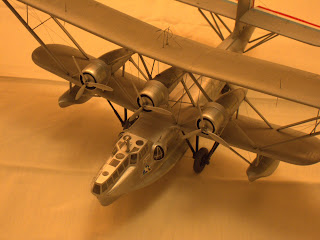
The engines are very odd looking, but doesn't care if you want to put the water protector disks in front of the cowlings like my choose. Be careful, the cowling front are not properly rounded nor aligned...you will notice that when put the discs on position.

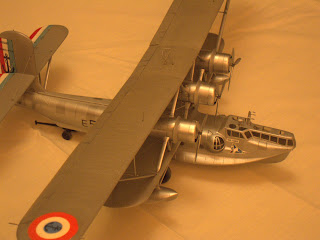
Assemble the upper wing is not really a hard task...of course, you need to assure the correct dihedral angle. Follow the blueprint and make two internal spars with large tubes, glued with the central part of the wing. Insert the external parts and fill the joins with putty. With a normal dose of patience, the result is great.
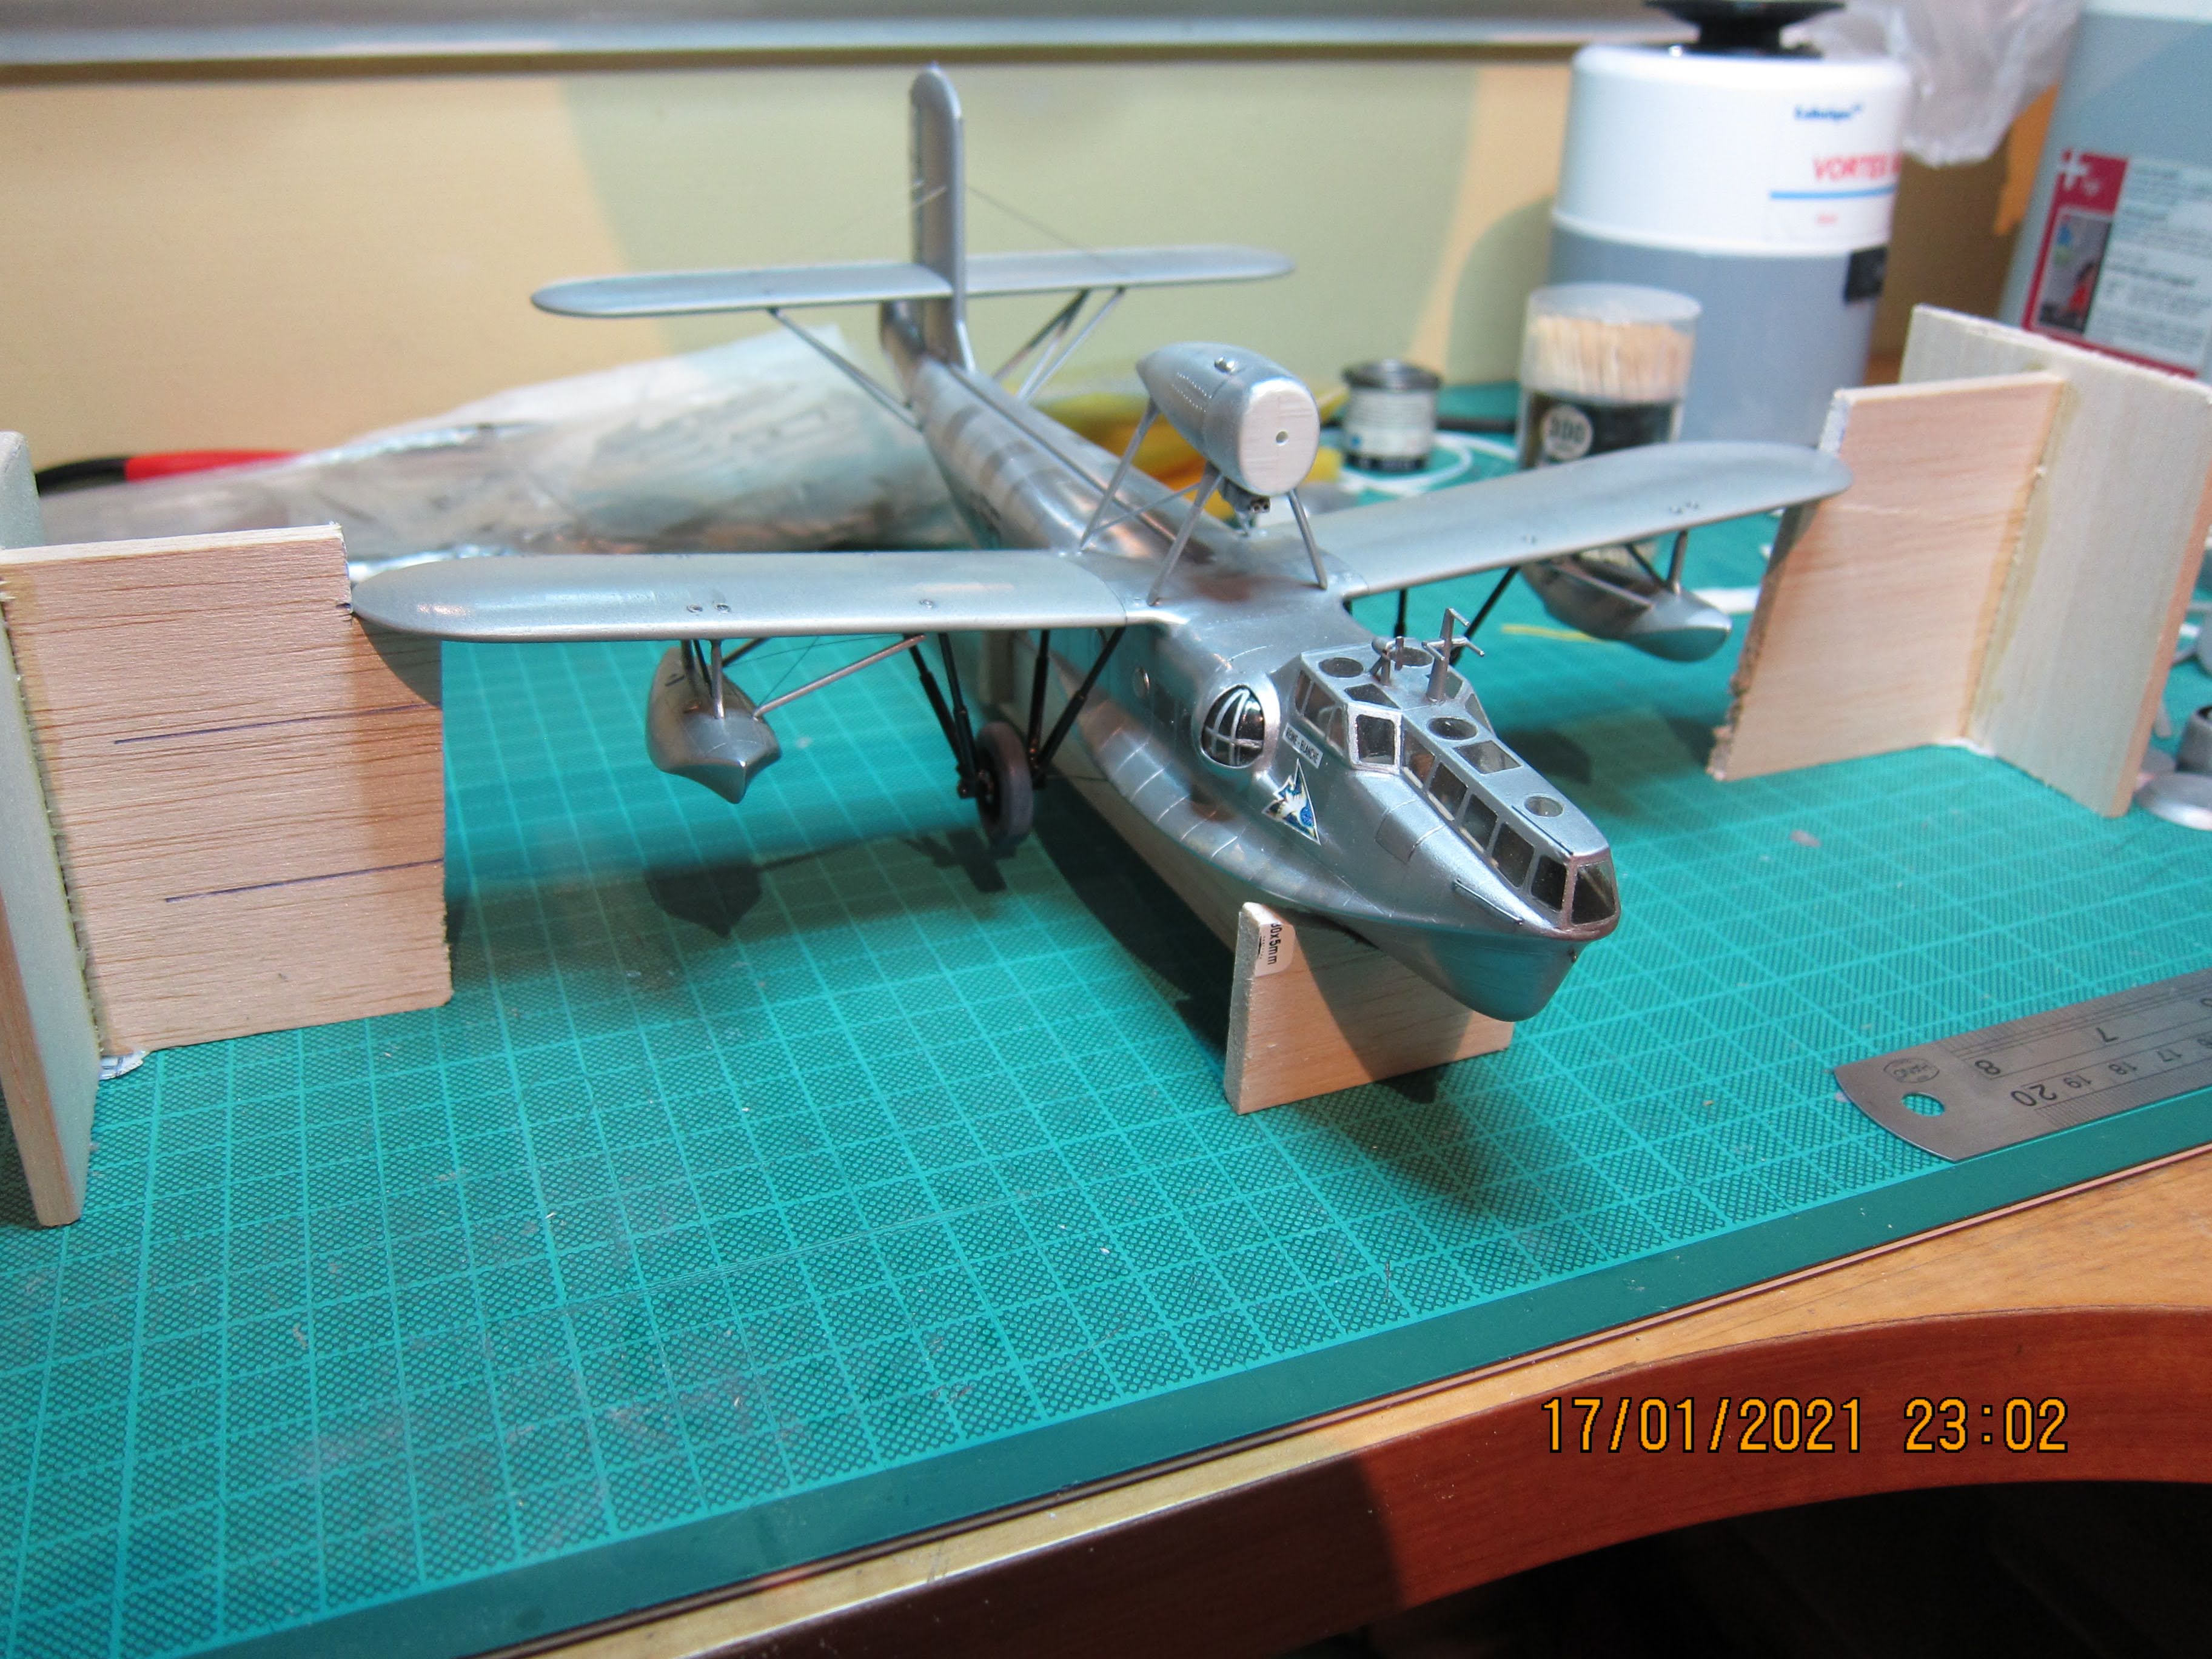
Then, the real terrific challenge is in front of you. To me, the key element is to set correctly the central engine over the bottom wing. To do that, follow again the angle from the blueprint and make a little jig to maintain the legs in position (angle and horizontal distance at the bottom) while you set the engine mounting over it. Some sanding in the top of the support are needed to sit the mounting...then, cyano and just in one movement you must glued the set.
Ensuring the right position in the Y axe is a must. The jigs in the picture are ugly indeed but millimetricaly adjusted.
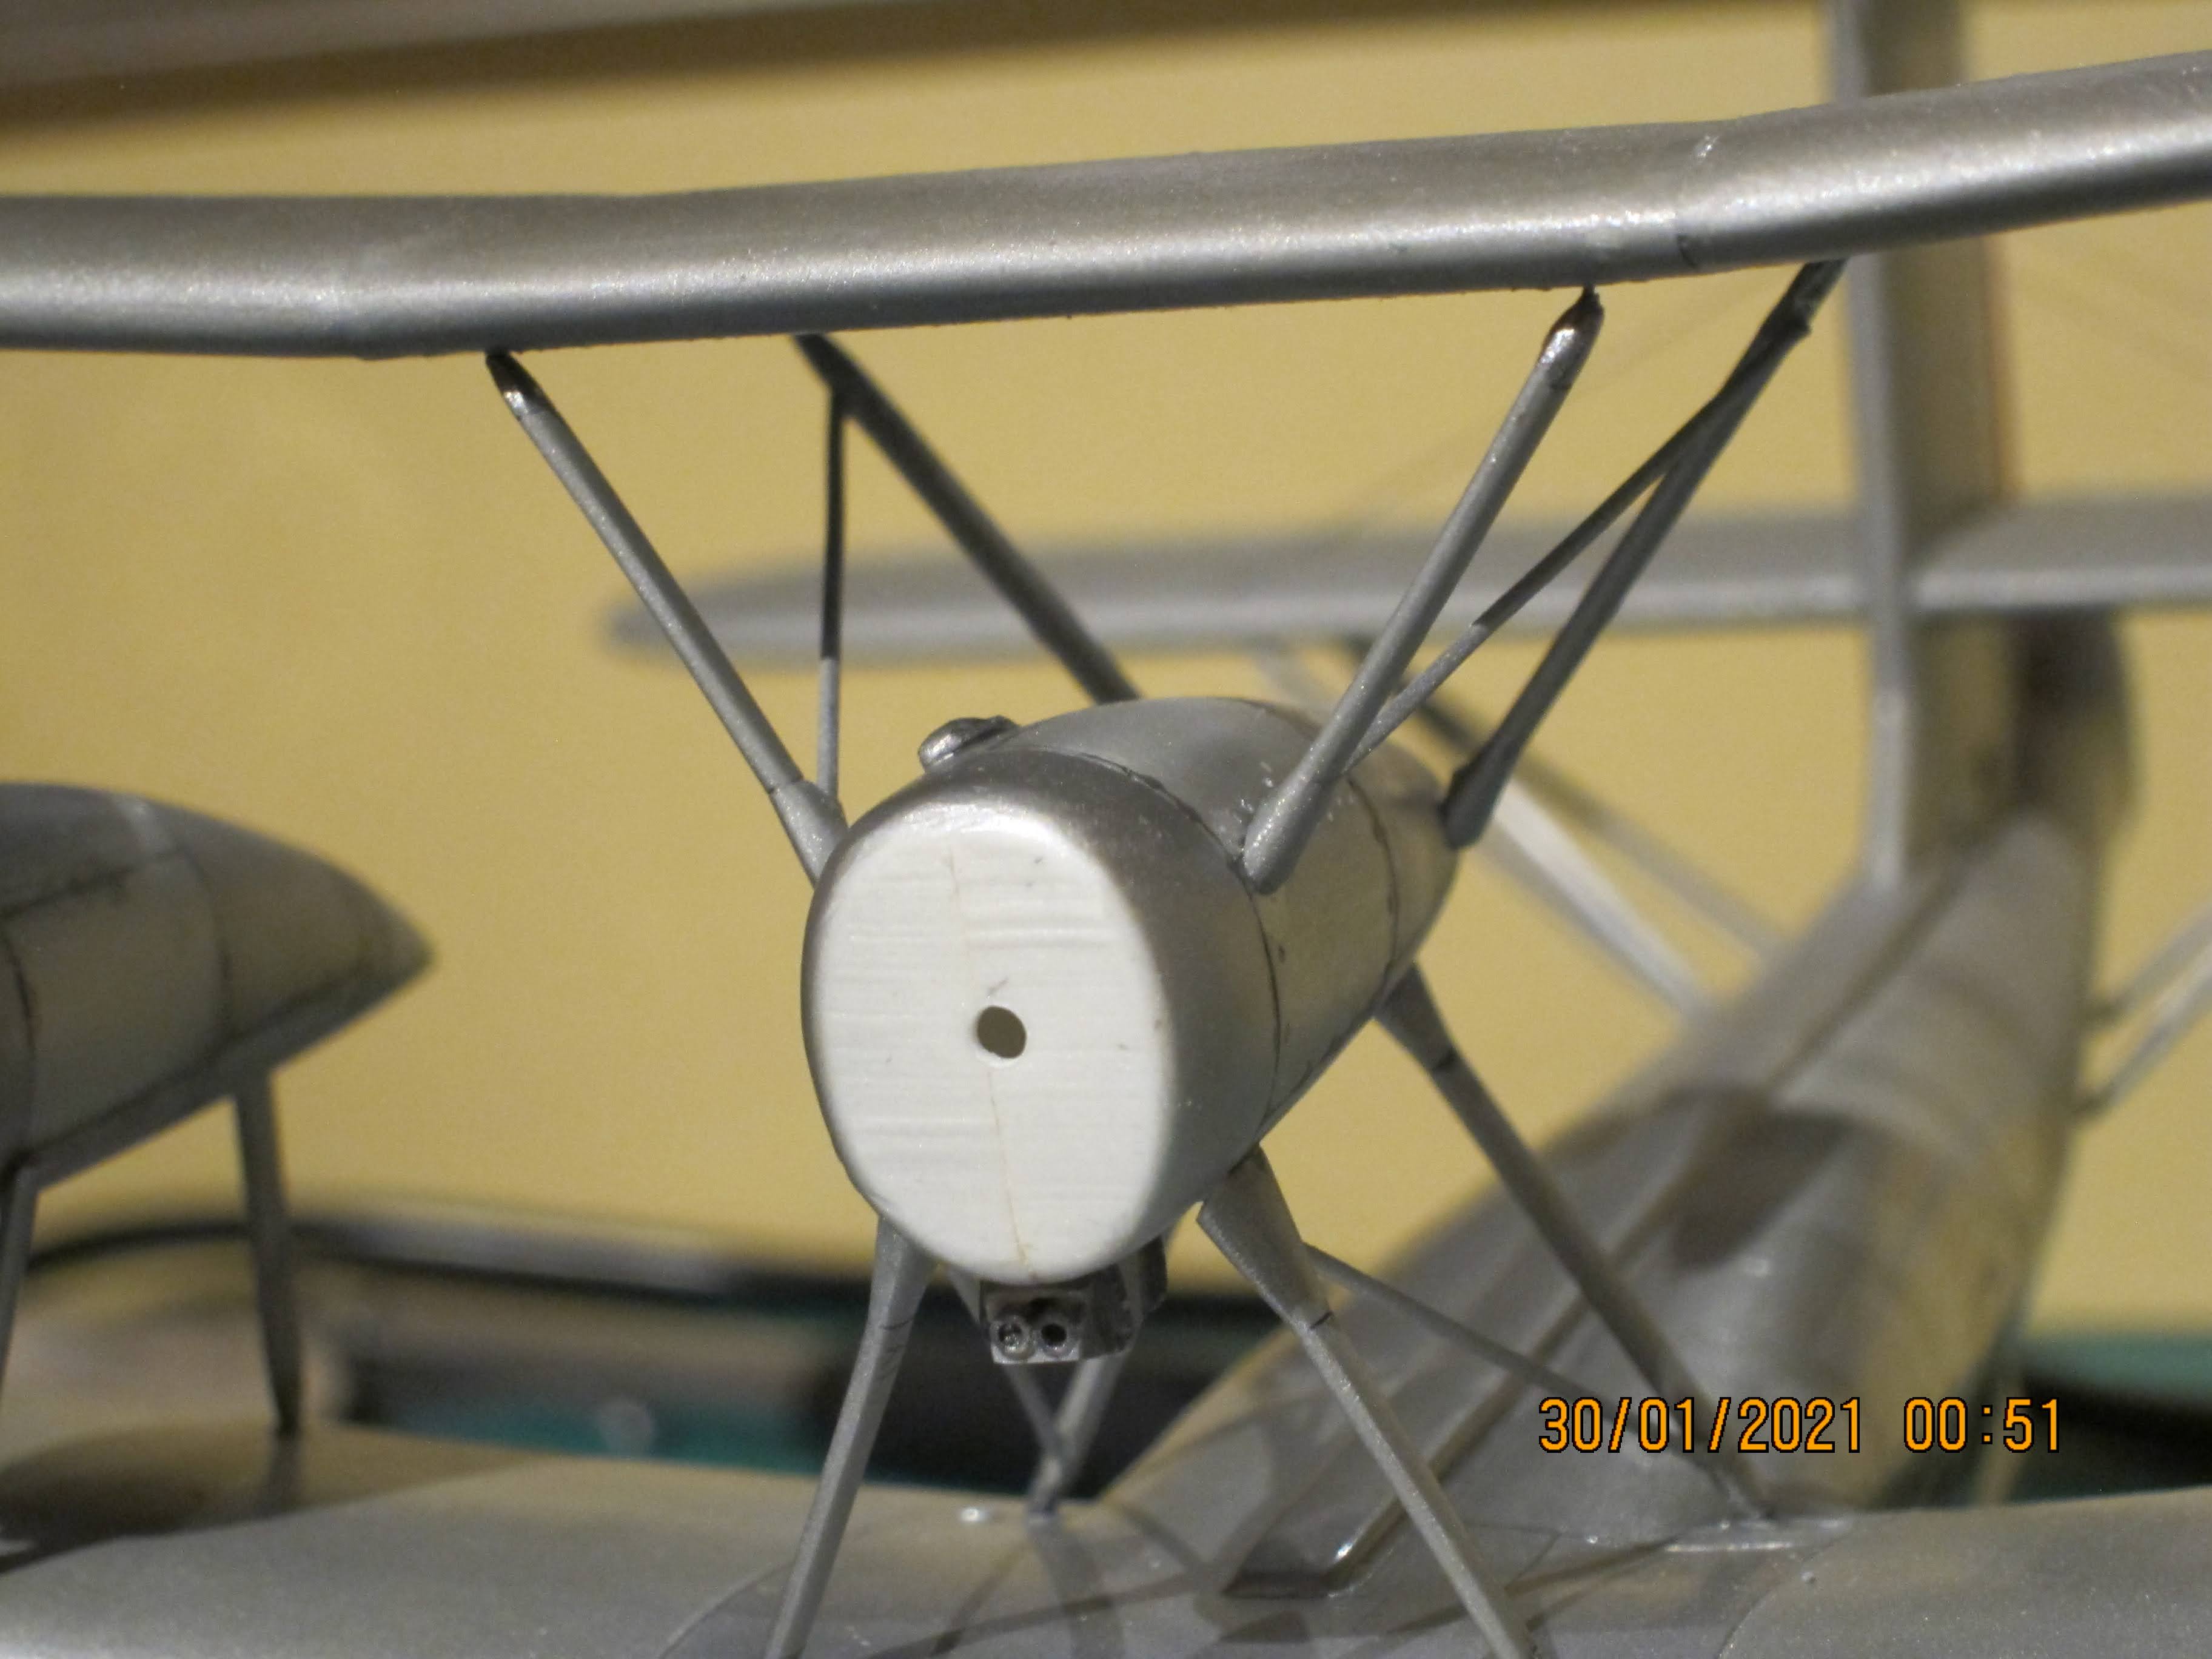

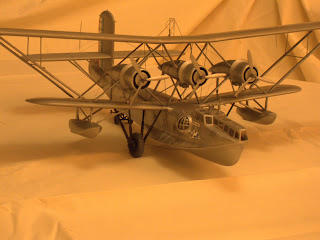
The next step is to make the jigs to sit the upper wing at the right distance respect the bottom wing (blueprint again), and glue the front stringer with the rear one using a fat wire like the blueprint indicates. Is not an easy task, because you need to assure the angle between them (the rear stringers join the motor mounting at a narrow distance that the front ones). When this job is finished, you will see the fantastic result of all that neurotic obsession with the measurements.

Rightly setting of the central engine is the supreme clue to warrant a descent night sleeping over the next weeks...you can see the light at the end of the tunnel.
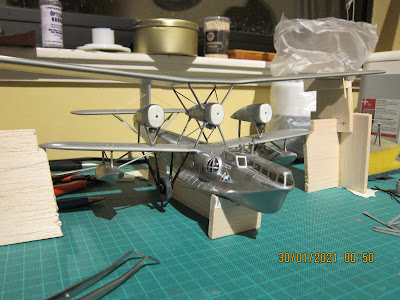
 Next step is siting the other engines mountings on the short bottom stringers.
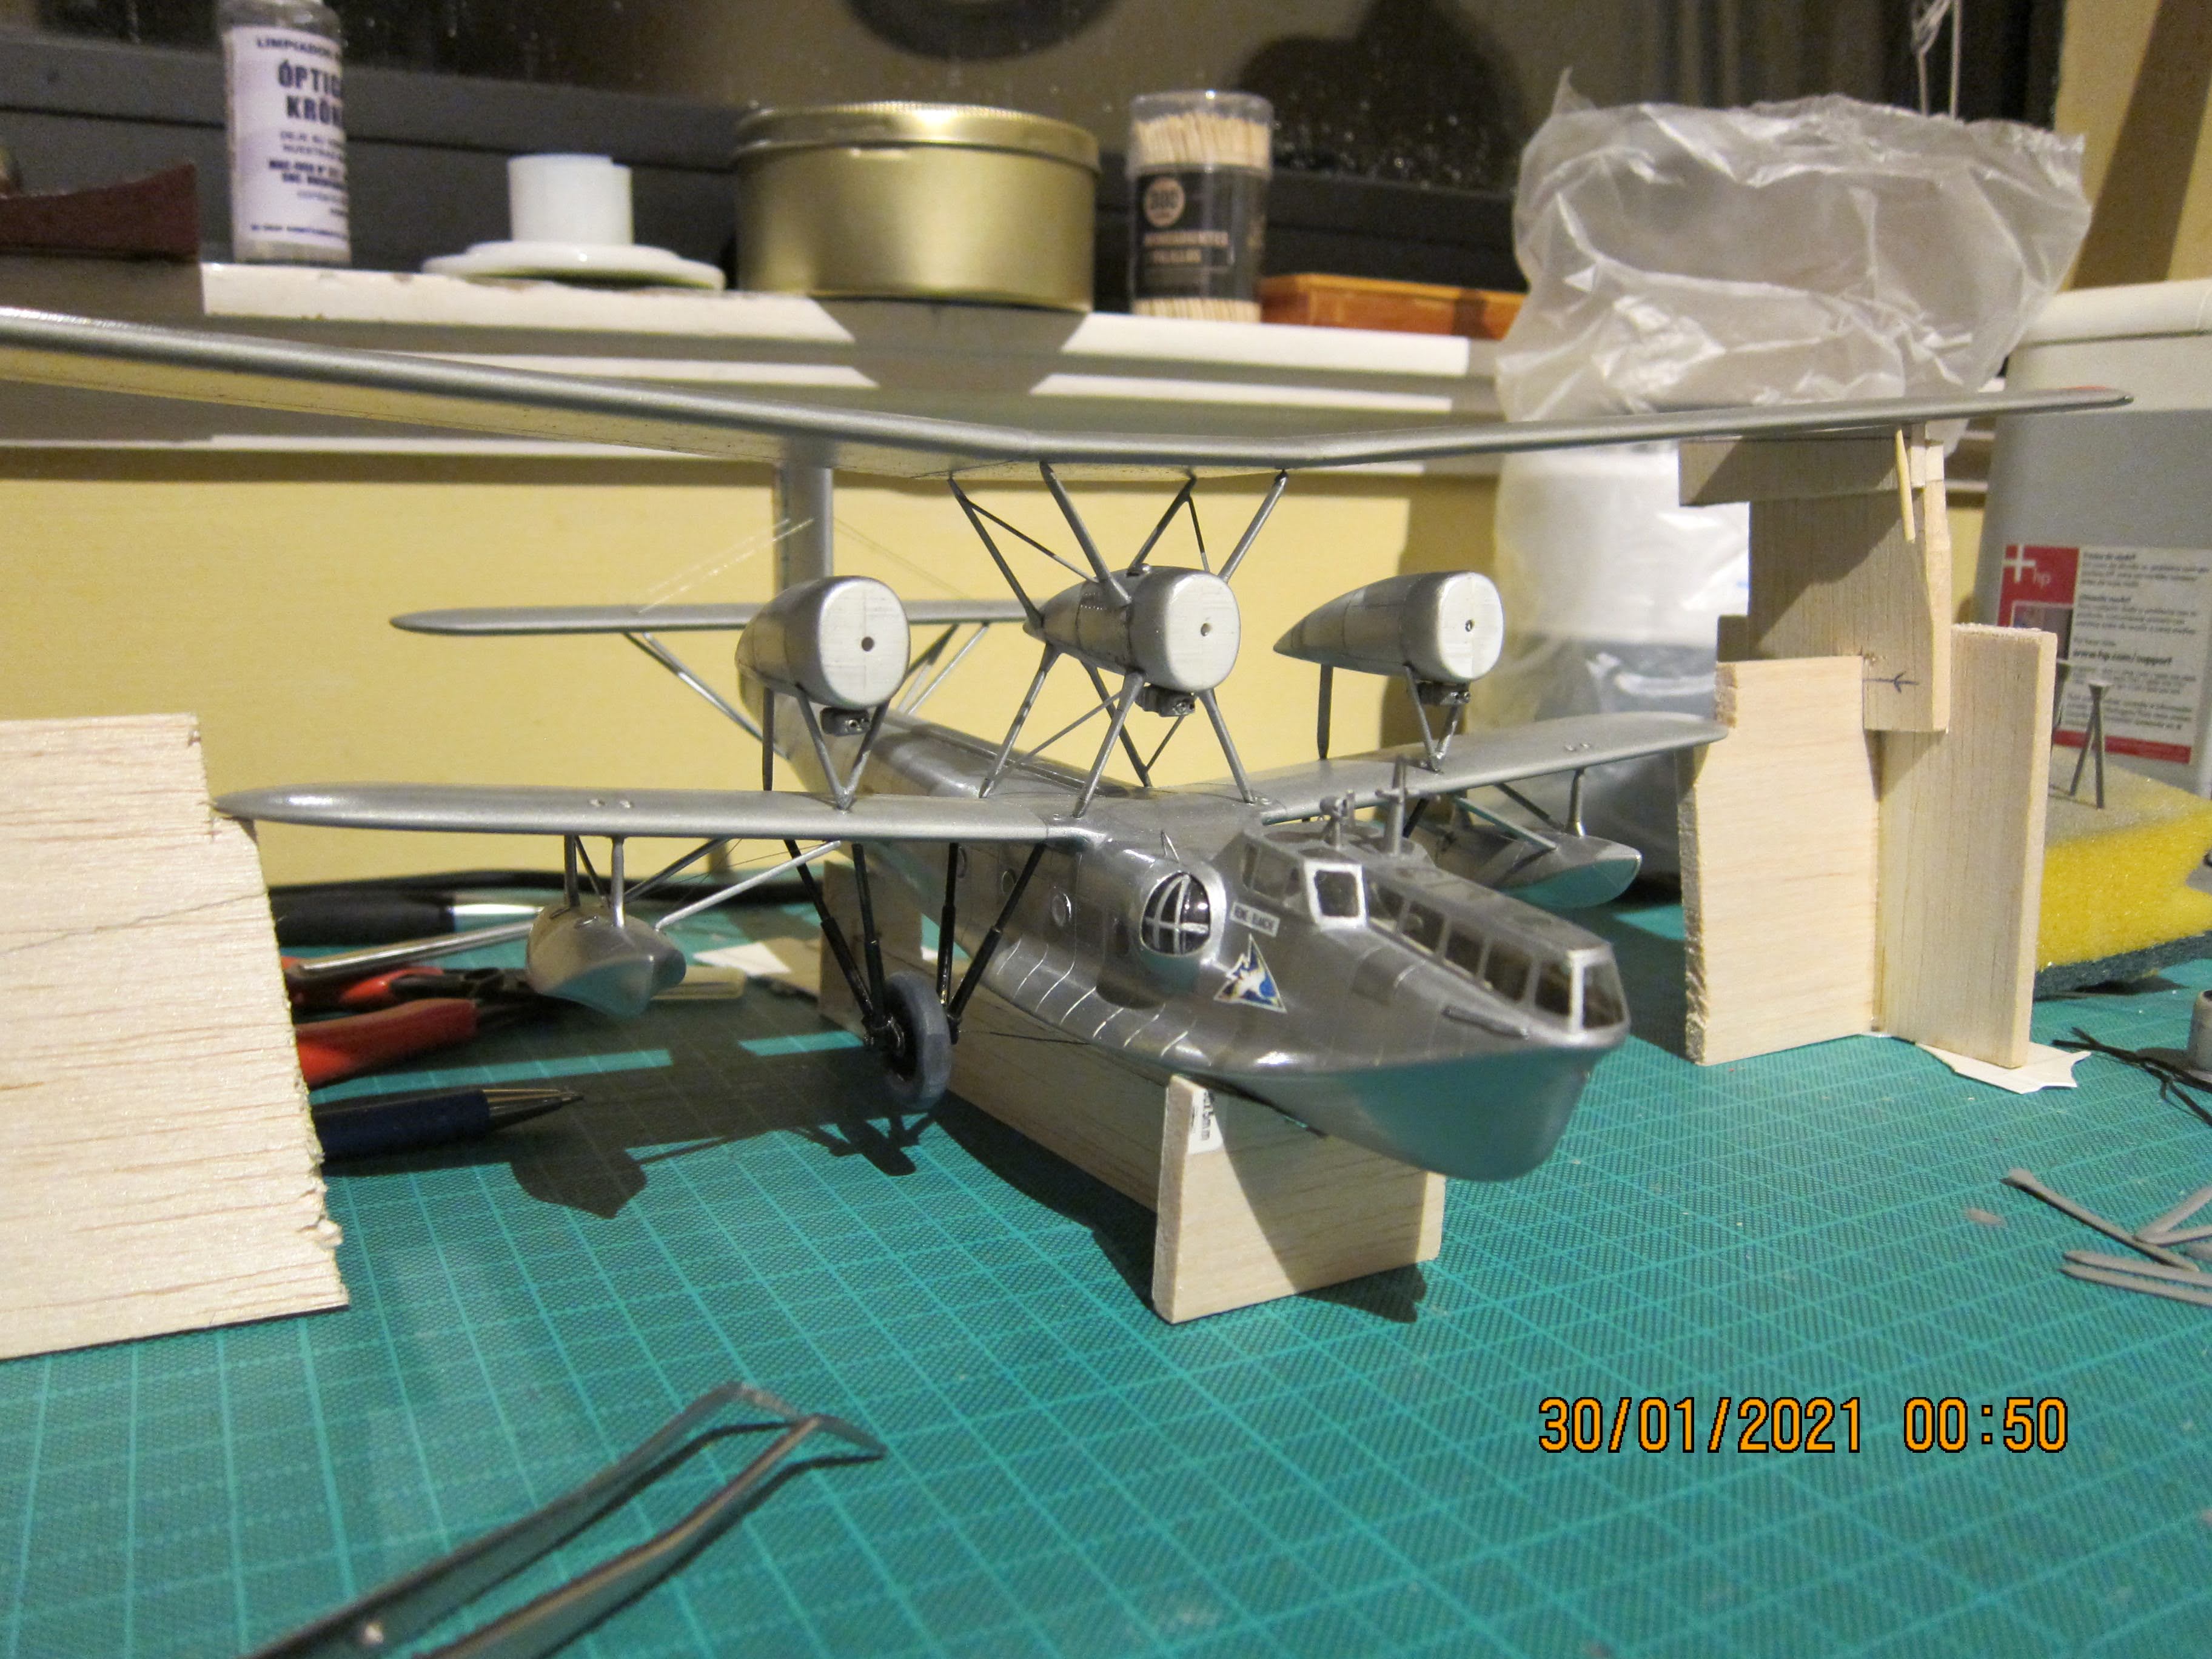


Then, follows a lot of stringers test and a bored period wasted in straight them (some are very curly).


But, the effort is compensated with a very pleasant development of the project.

Finally, the last difficult is the rigging because the space to work on it is scant.
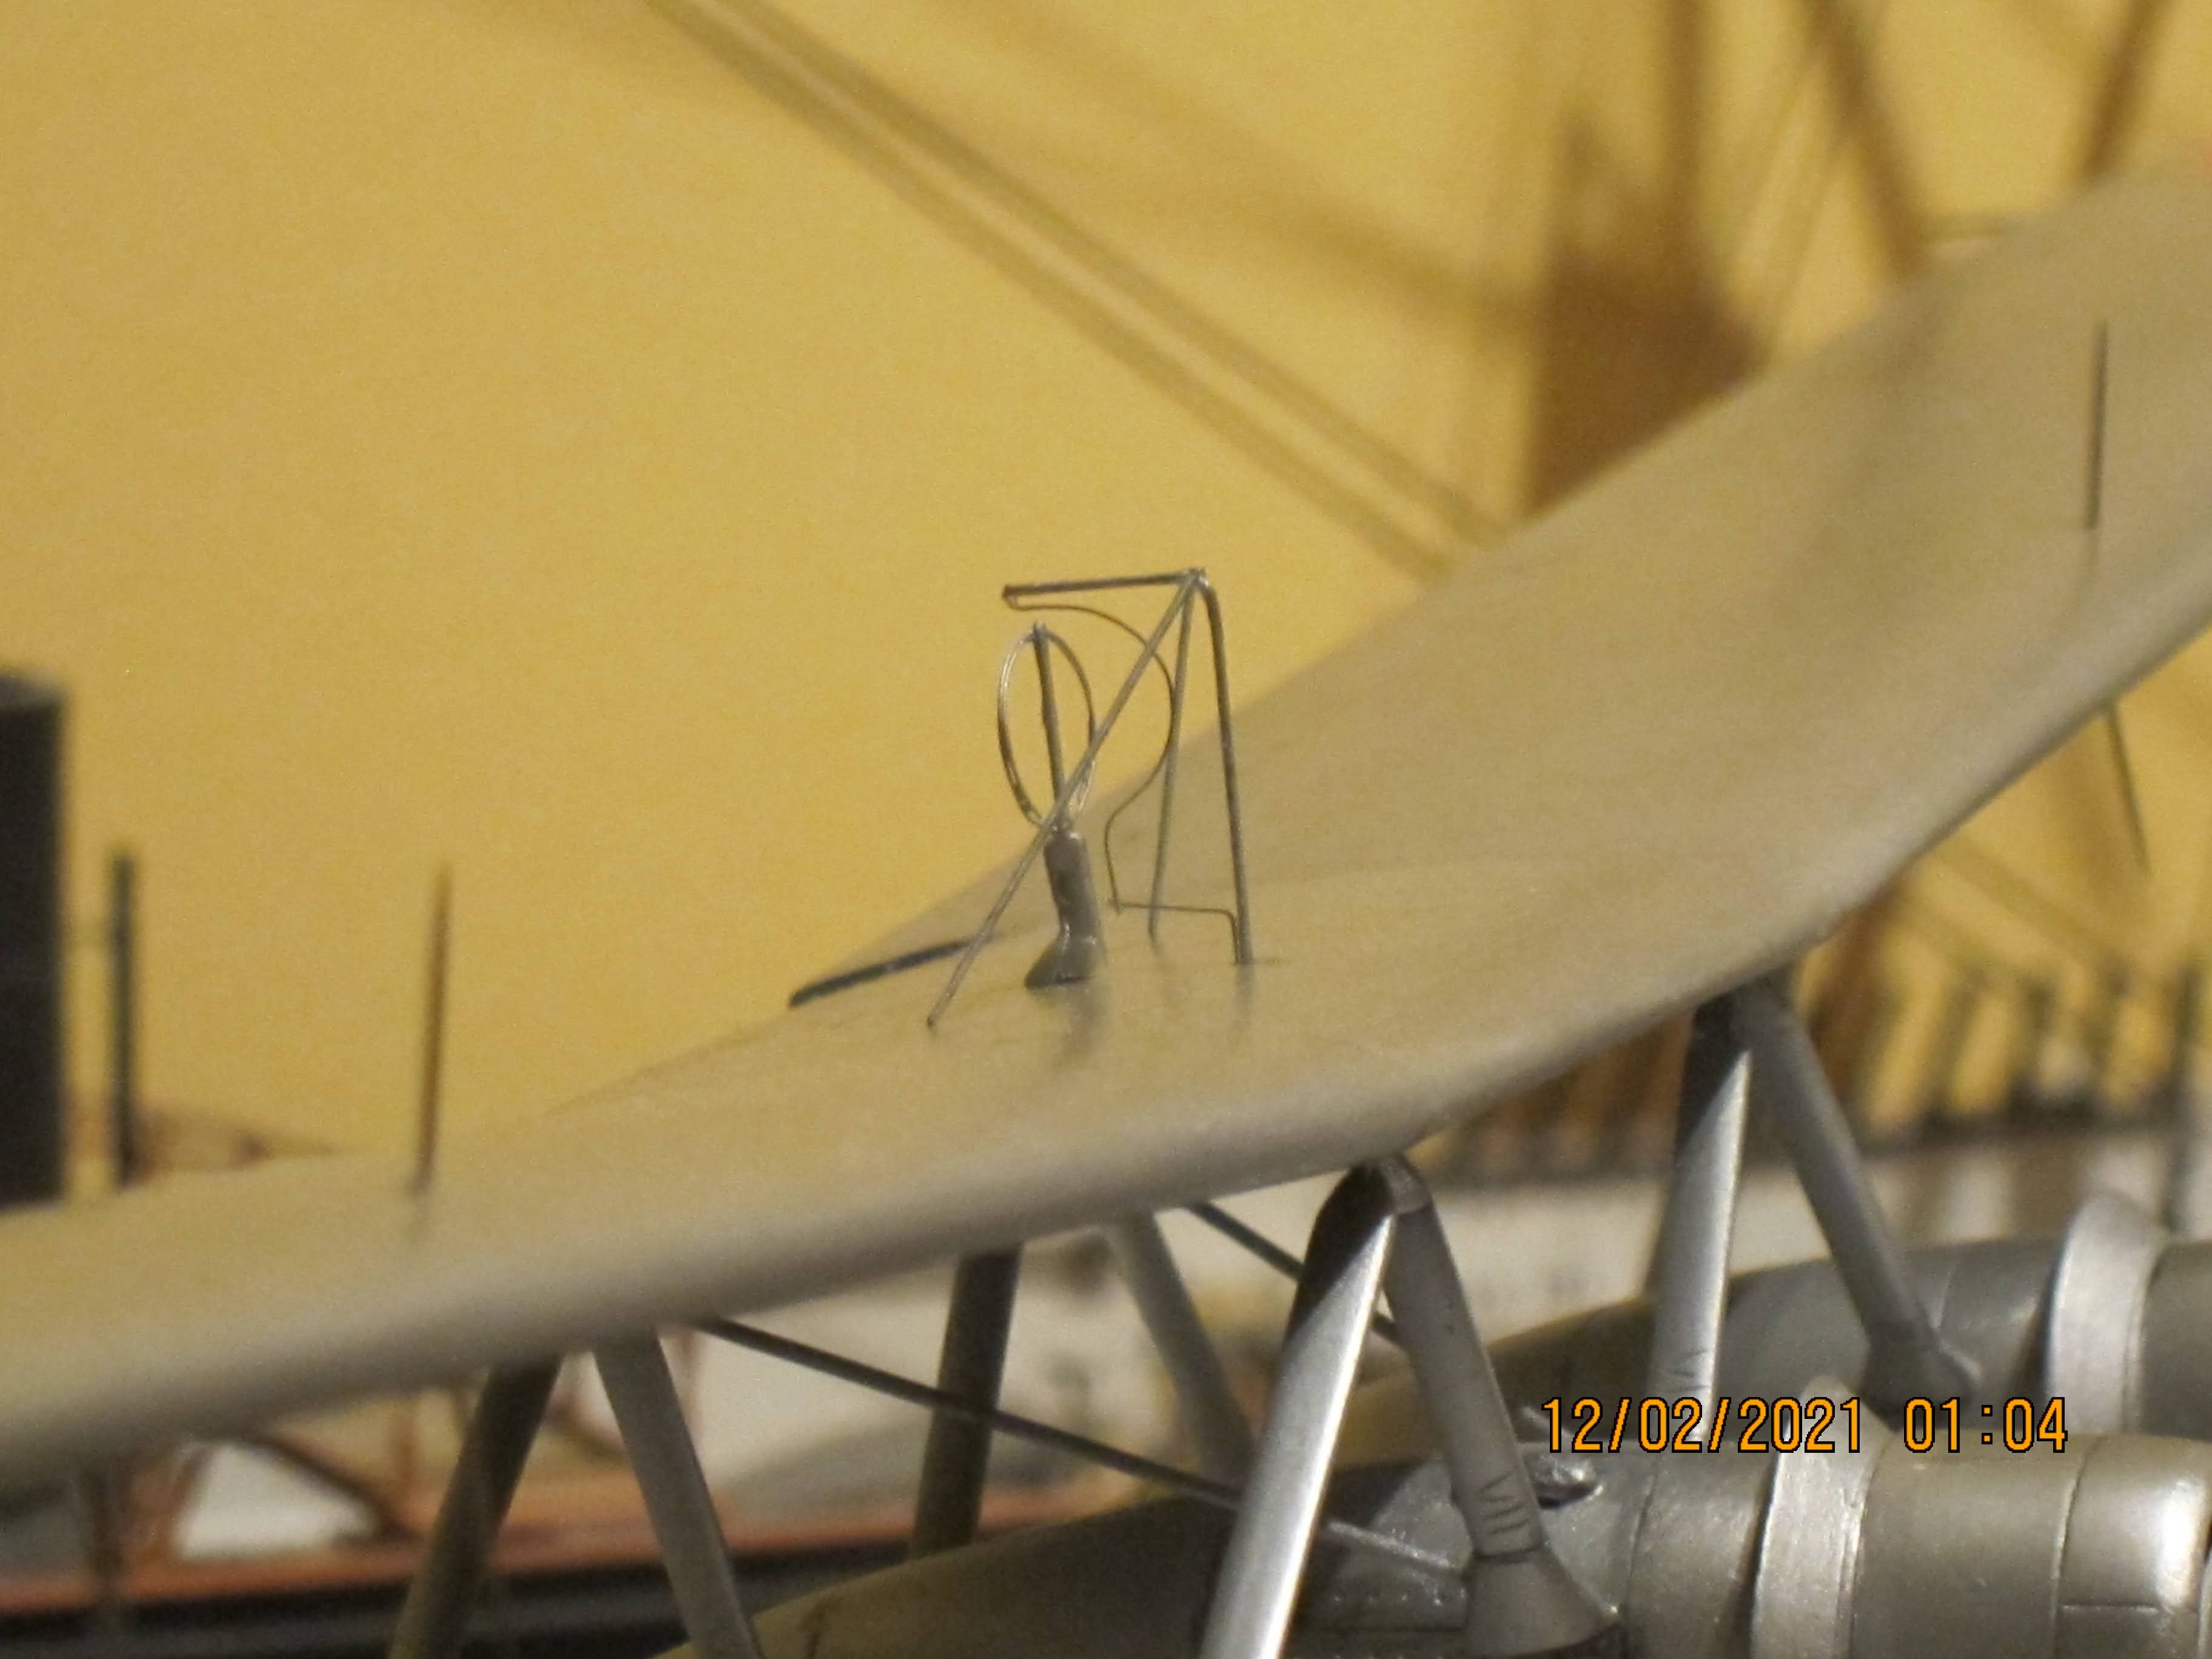


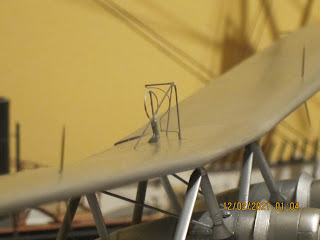
The goniometer is another mini project inside de big one.


I hope to take picture with better light and shows you in a last entry.


Wednesday, 2 November 2016

Breguet Br.521 Bizerte...part I

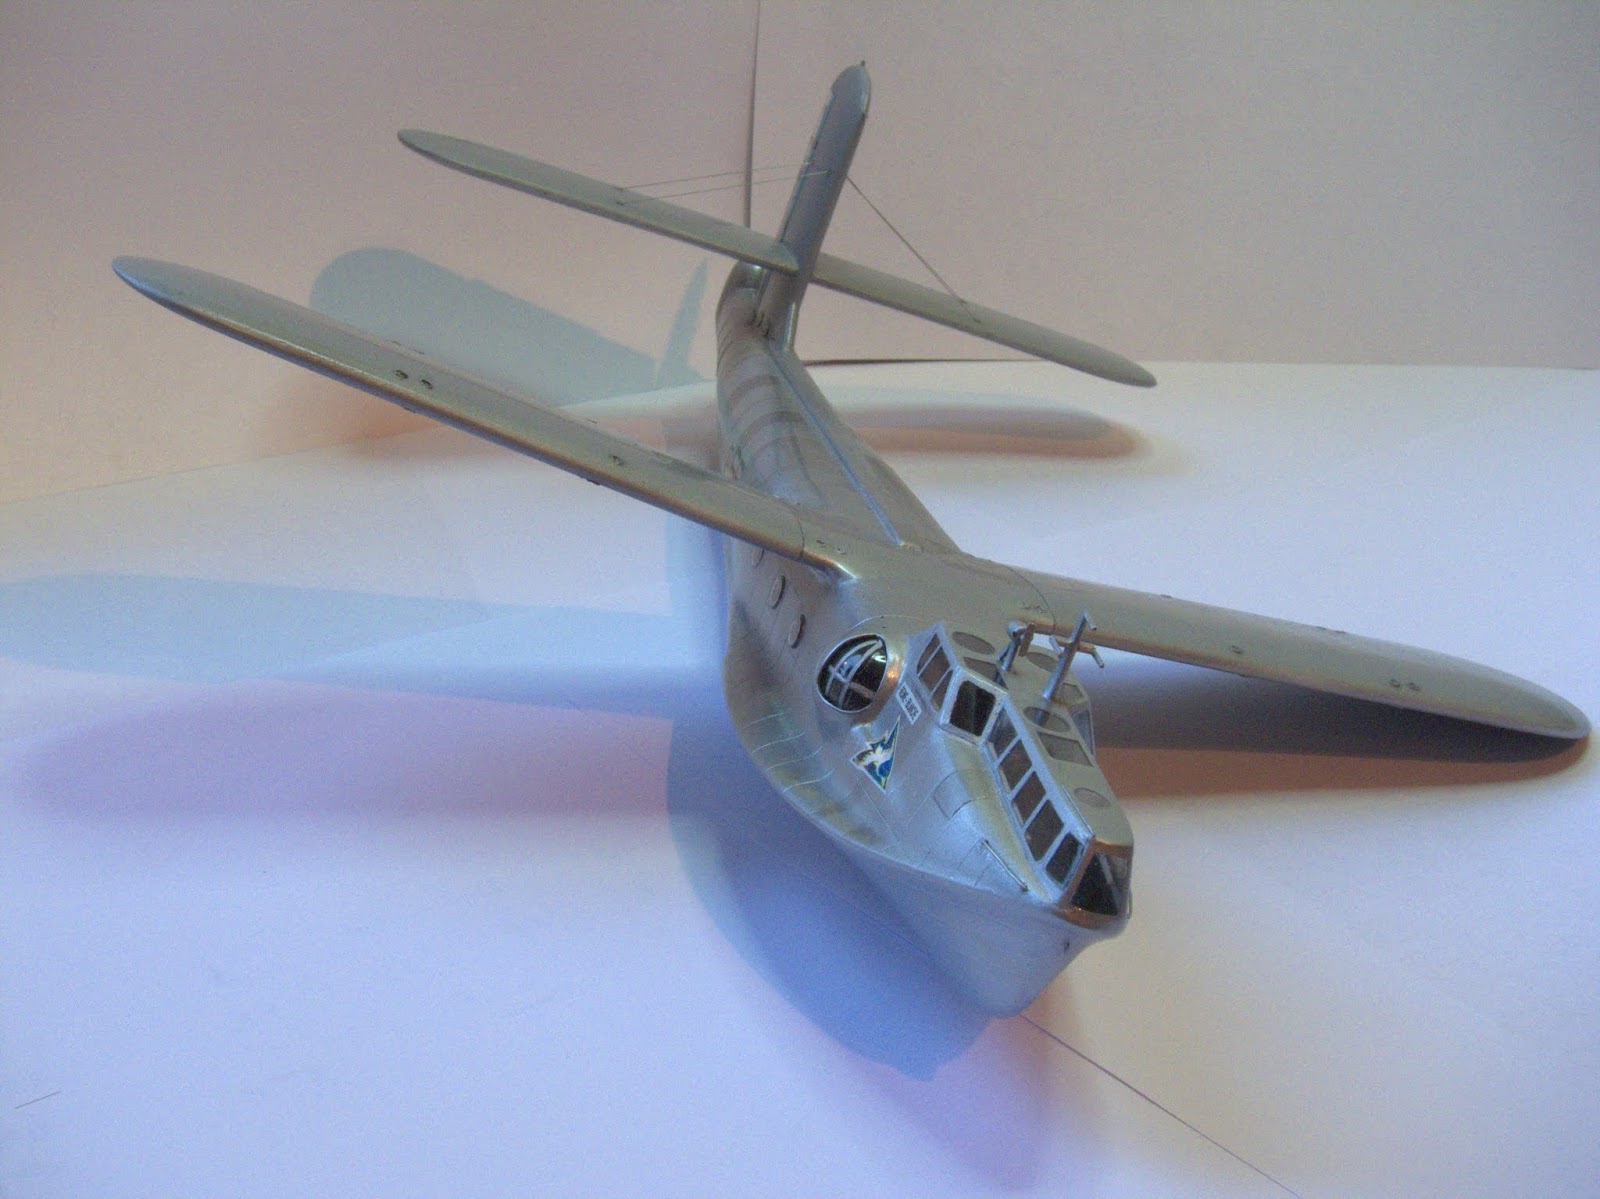
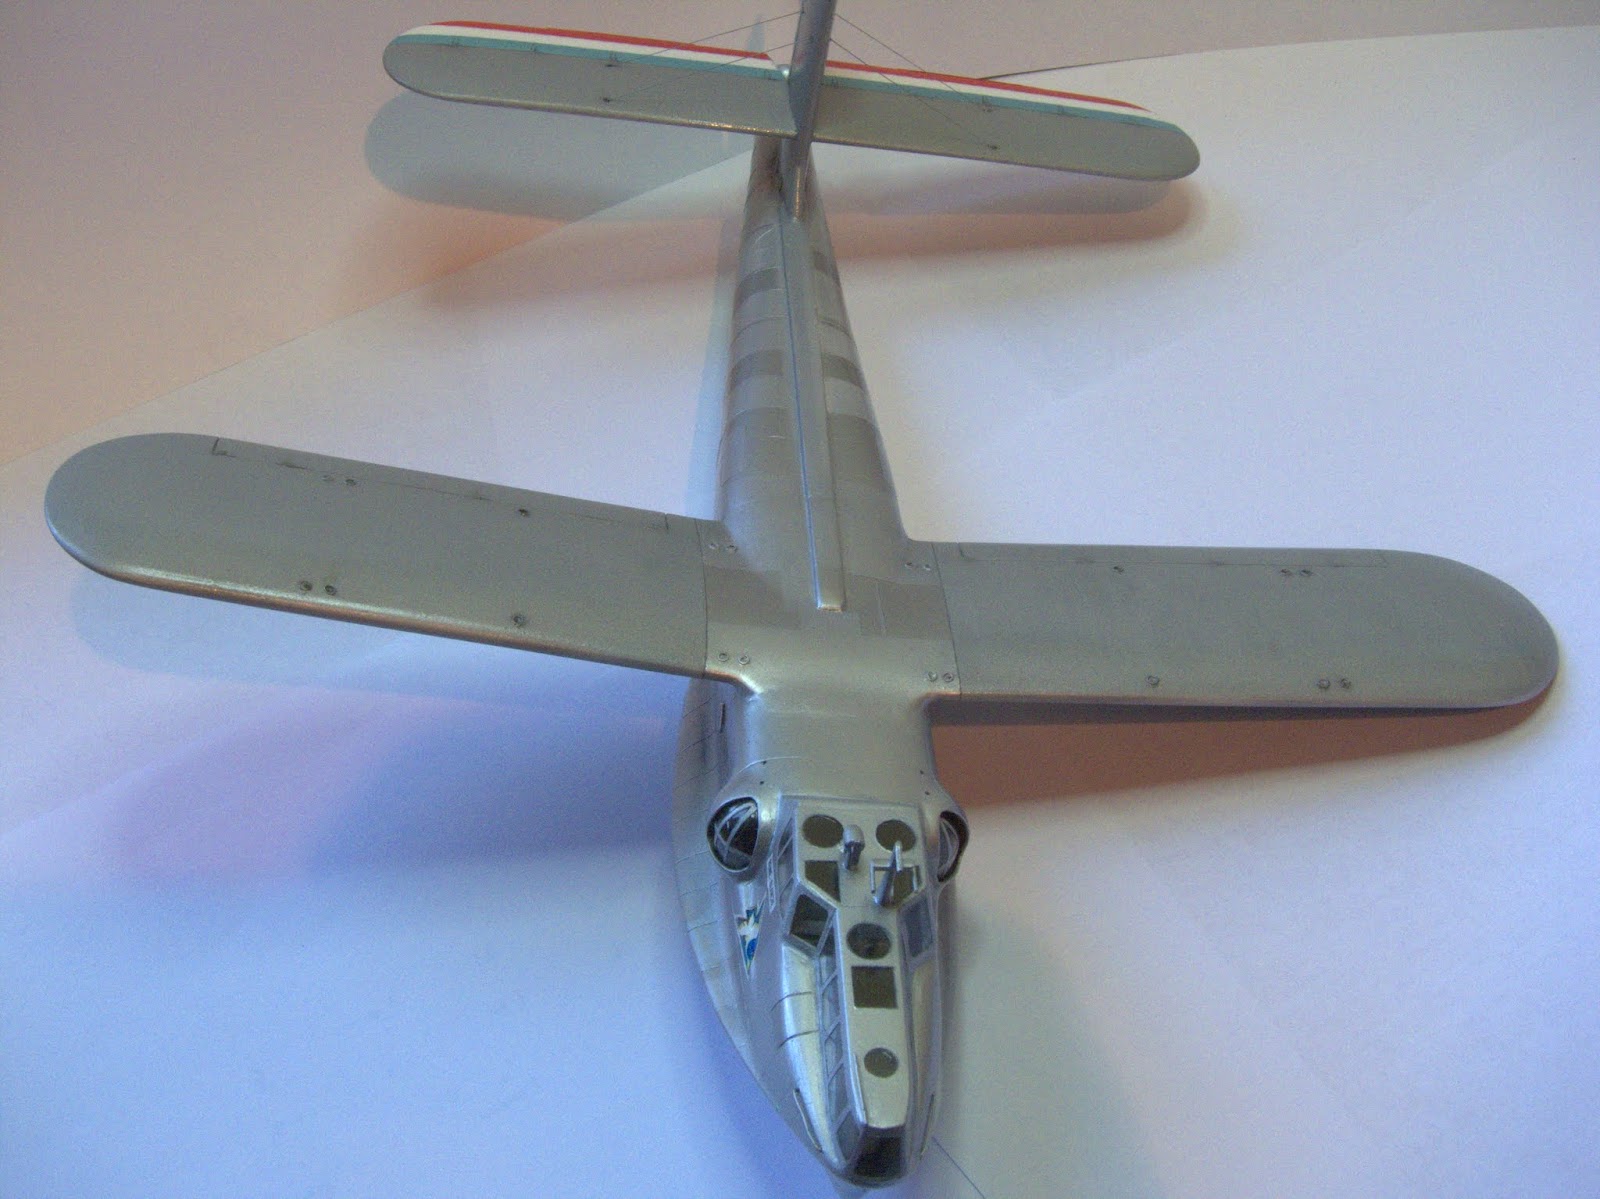
Realizing that this project is a major task and a lot of time consuming, I'd decide to show the present state of advance...this help me to get the high motivation needed to afford the next steps and the most challenging chapter in this adventure: the aligning of upper wing.
 
This monster always fascinated me...it was a very large plane -almost 40 meters wingspan- and a extremely complex in structure. I think that Bizerte like other Breguet, Short and Handley Page big biplanes represents the maximum strength in that kind of technology. Maiden flight was in 1933, but this mean that the design was conceived at the beginning of thirties.
A challenge in construction and operation indeed.


When I saw that Hannant's was selling its remanent kits of Aerovac, mid nineties,  Bizerte among them, I'd acquire my kit and a pair of Latecoere hidroplanes. Twenty years after, came time to begin this project...a real nightmare...

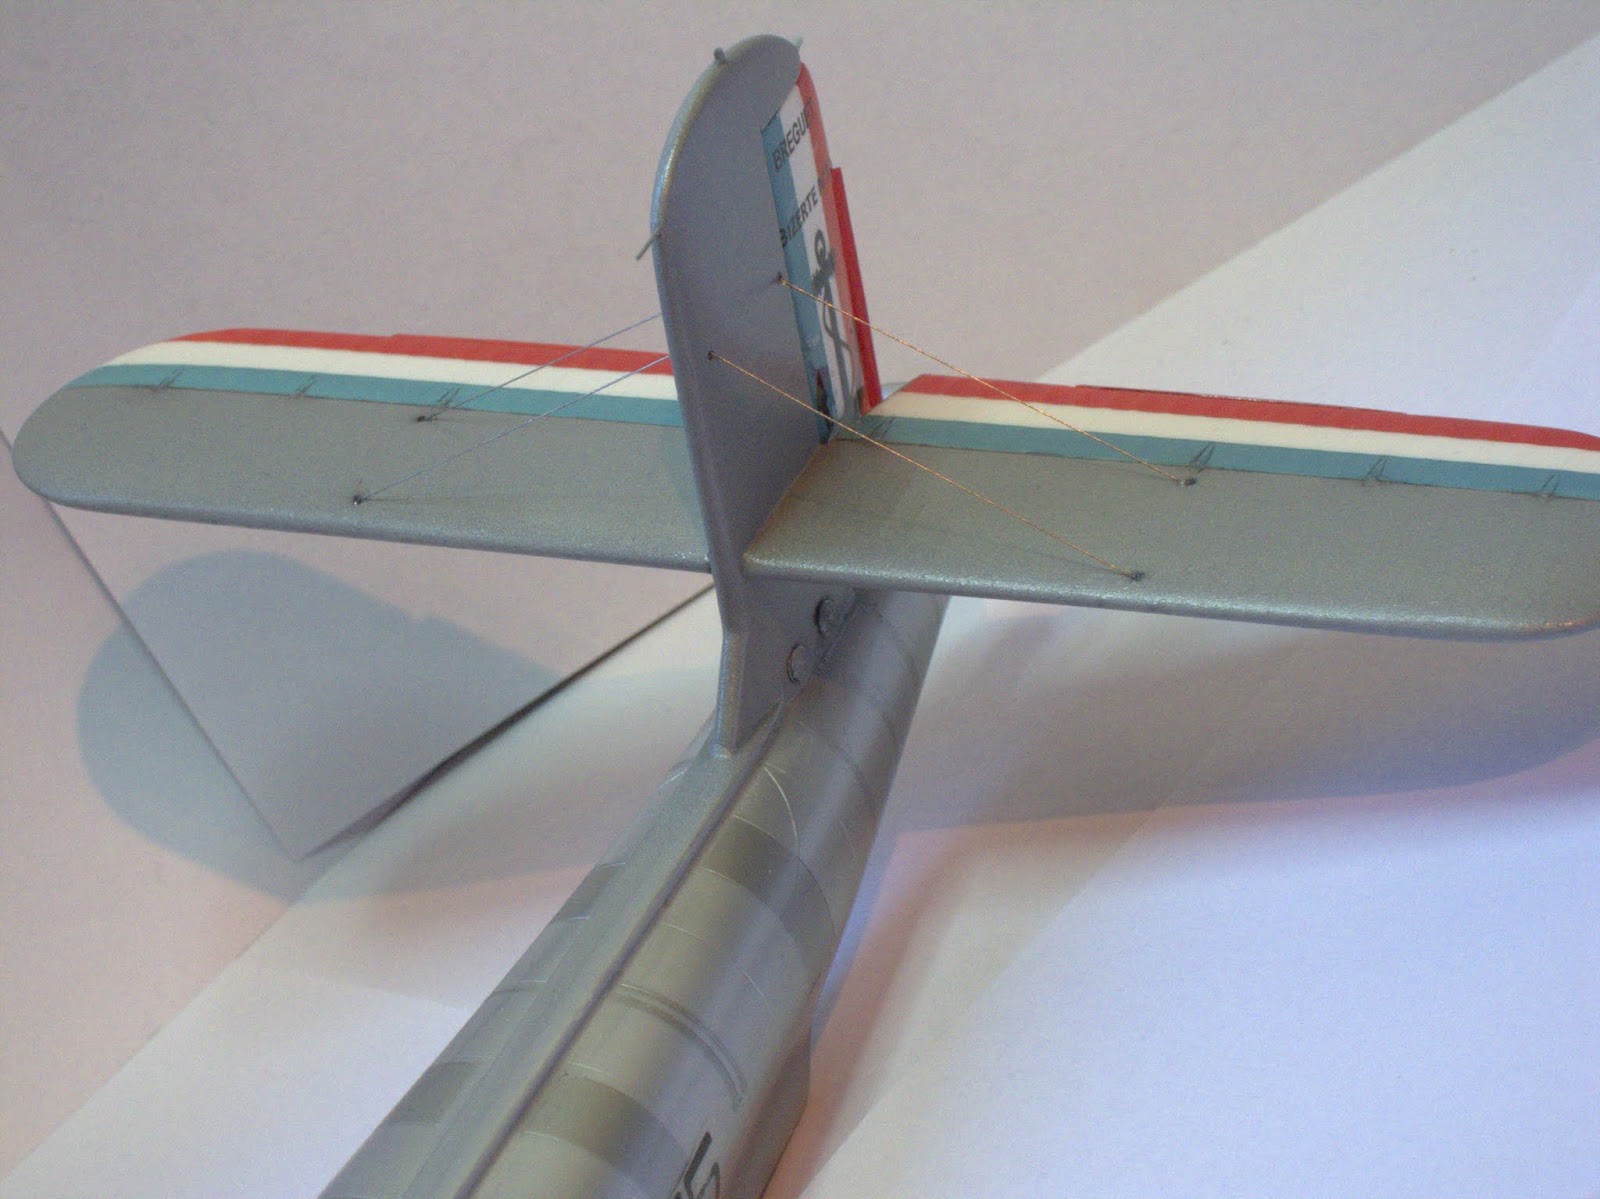
The only easy task is to cut the vacuum parts...after that, every sub asembly is a mini project per se. Each sub assembly get a lot of fun and required many hours of thinking to resolve "how to do this" before to start the job of build the sub set. No pinholes to join the parts, you need a good set of drawings. The drawings, in 1/72 scale, in the instruction sheets are invaluable because the scarce useful information in the web. Just some pictures are the only real reference. Also, there is a mere handful of scale models as a guidance. I never will know if these schemes are a perfect representation of the real plane, but until now, the model looks like a Bizerte indeed. The fabric parts are well represented as well as the fuselage halves. The fin was molded with the fuselage (rudder included), like almost every kit, but when the halves are joined, one can realize that the fin, at least in my kit, is strongly inclined to the left...then you must to cut the fin off and realign it. Before glue the fuselage, is a good idea to cut out the rudder and working apart over it.

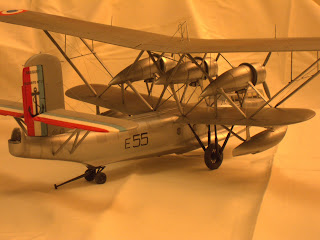
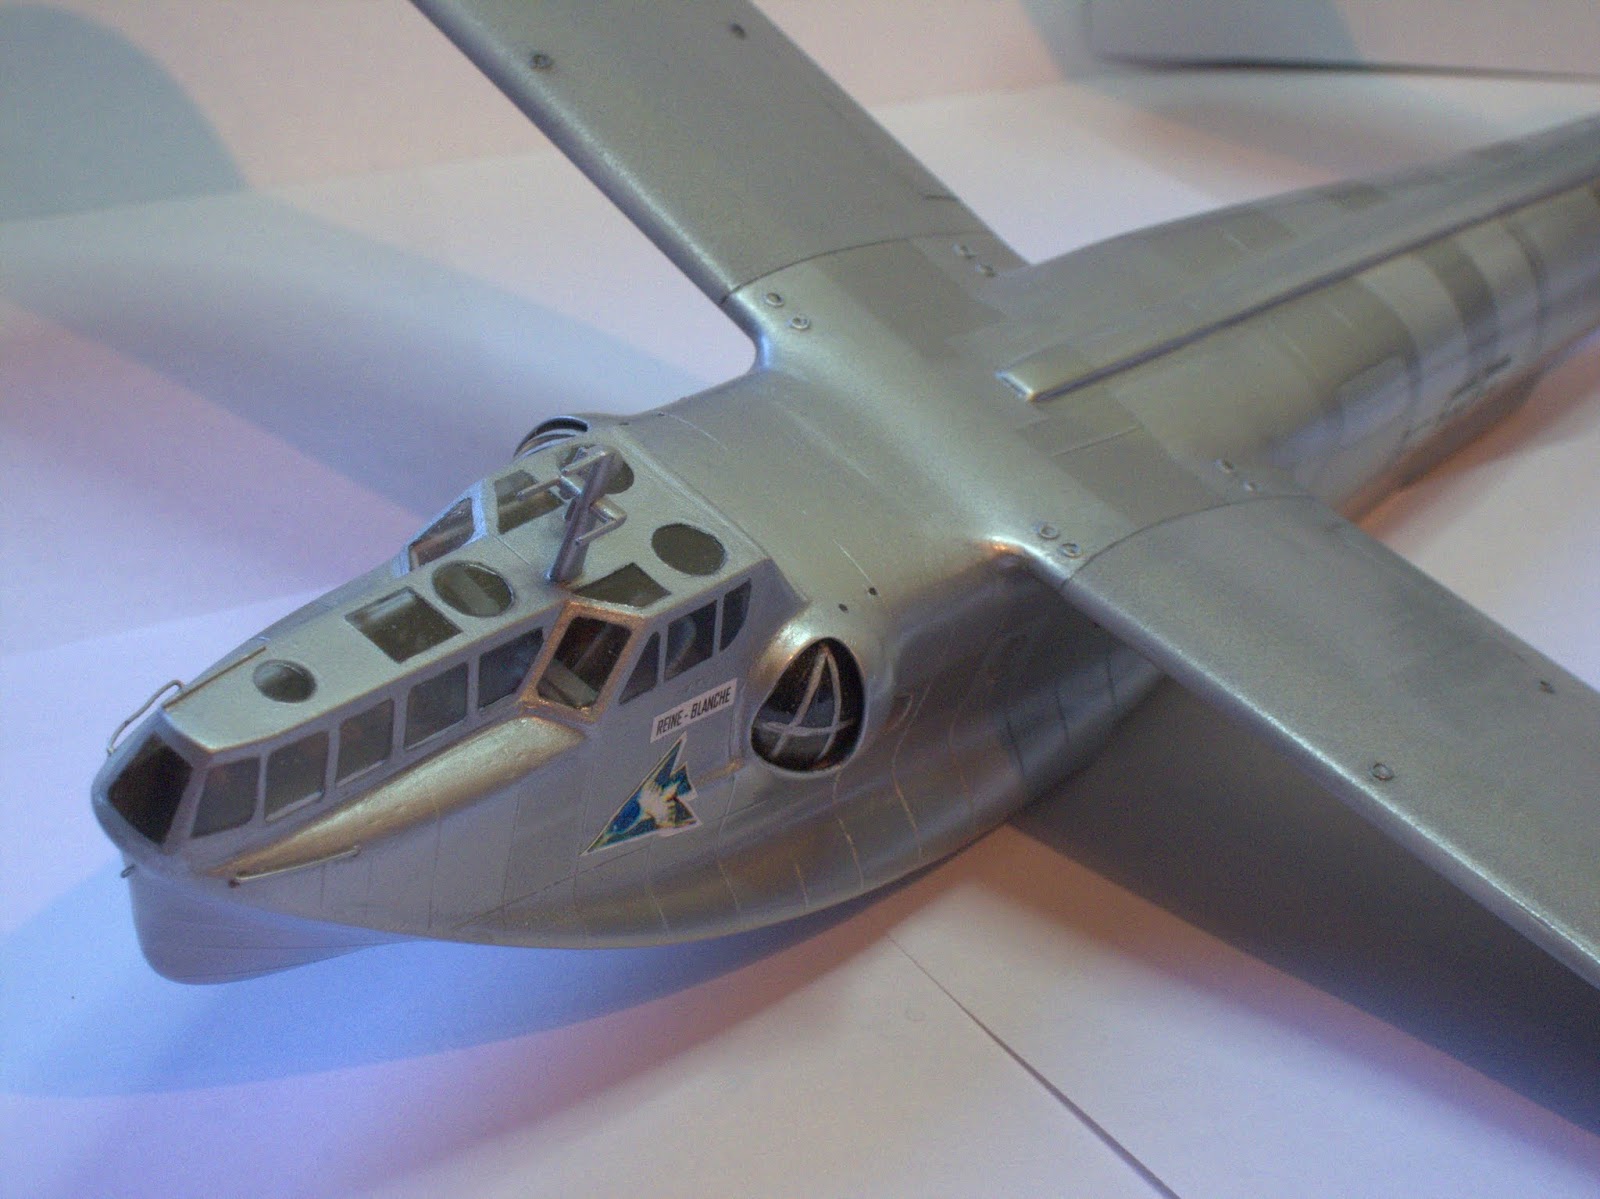
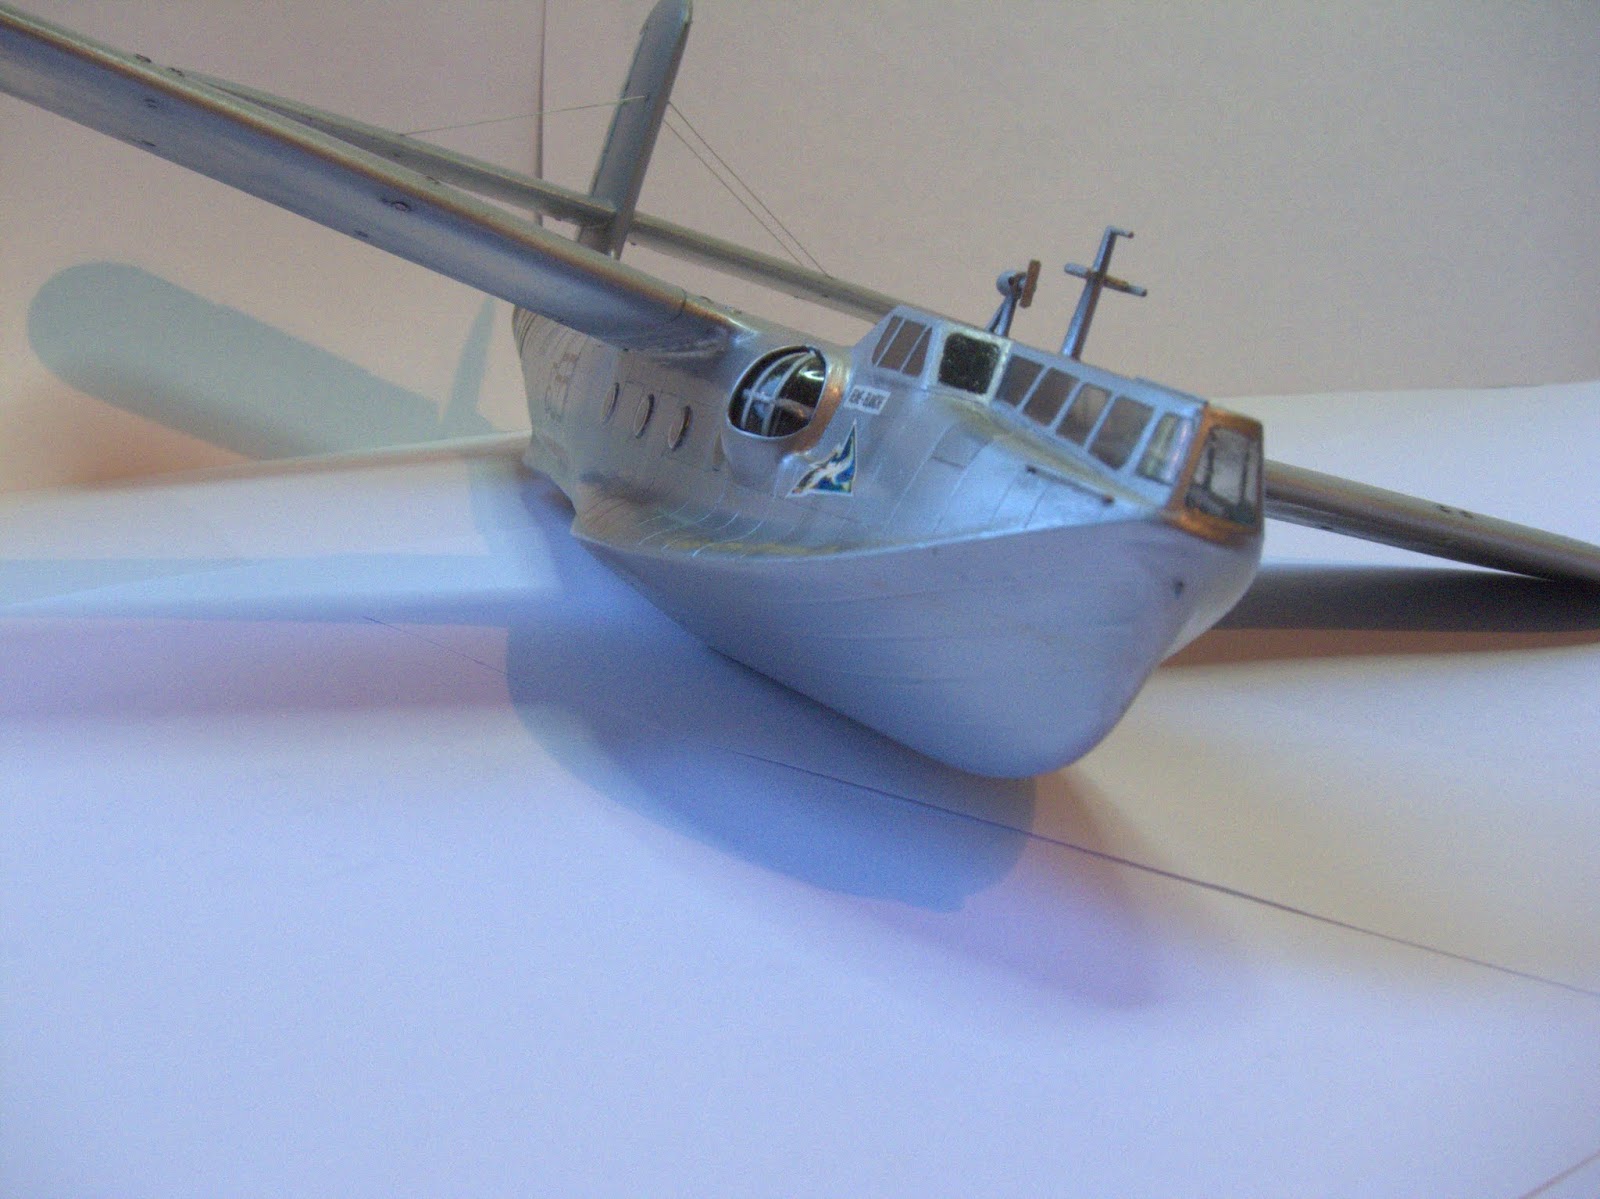
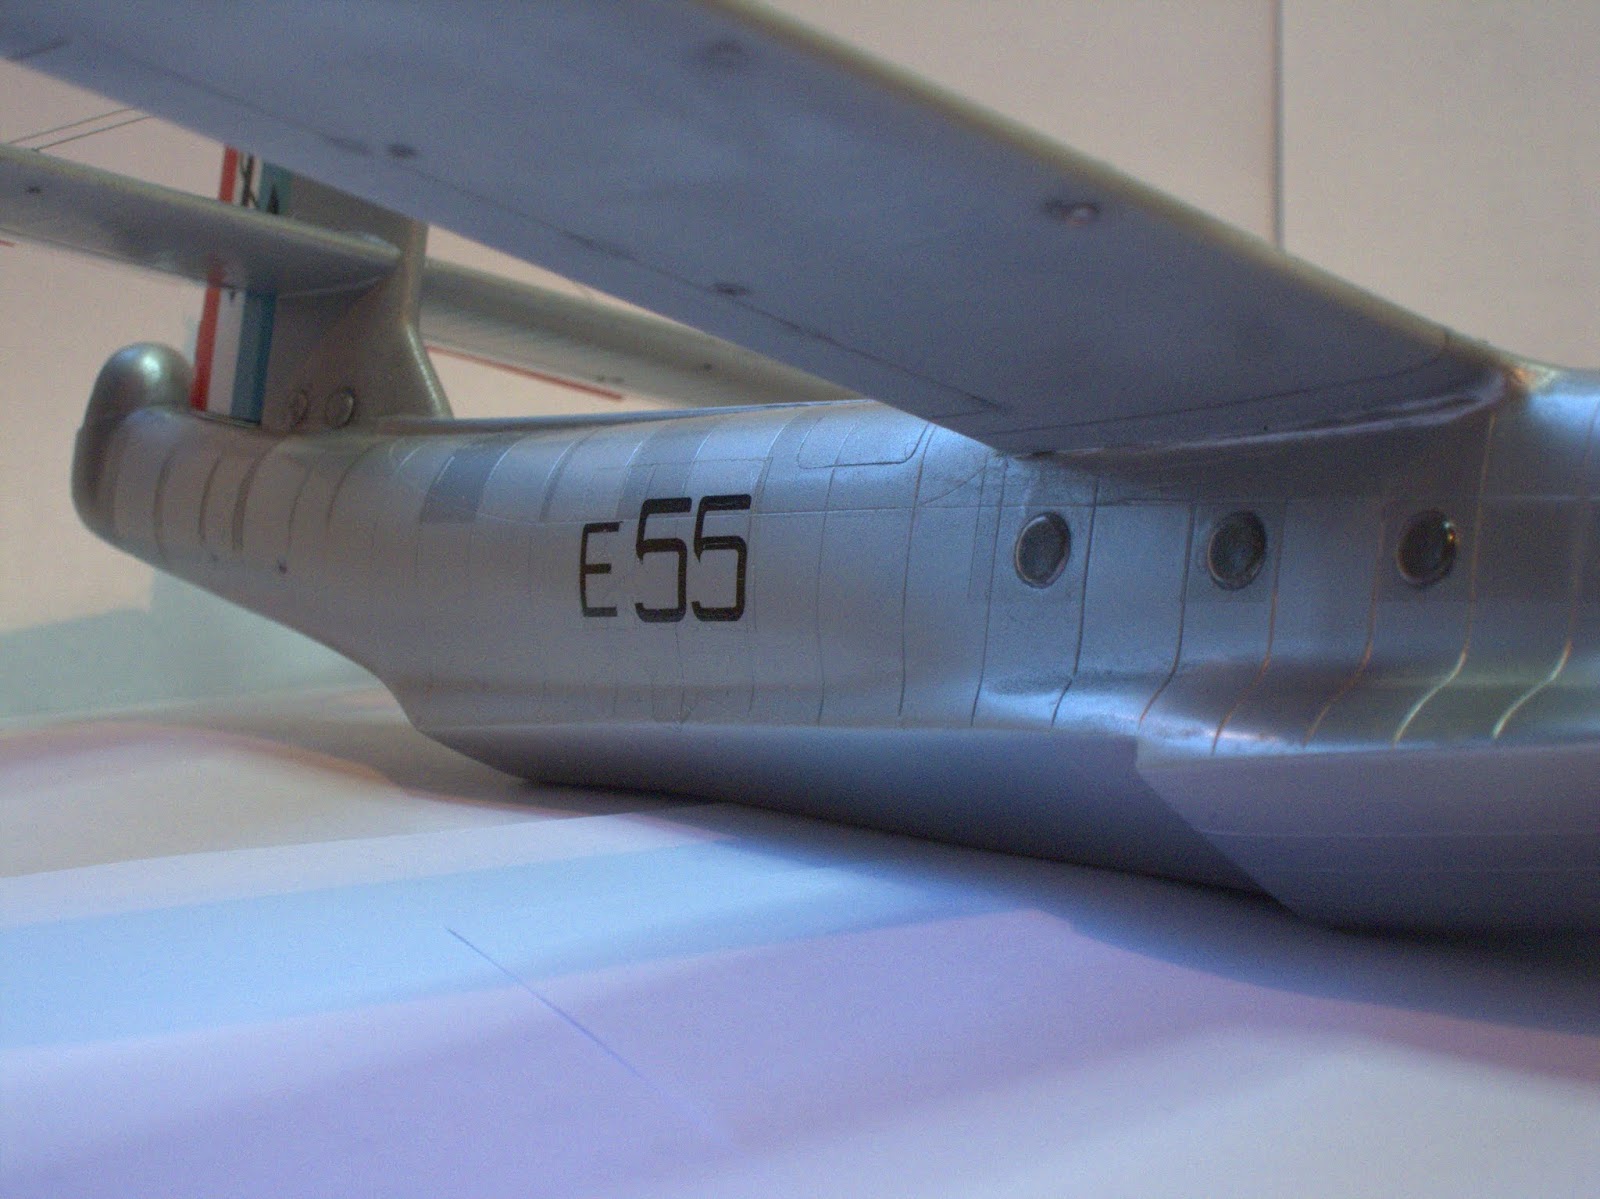
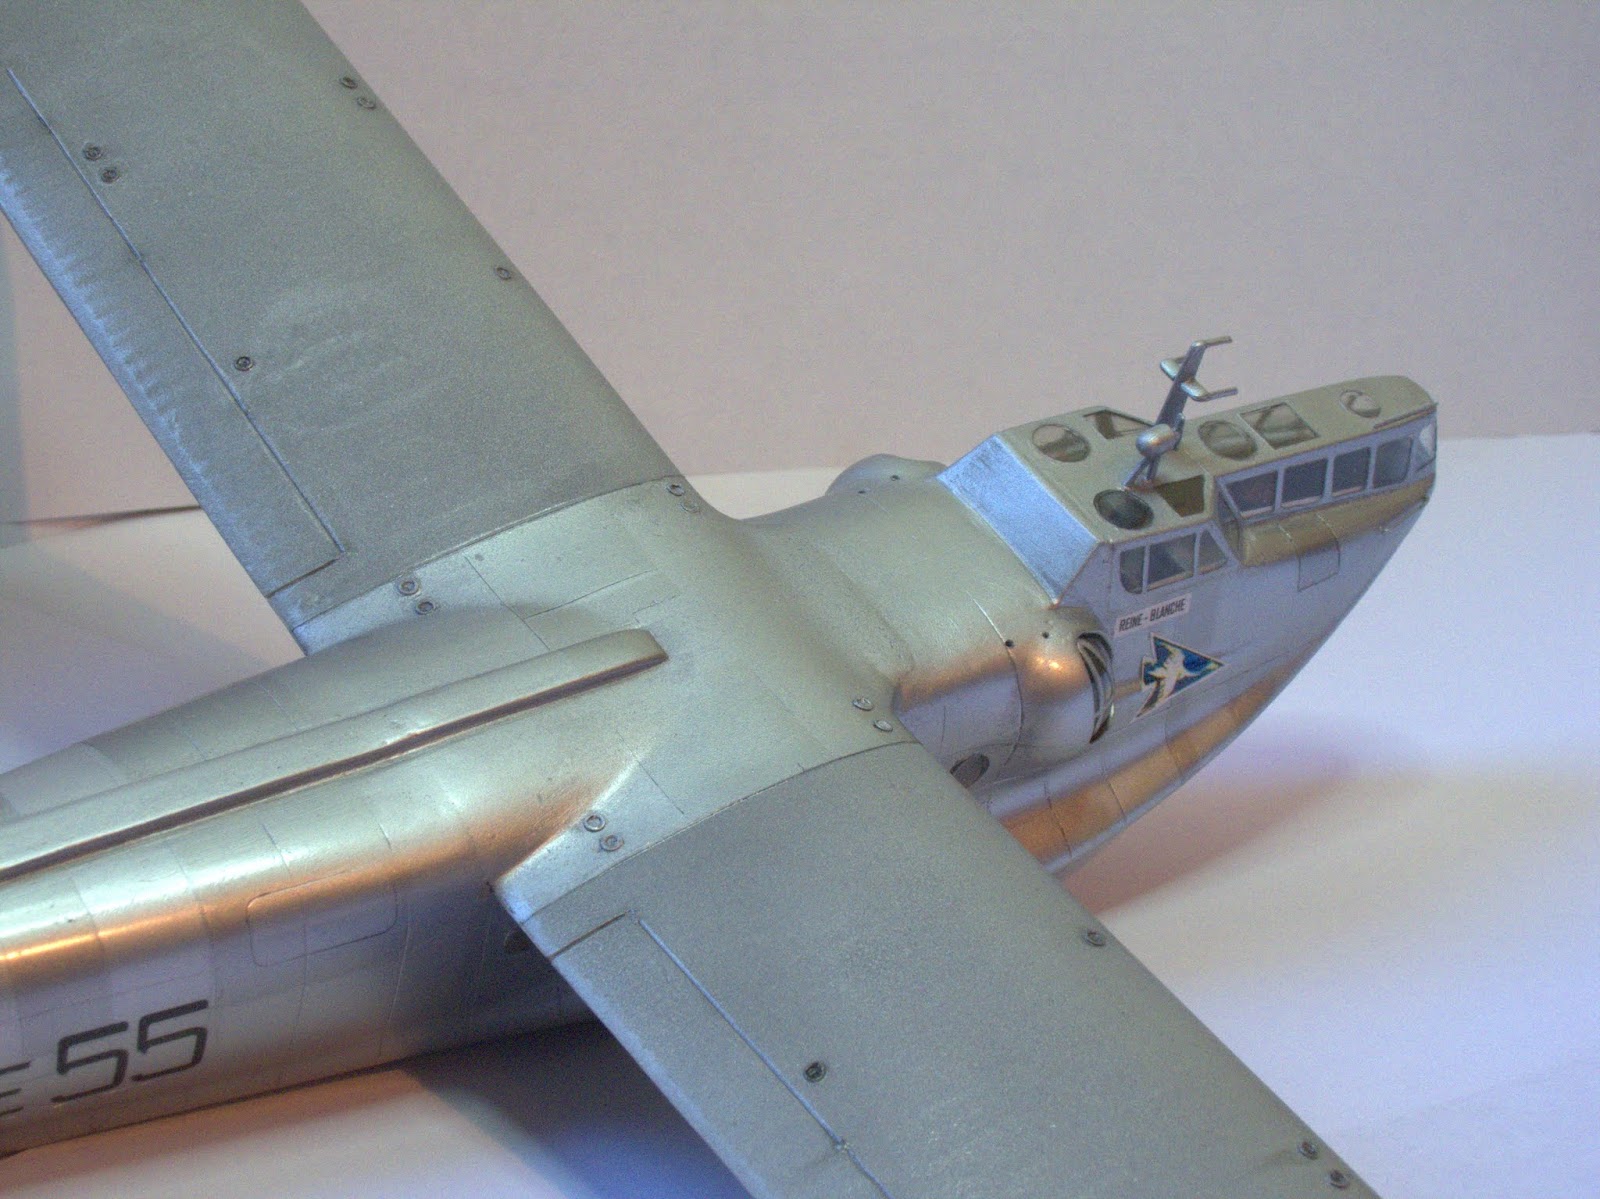
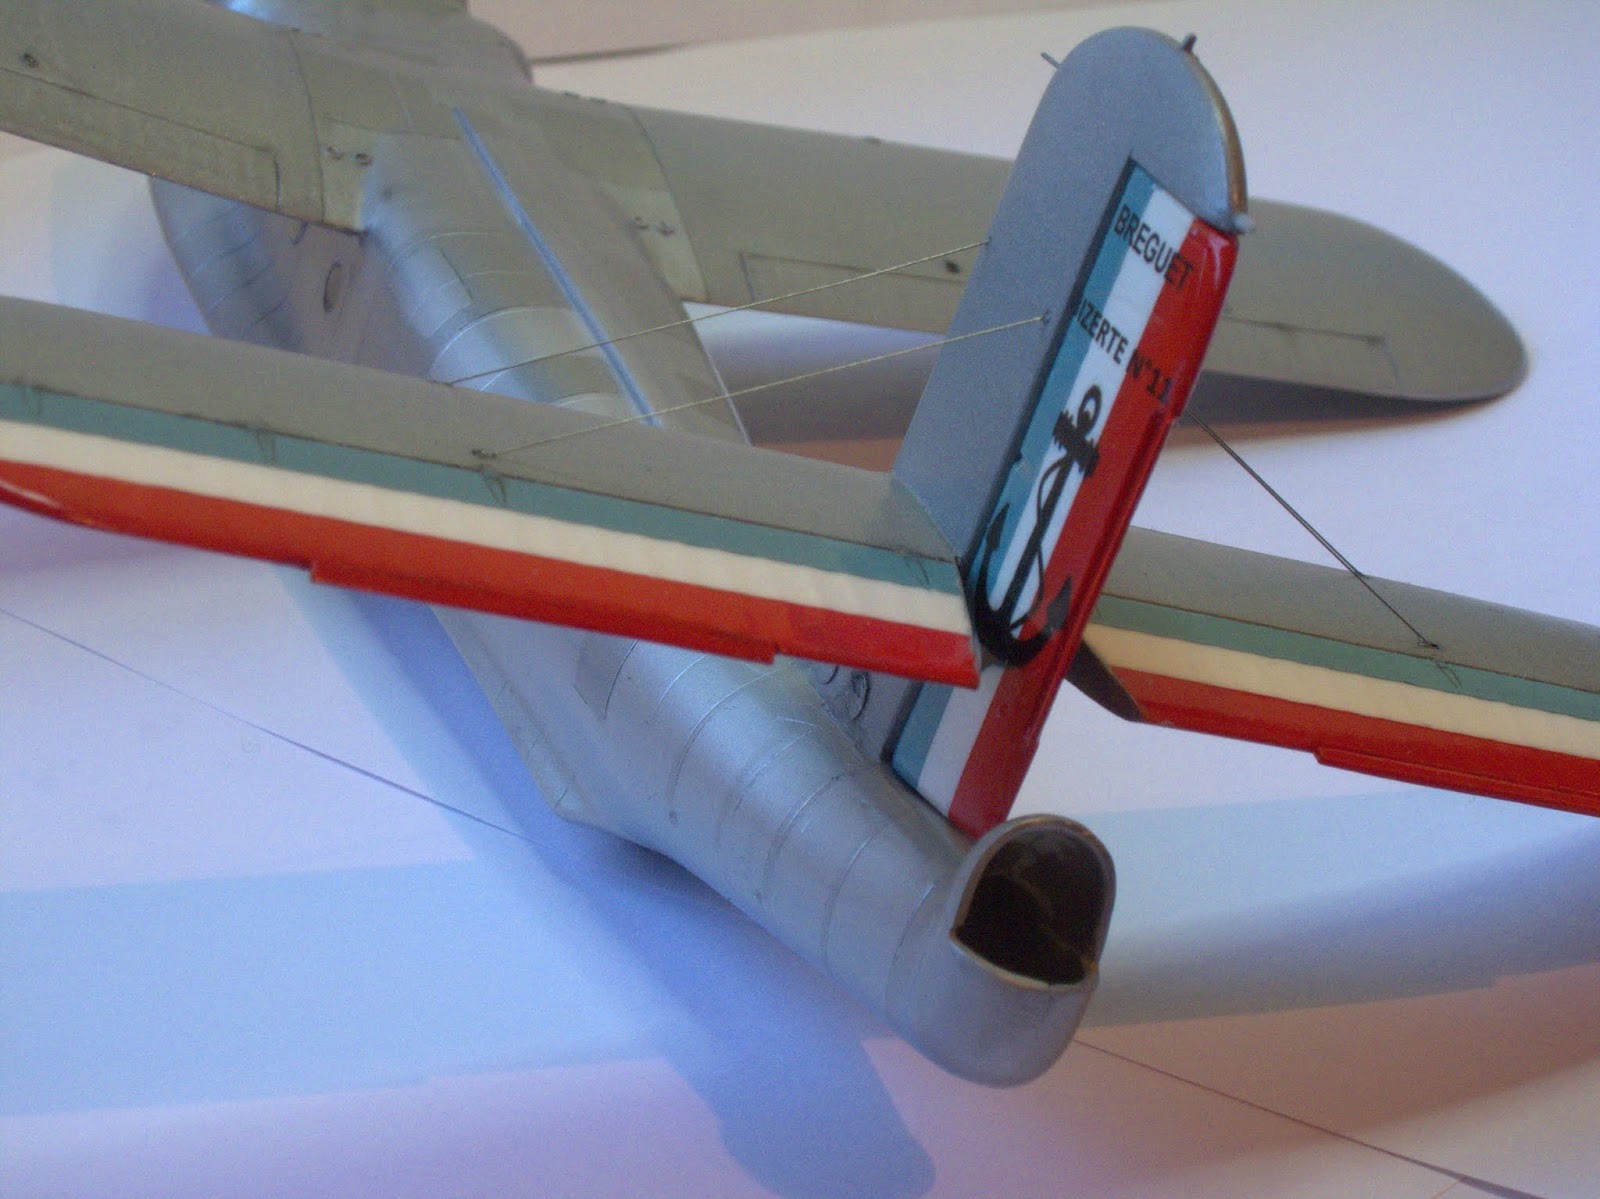
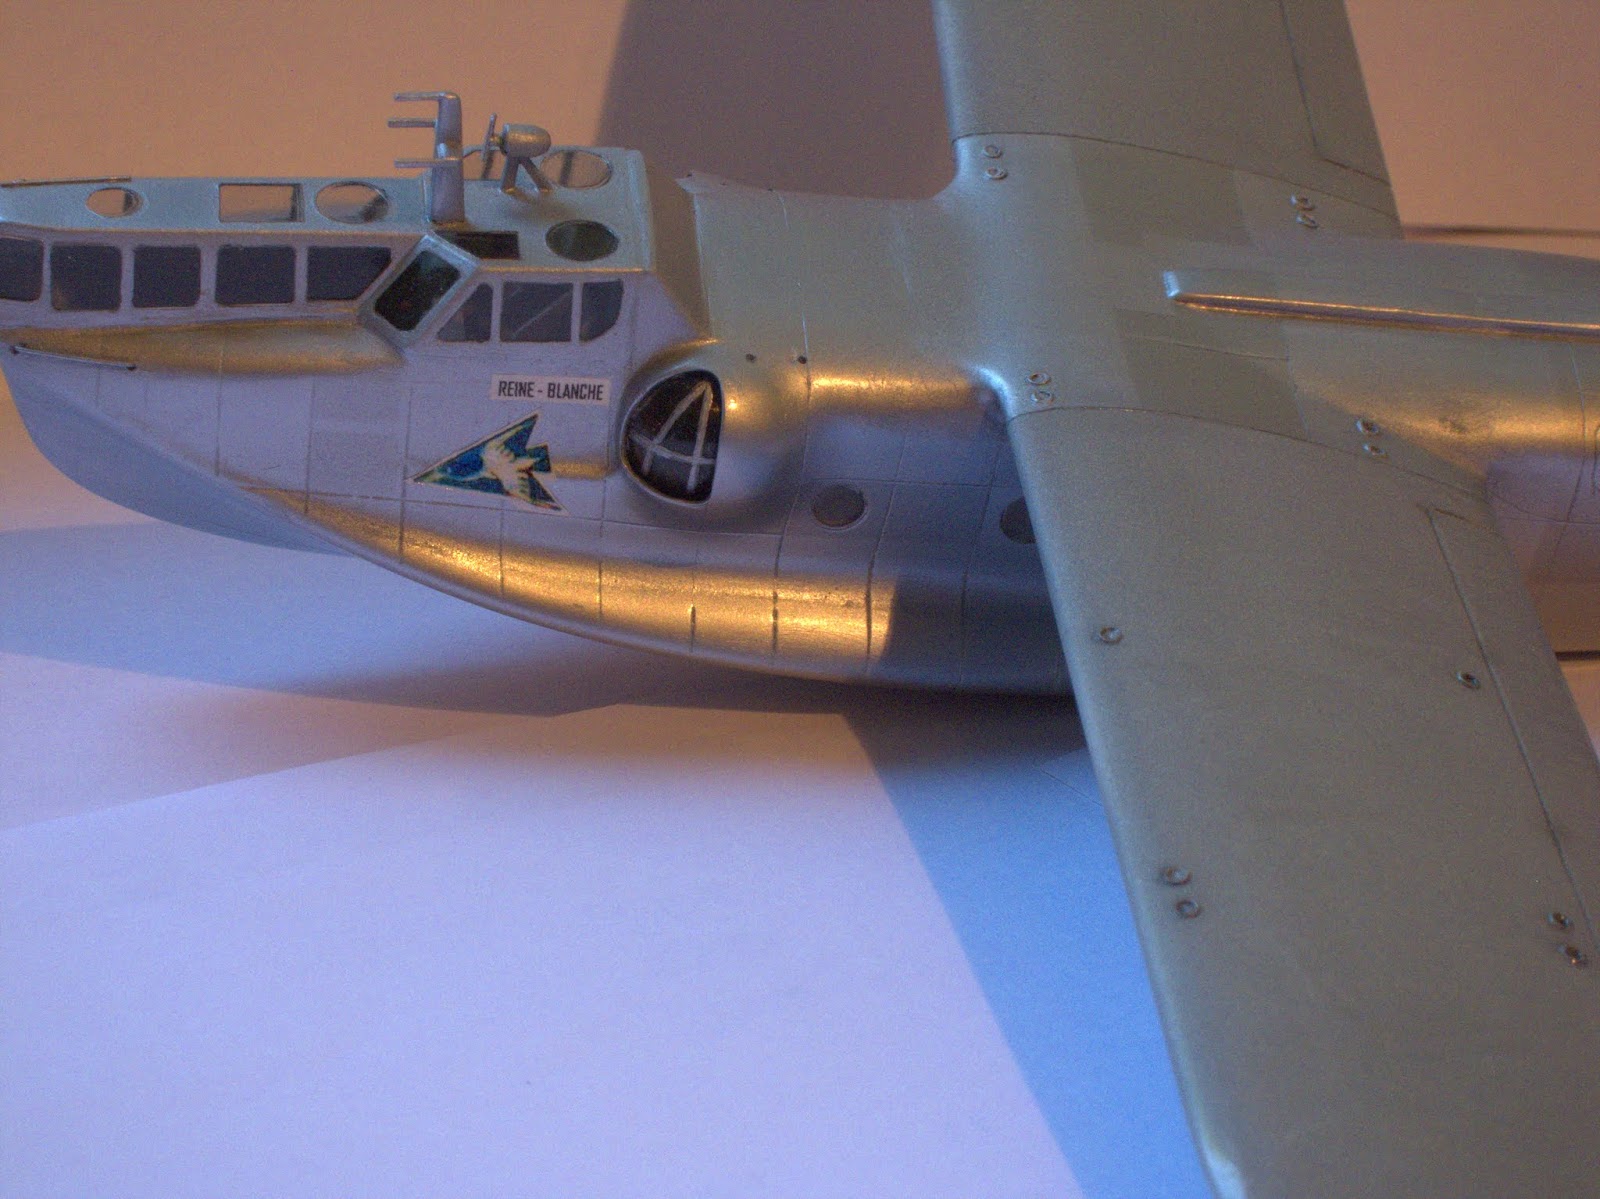
One of the challenge is to build your own decals...a lot of work but the result is very good. This particular plane "E55" was named "Reine Blanche" and Saint Google helps me to find a badge representing the escadrille 5E cocarde and I could used it as a base.
 
I used Alclad aluminium ALC101 and duraluminium ALC102 in the fuselage; fabric parts was painted with Humbrol 56 (80%) and 11(20%). The model looks fine after sealing with gloss varnish.

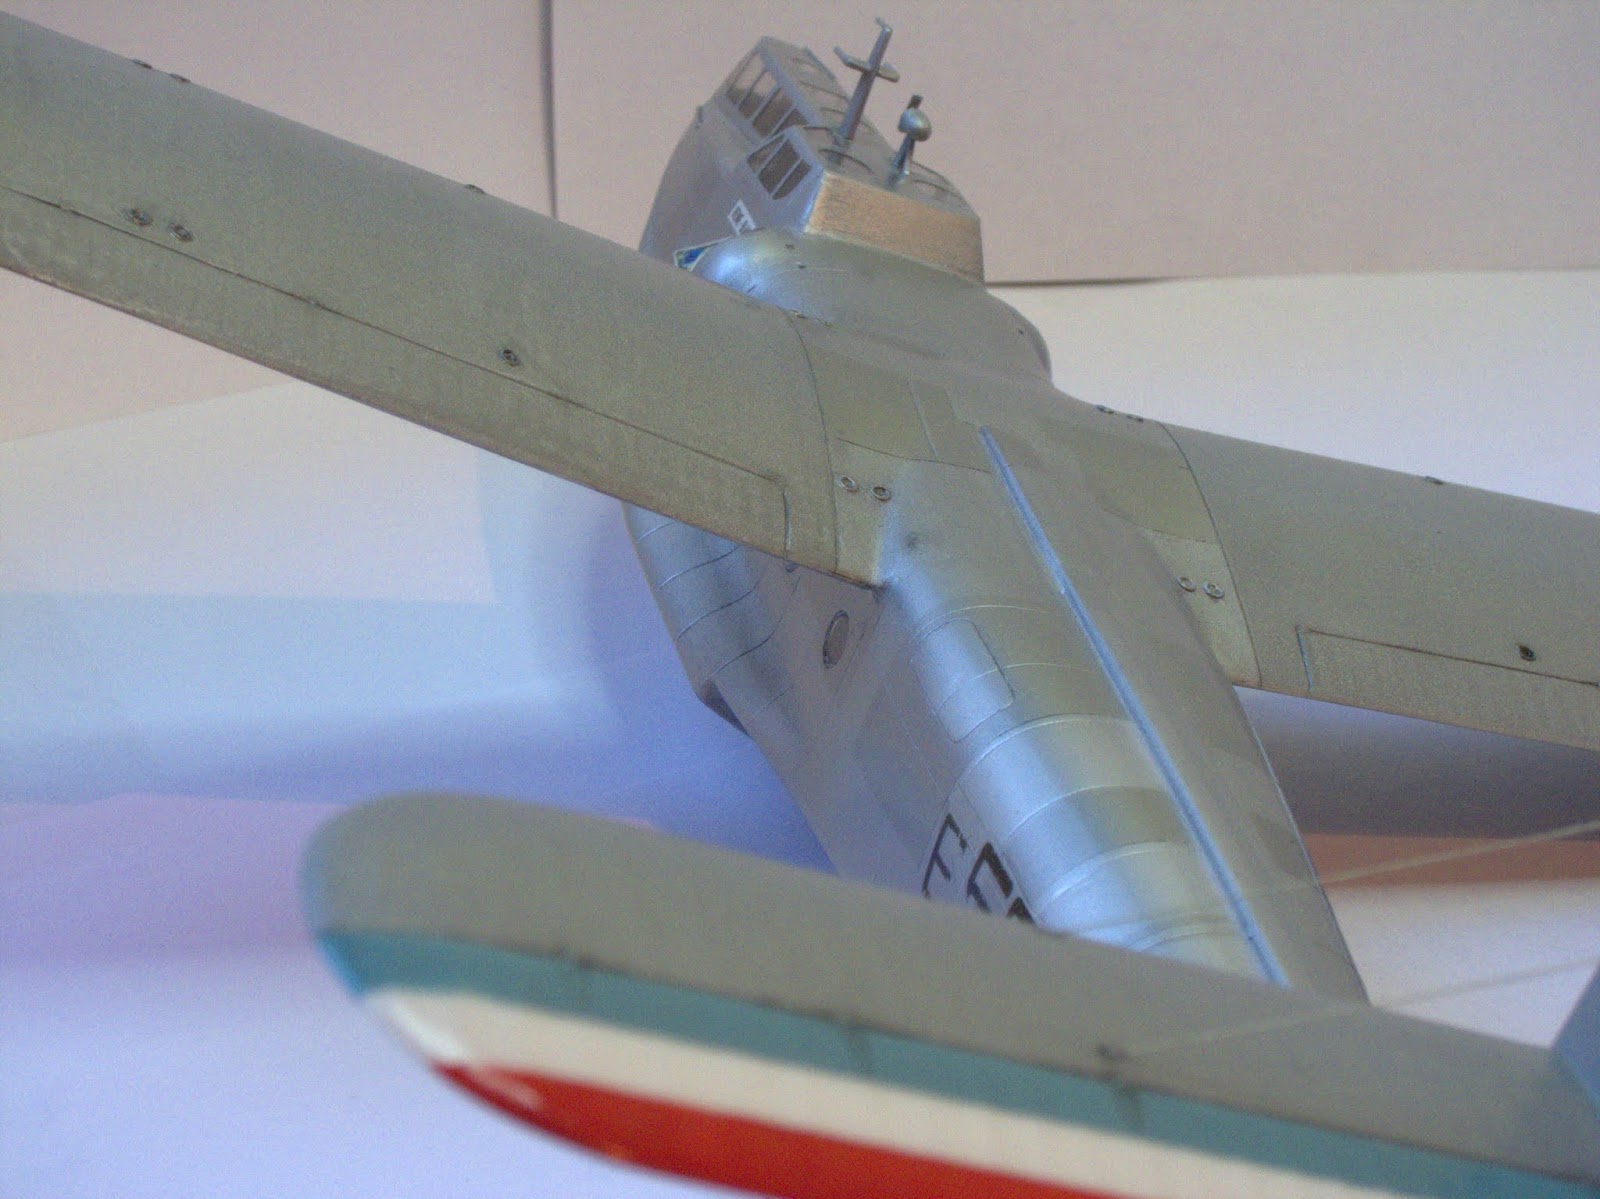
Join the wing with the fuselage needs a lot of filler and a good amount of patience with sanding to secure a good finish after paint.


Cut the large and soft greenhouse from the mold needs determination, good pulse and "cold blood". Put over the fuselage and solve the problem of get a decent join, consumes many hours of testing.


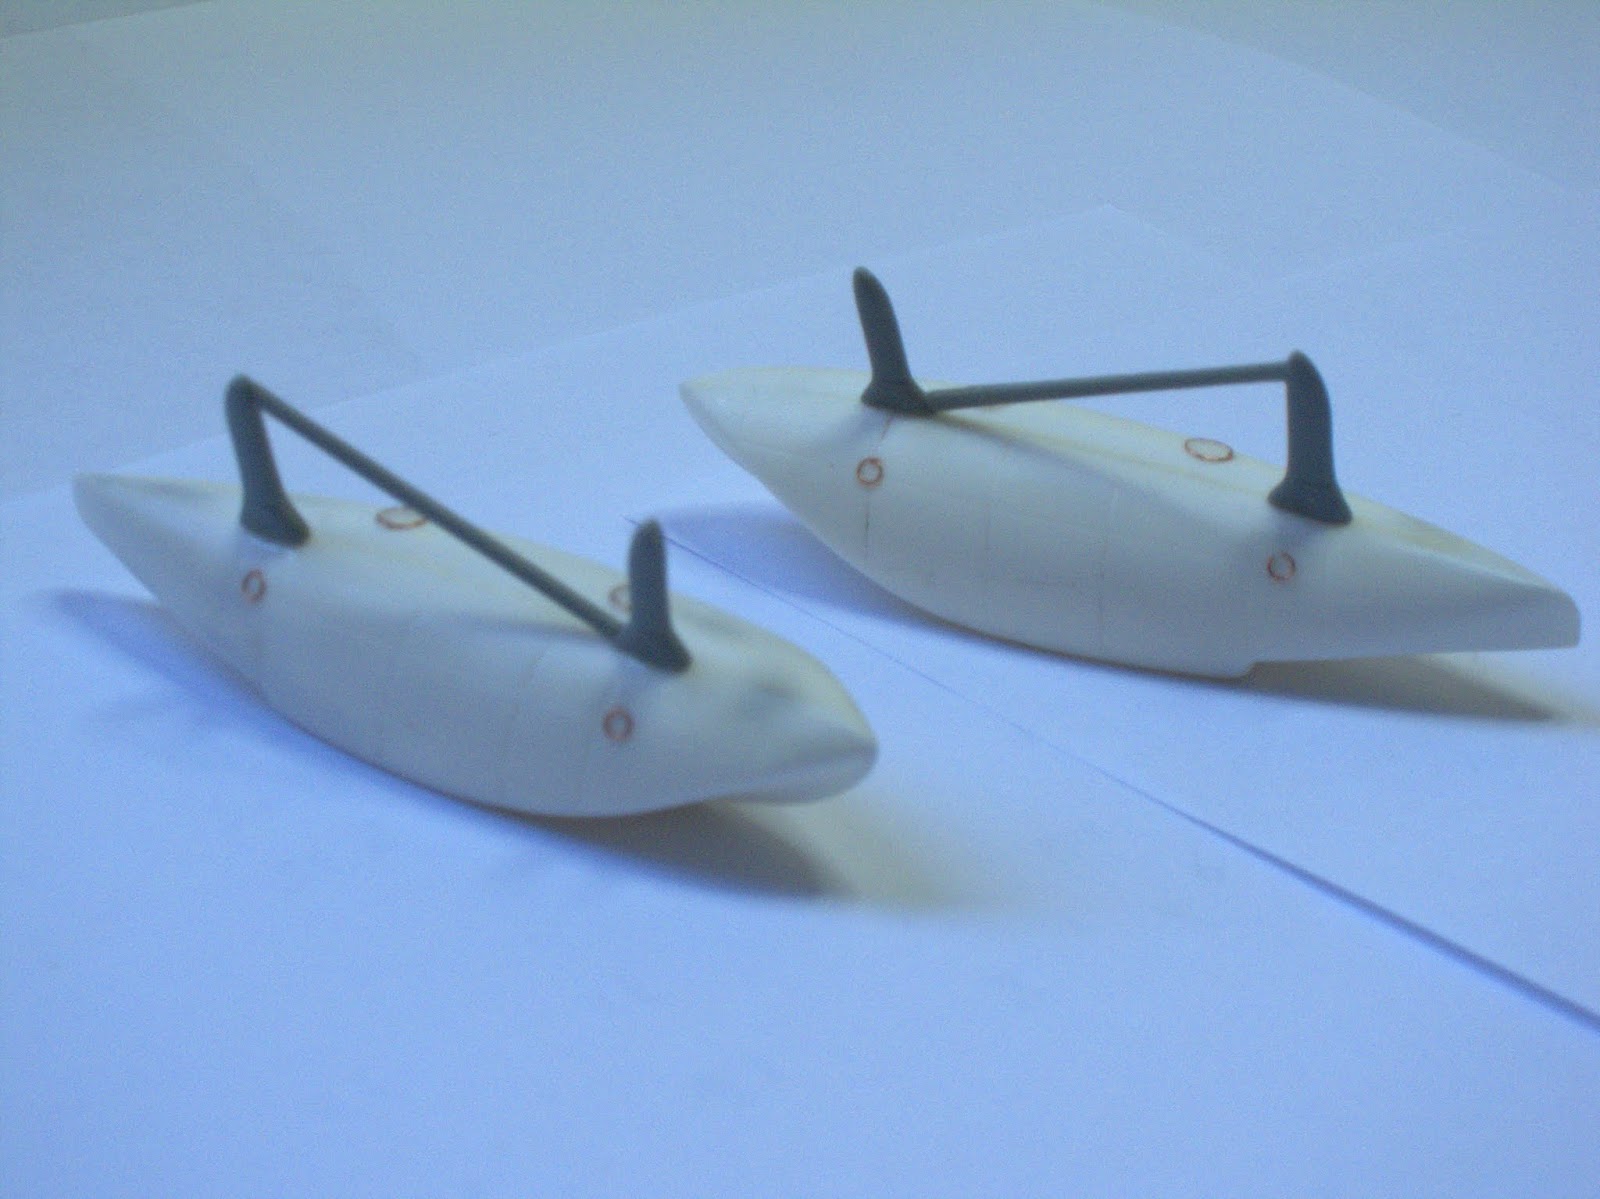
 My next challenge is to mount the pontoons...from now, follow the tedious task of thinning the many thick struts. I suspect they are short...if so, I'll have to build from scratch.

Part II already published...