Start quitting the dust from the tools, paint cans and retake my Breguet Bizerte project...the main task was take precise measures of the engines position, the proper length and position of the longerons. Follows a lot of work straightening the curly stringers, some of them cutting in 3 pieces and rejoin together, lot and lot of cyanoacrylate and putting to rebuilding them, with a very acceptable result.
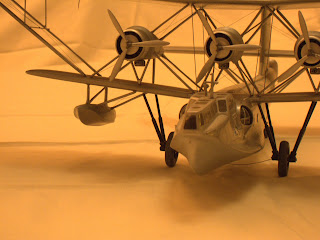
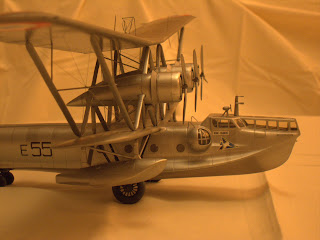
The undercarriage legs has no solution...you must build a new ones with fine tubes from RC stock. This is a little project in its own merit...the result is outstanding:
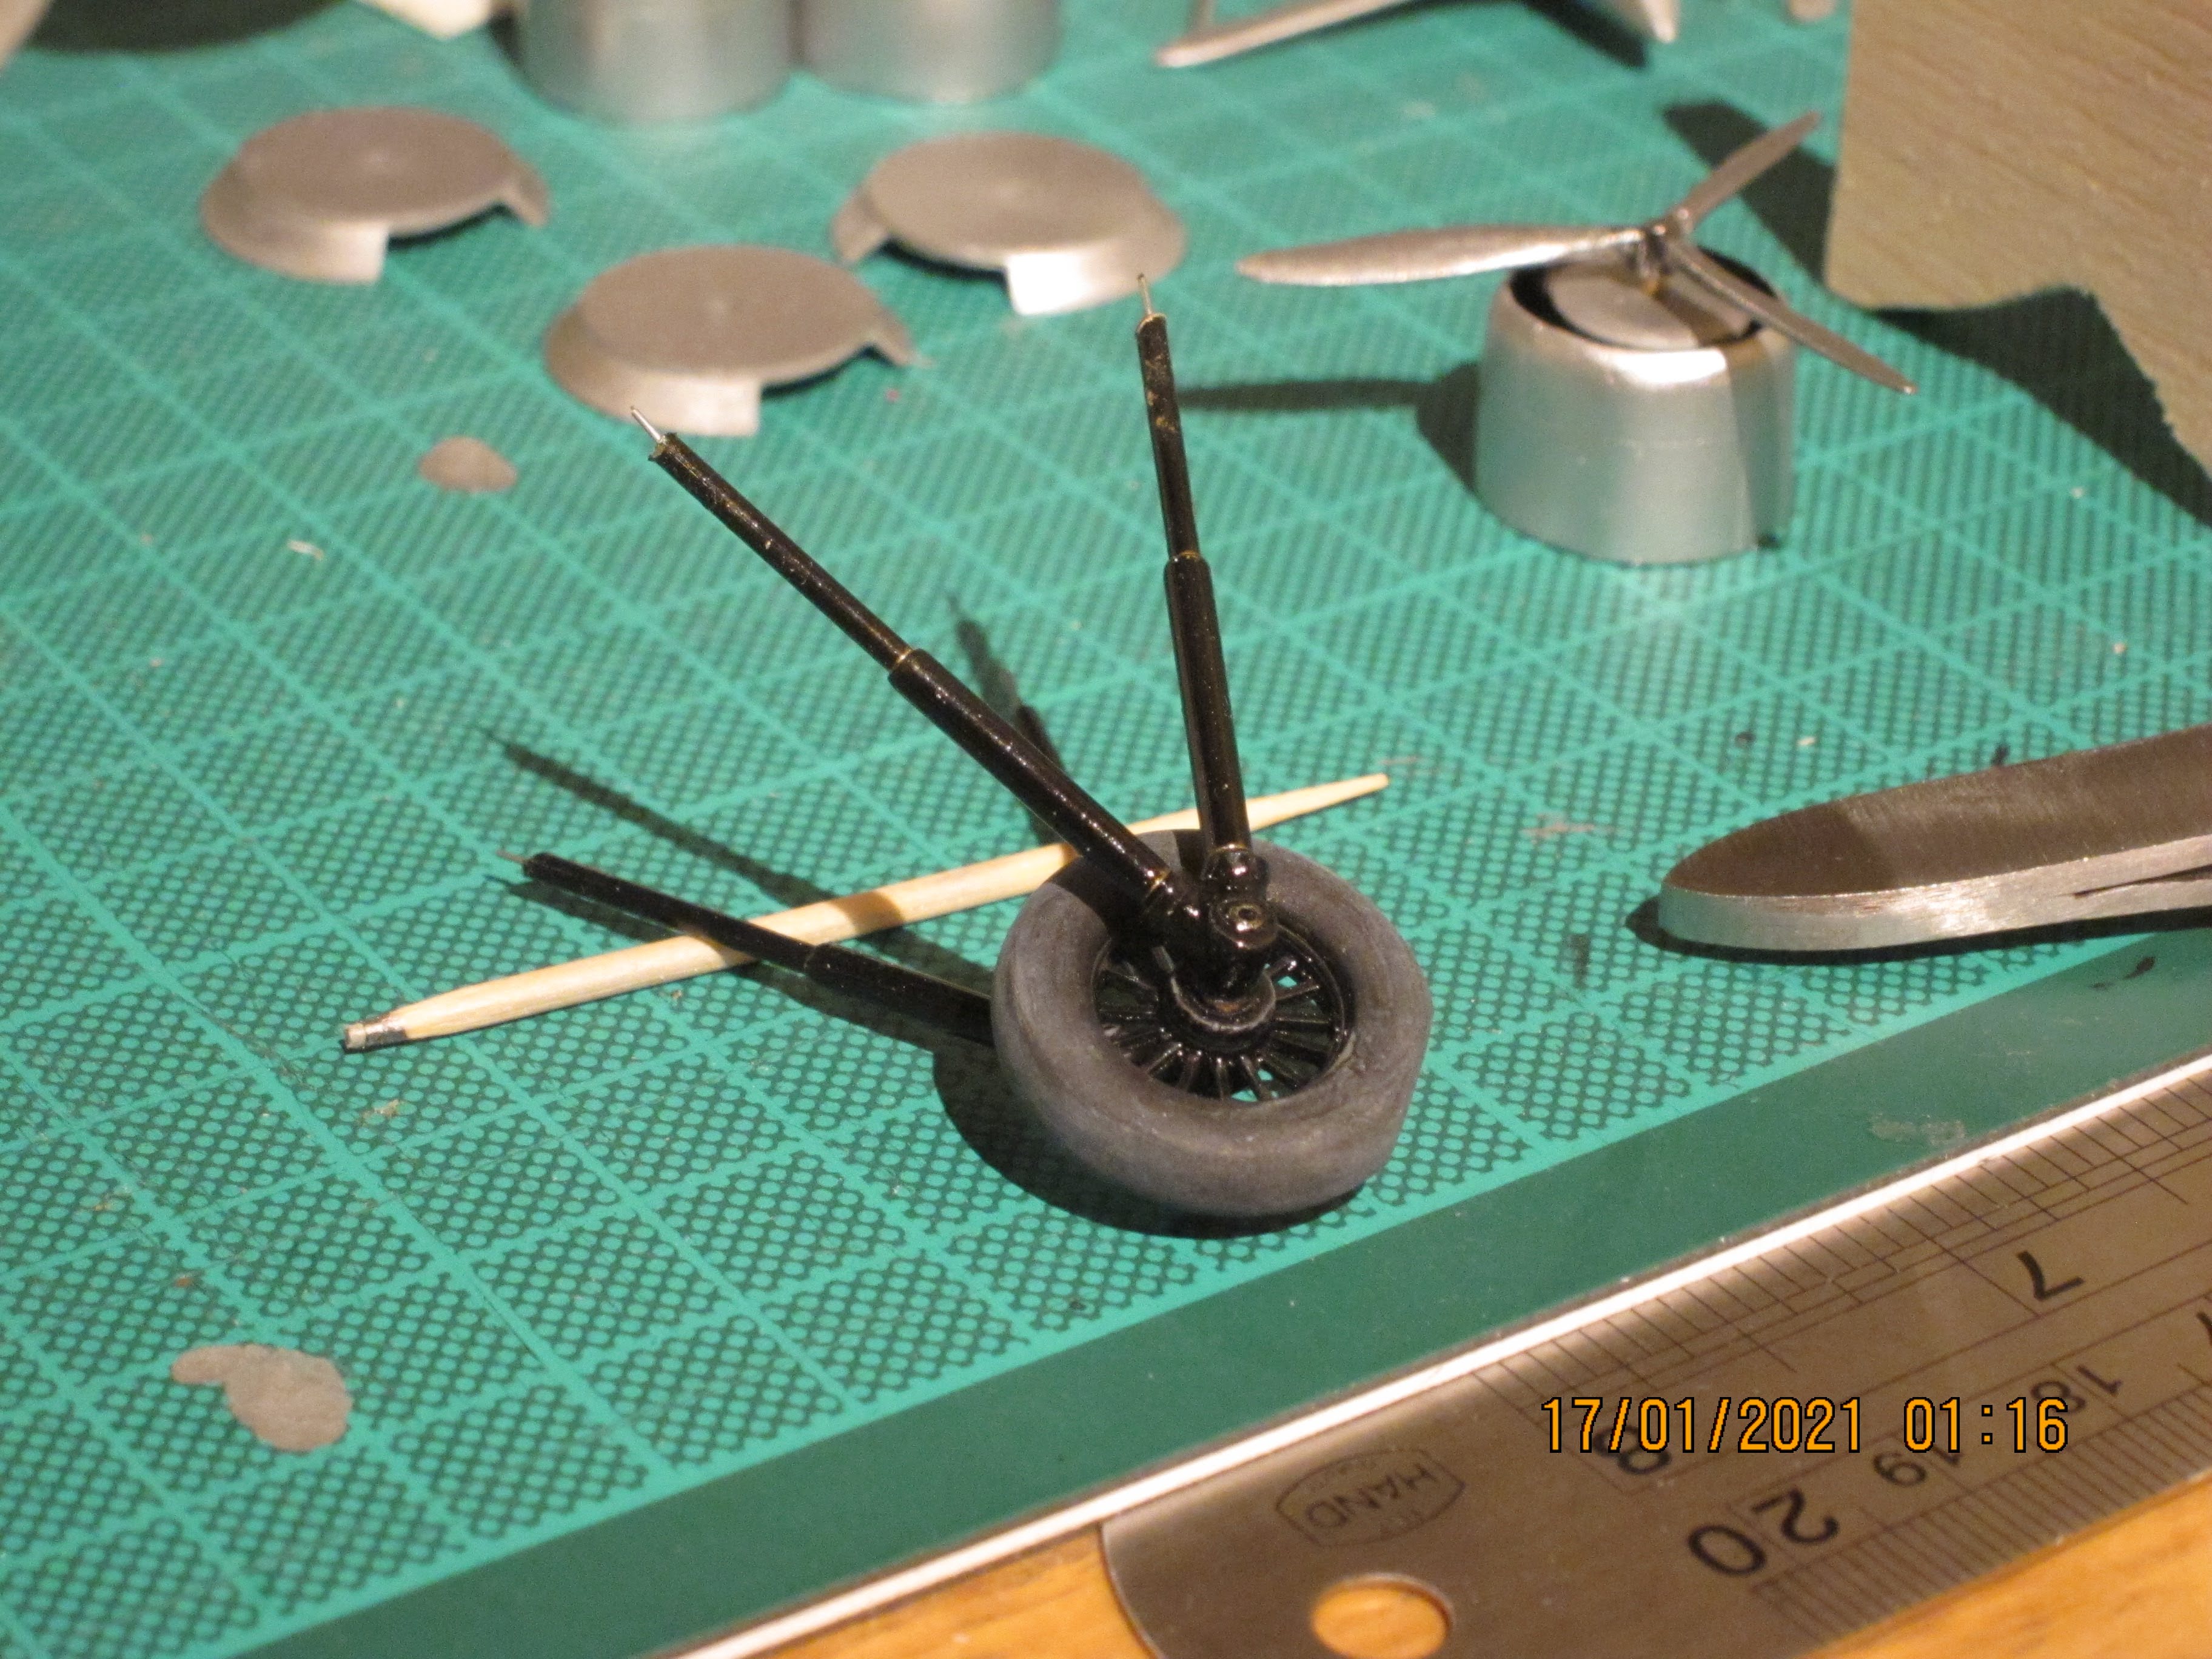
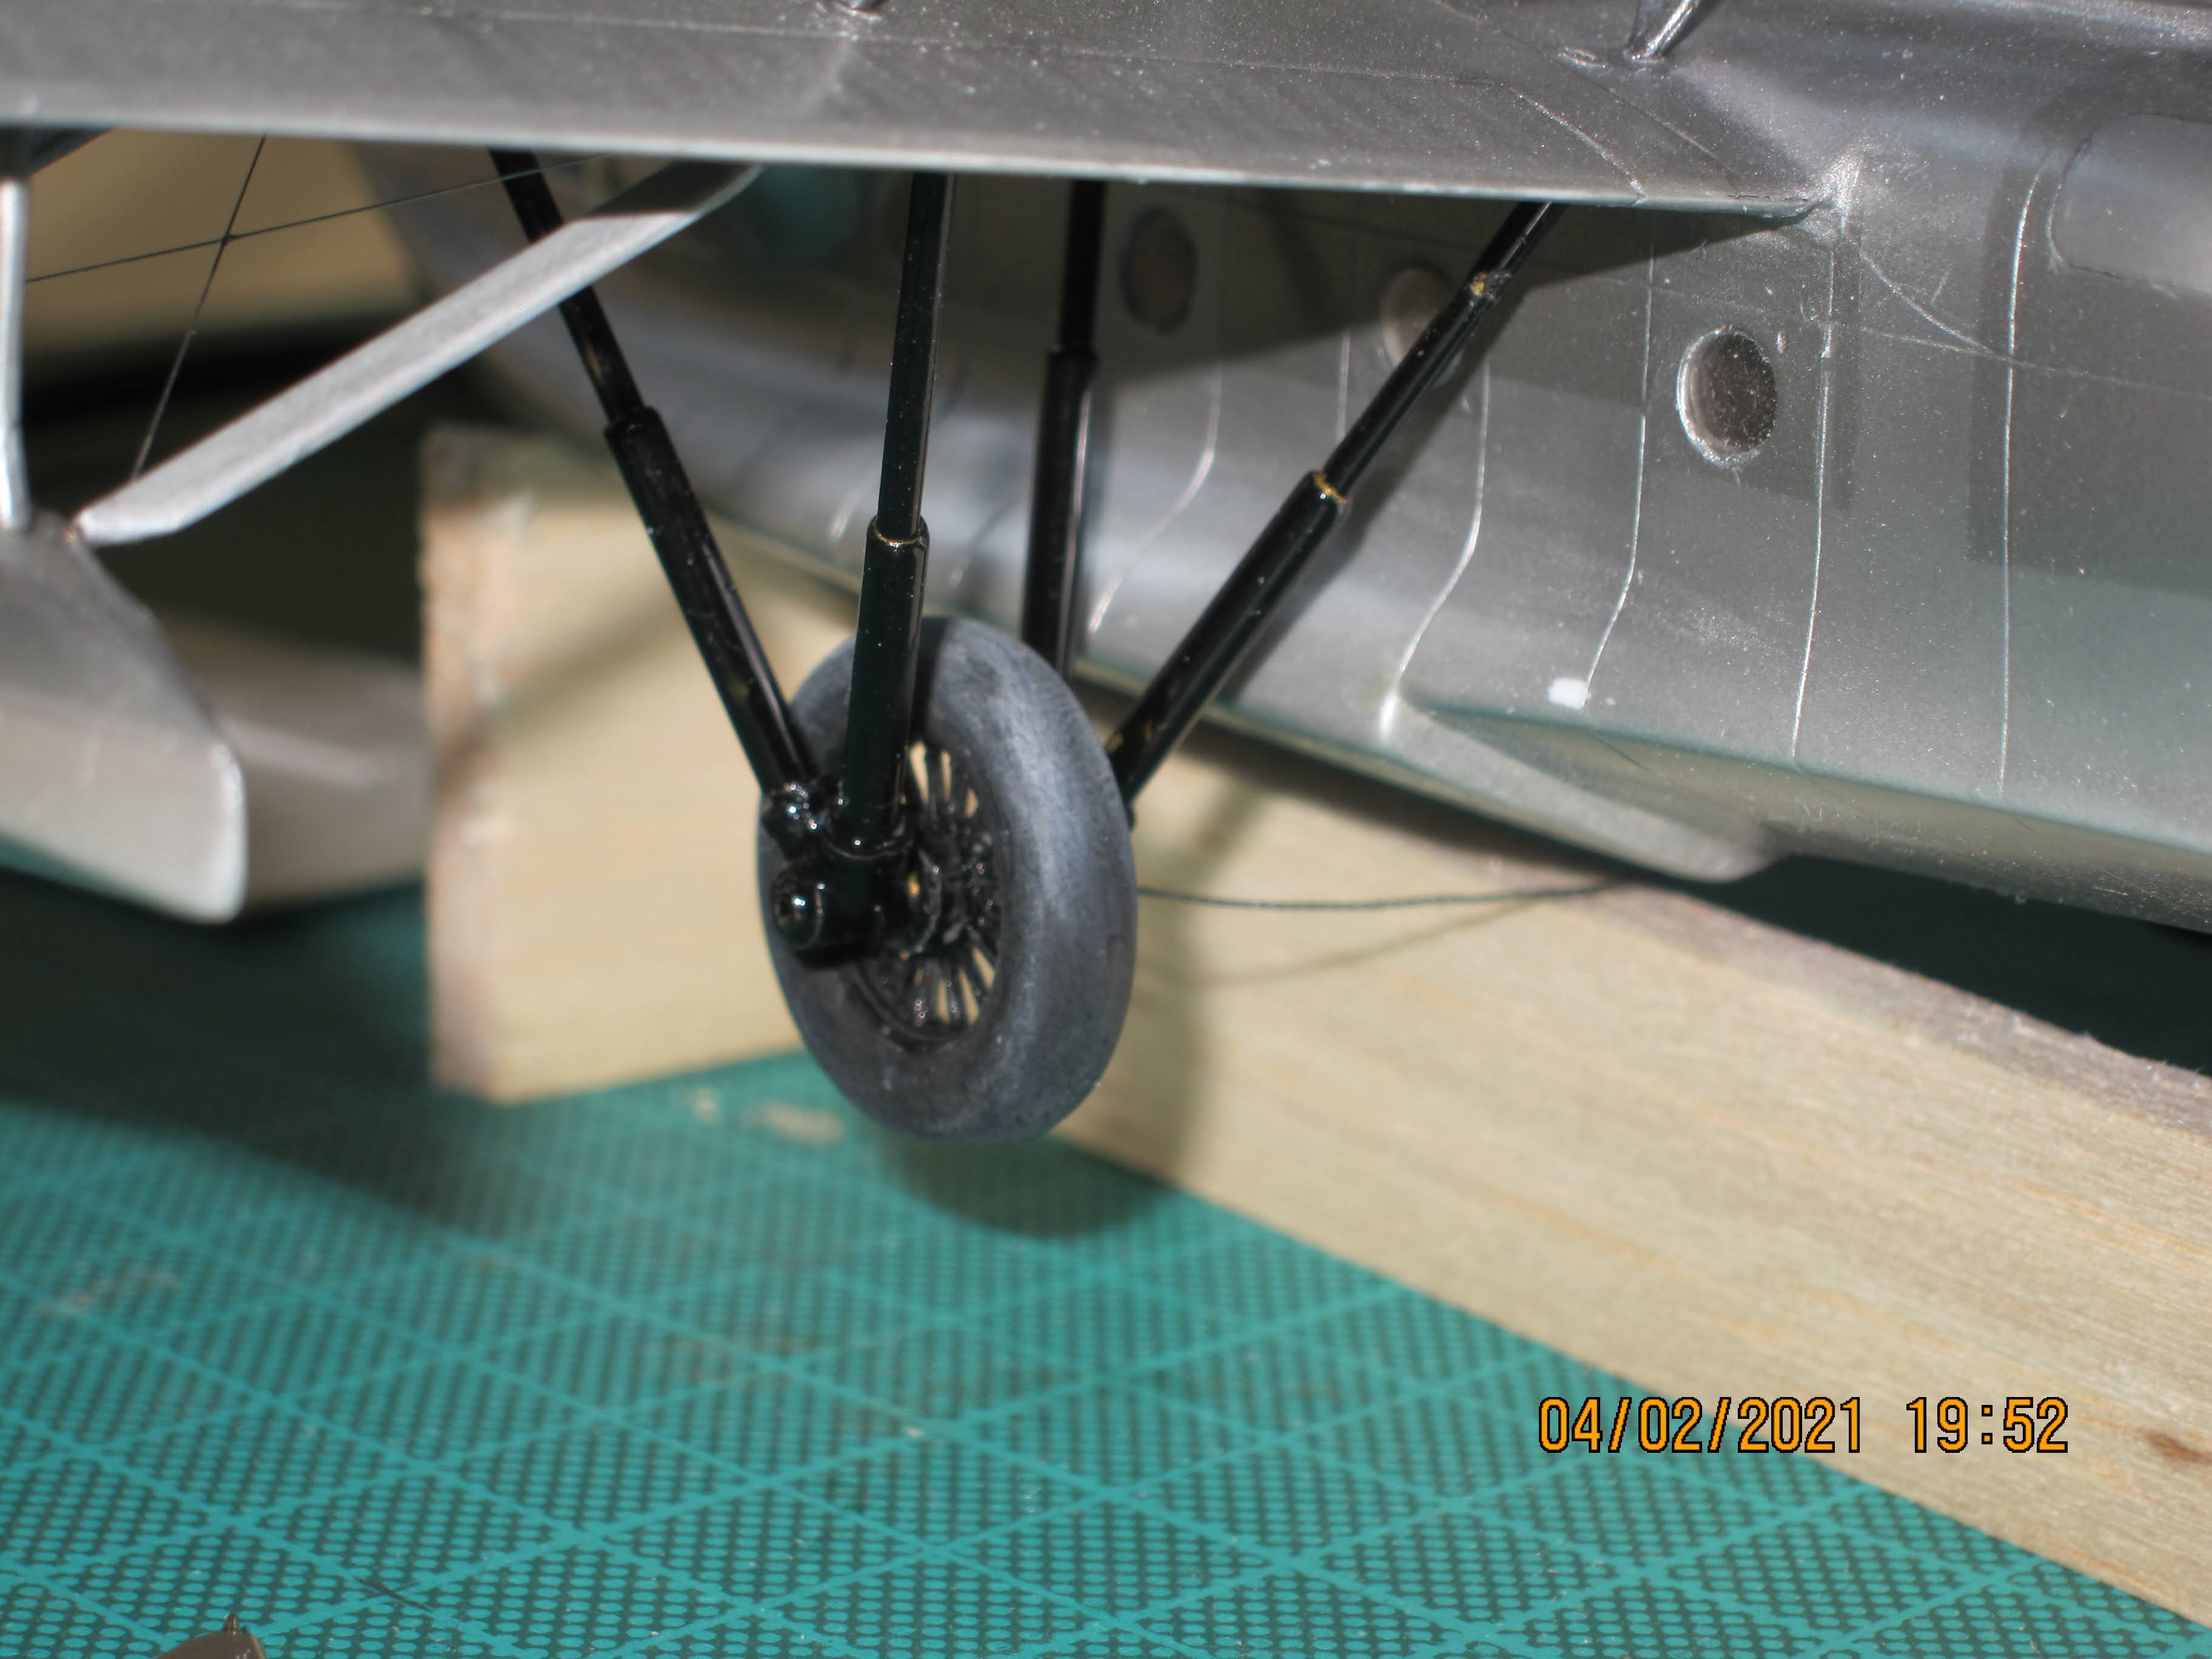
Take in account that the outside legs are a bit larger than the inside ones.
The gloss black of the frames looks great and contrasting well with the pneumatic color (mate black over painted with white chalk dust direct from finger).
A special care was to assemble the undercarriage assuring a free wheel...this is important because you not know what is the correct position of the sanded part of the wheels respect of the legs when the completed project was ready.
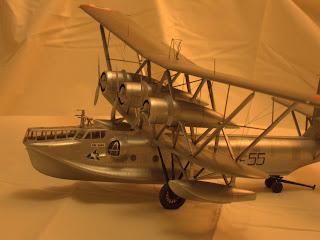
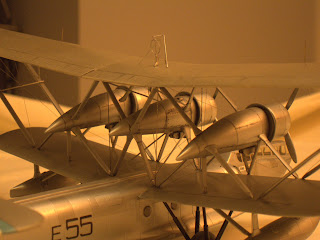
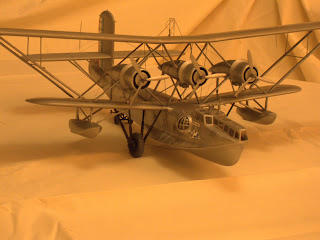
The engines are very odd looking, but doesn't care if you want to put the water protector disks in front of the cowlings like my choose. Be careful, the cowling front are not properly rounded nor aligned...you will notice that when put the discs on position.
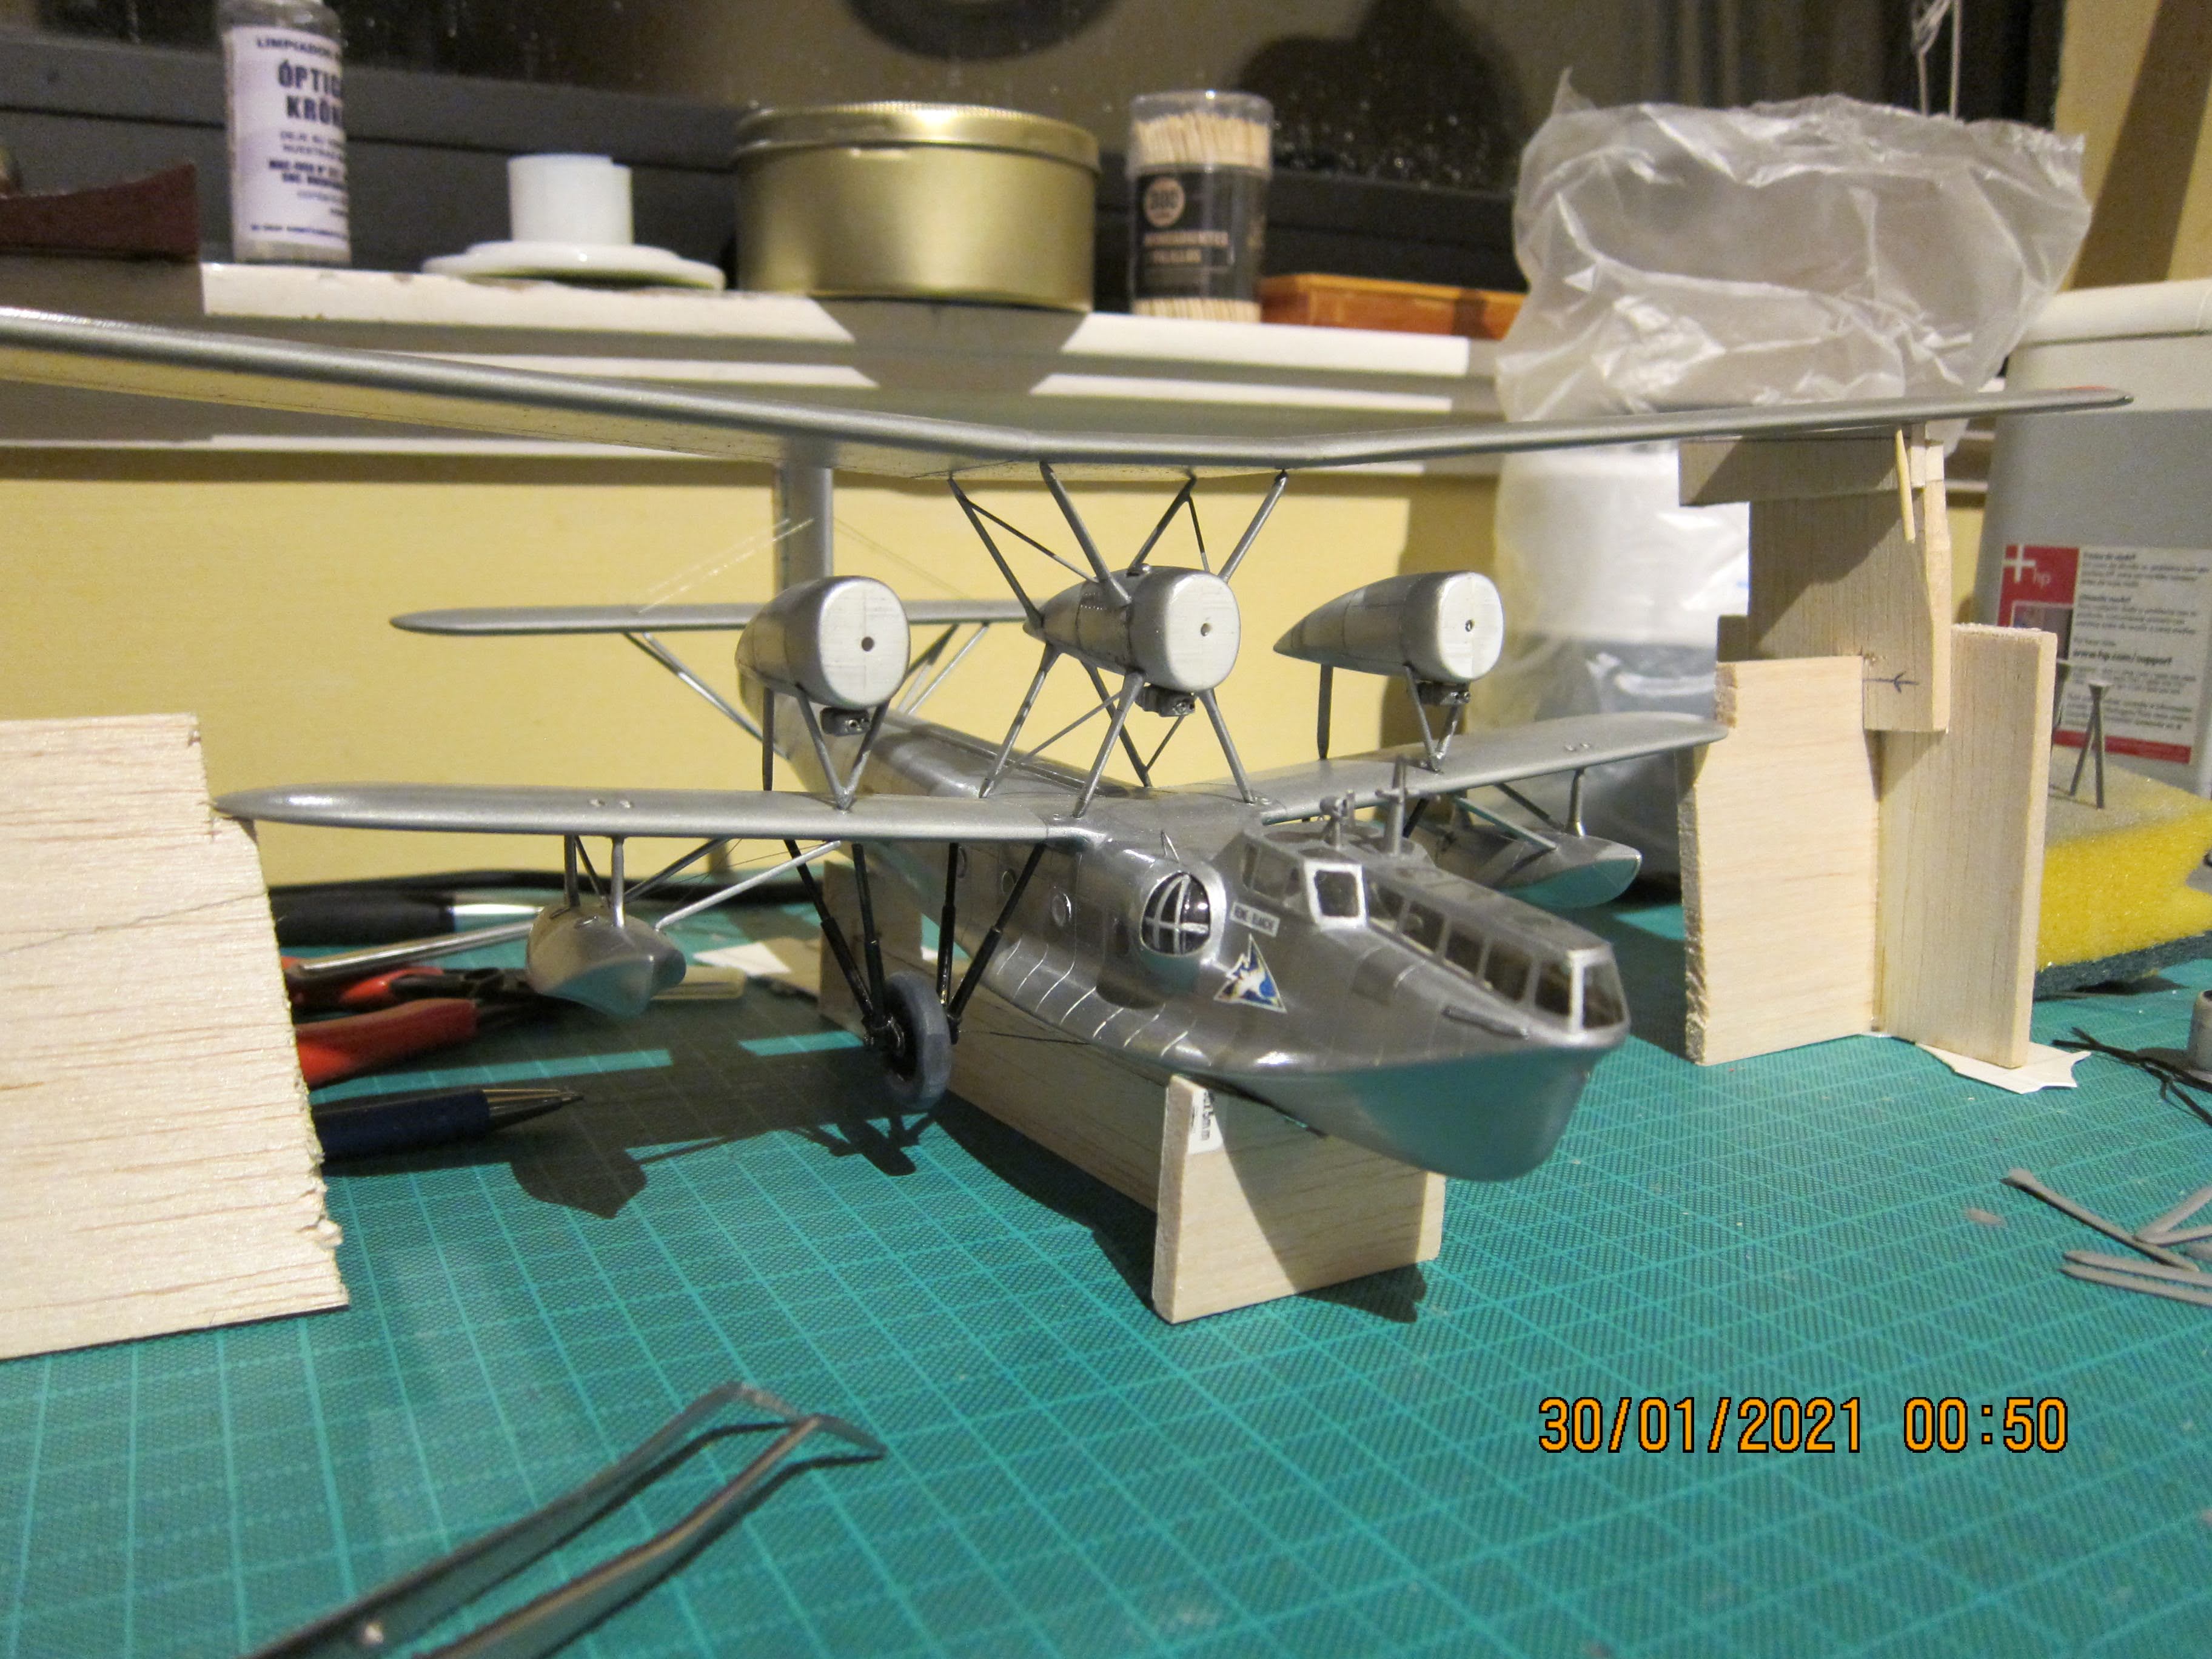
Assemble the upper wing is not really a hard task...of course, you need to assure the correct dihedral angle. Follow the blueprint and make two internal spars with large tubes, glued with the central part of the wing. Insert the external parts and fill the joins with putty. With a normal dose of patience, the result is great.
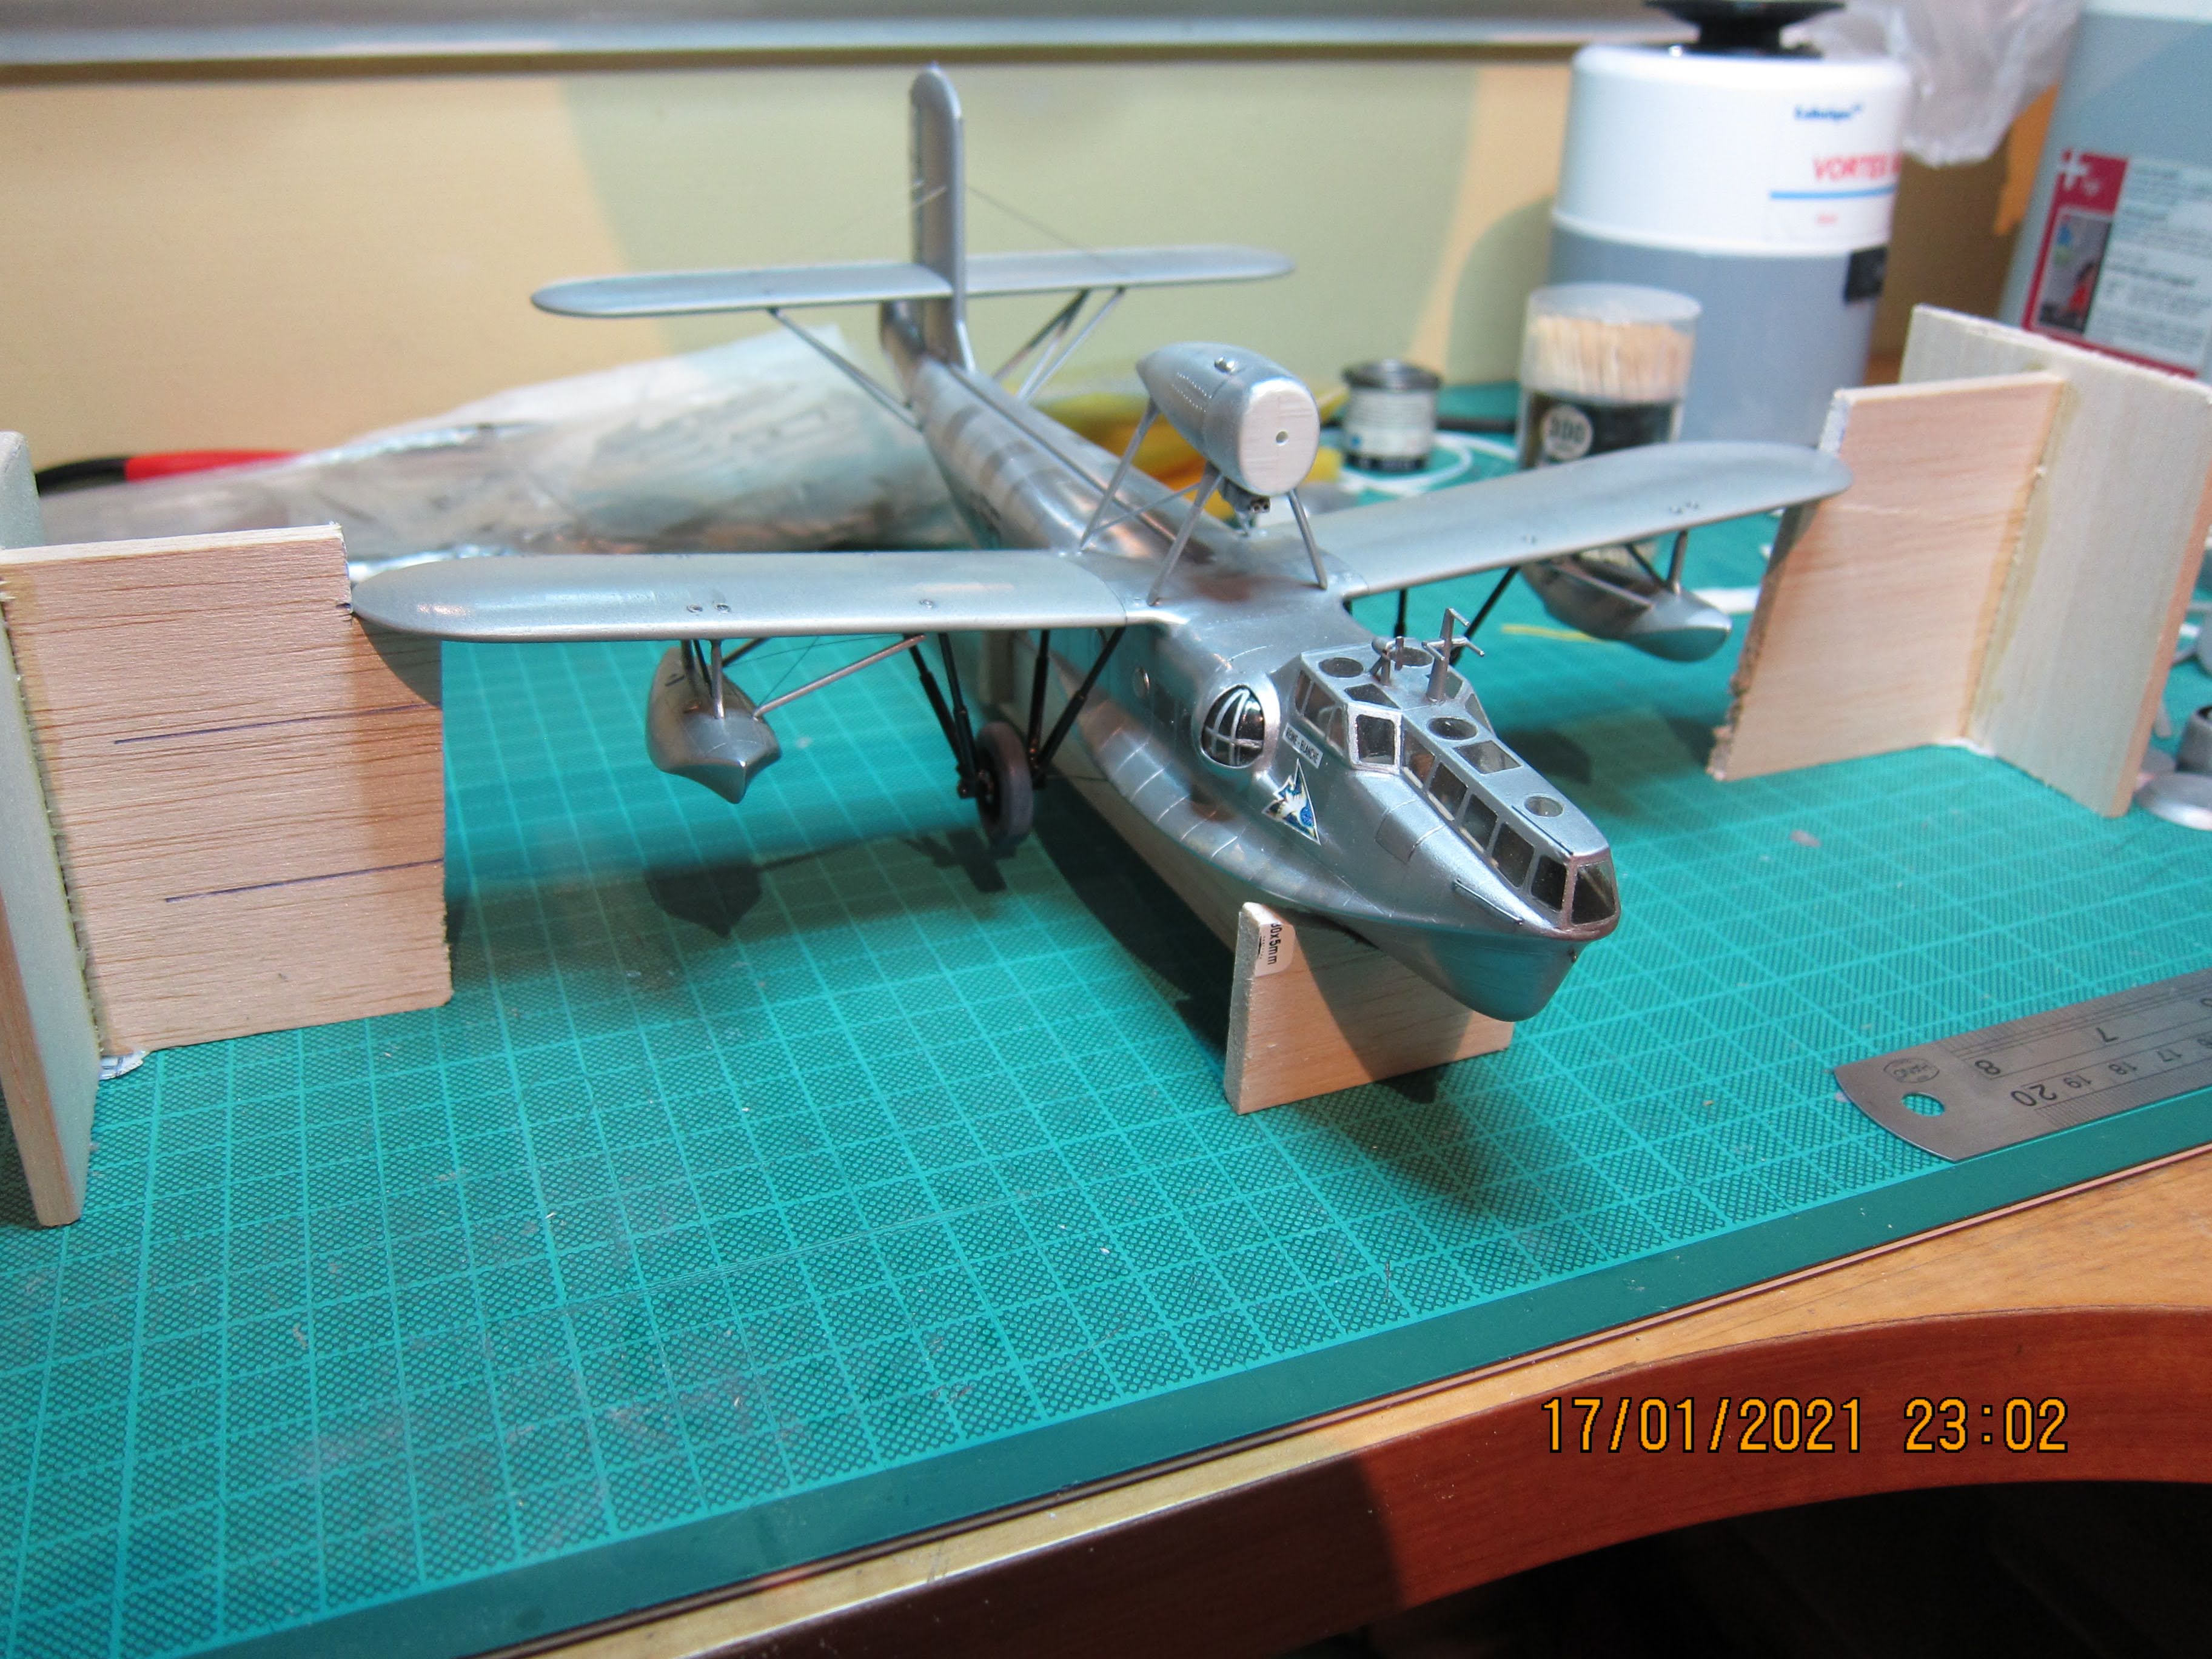
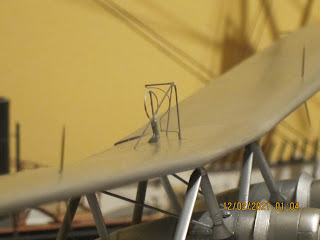
Ensuring the right position in the Y axe is a must. The jigs in the picture are ugly indeed but millimetricaly adjusted.
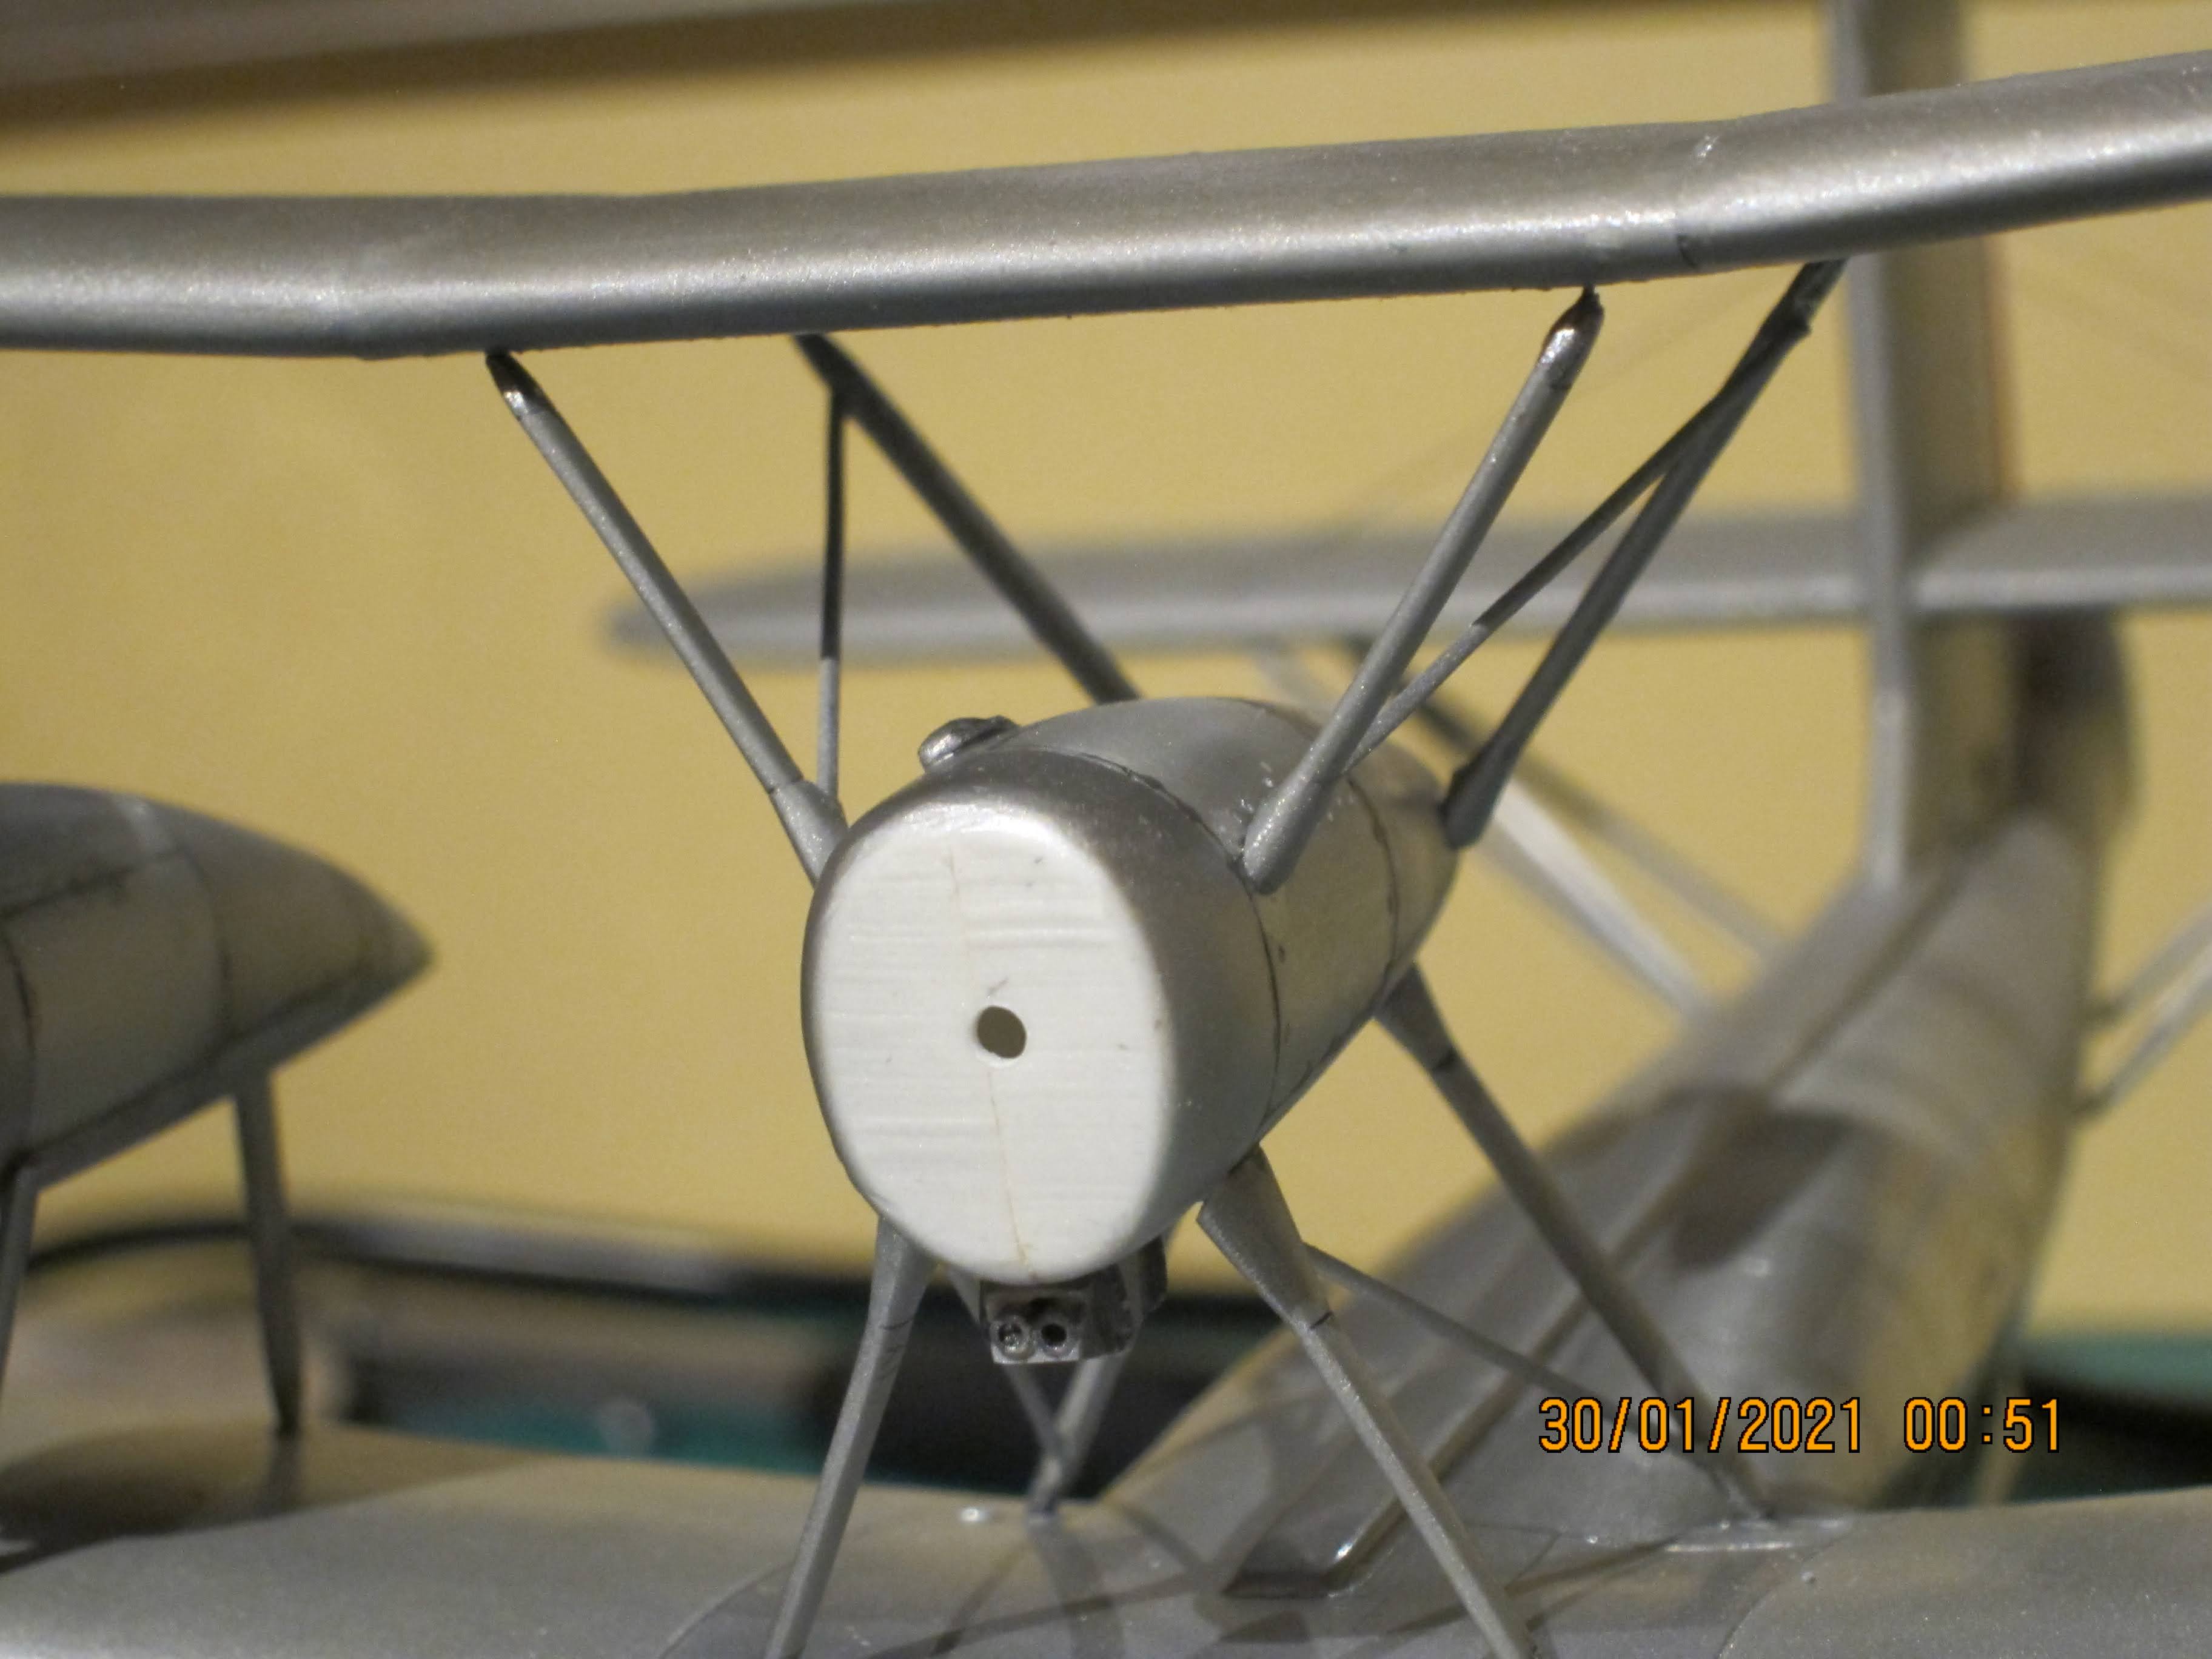
Rightly setting of the central engine is the supreme clue to warrant a descent night sleeping over the next weeks...you can see the light at the end of the tunnel.

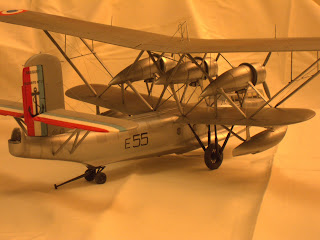
Next step is siting the other engines mountings on the short bottom stringers.
Then, follows a lot of stringers test and a bored period wasted in straight them (some are very curly).
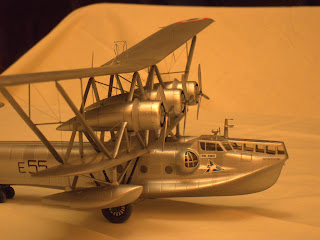
But, the effort is compensated with a very pleasant development of the project.
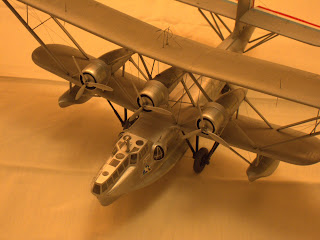
Finally, the last difficult is the rigging because the space to work on it is scant.
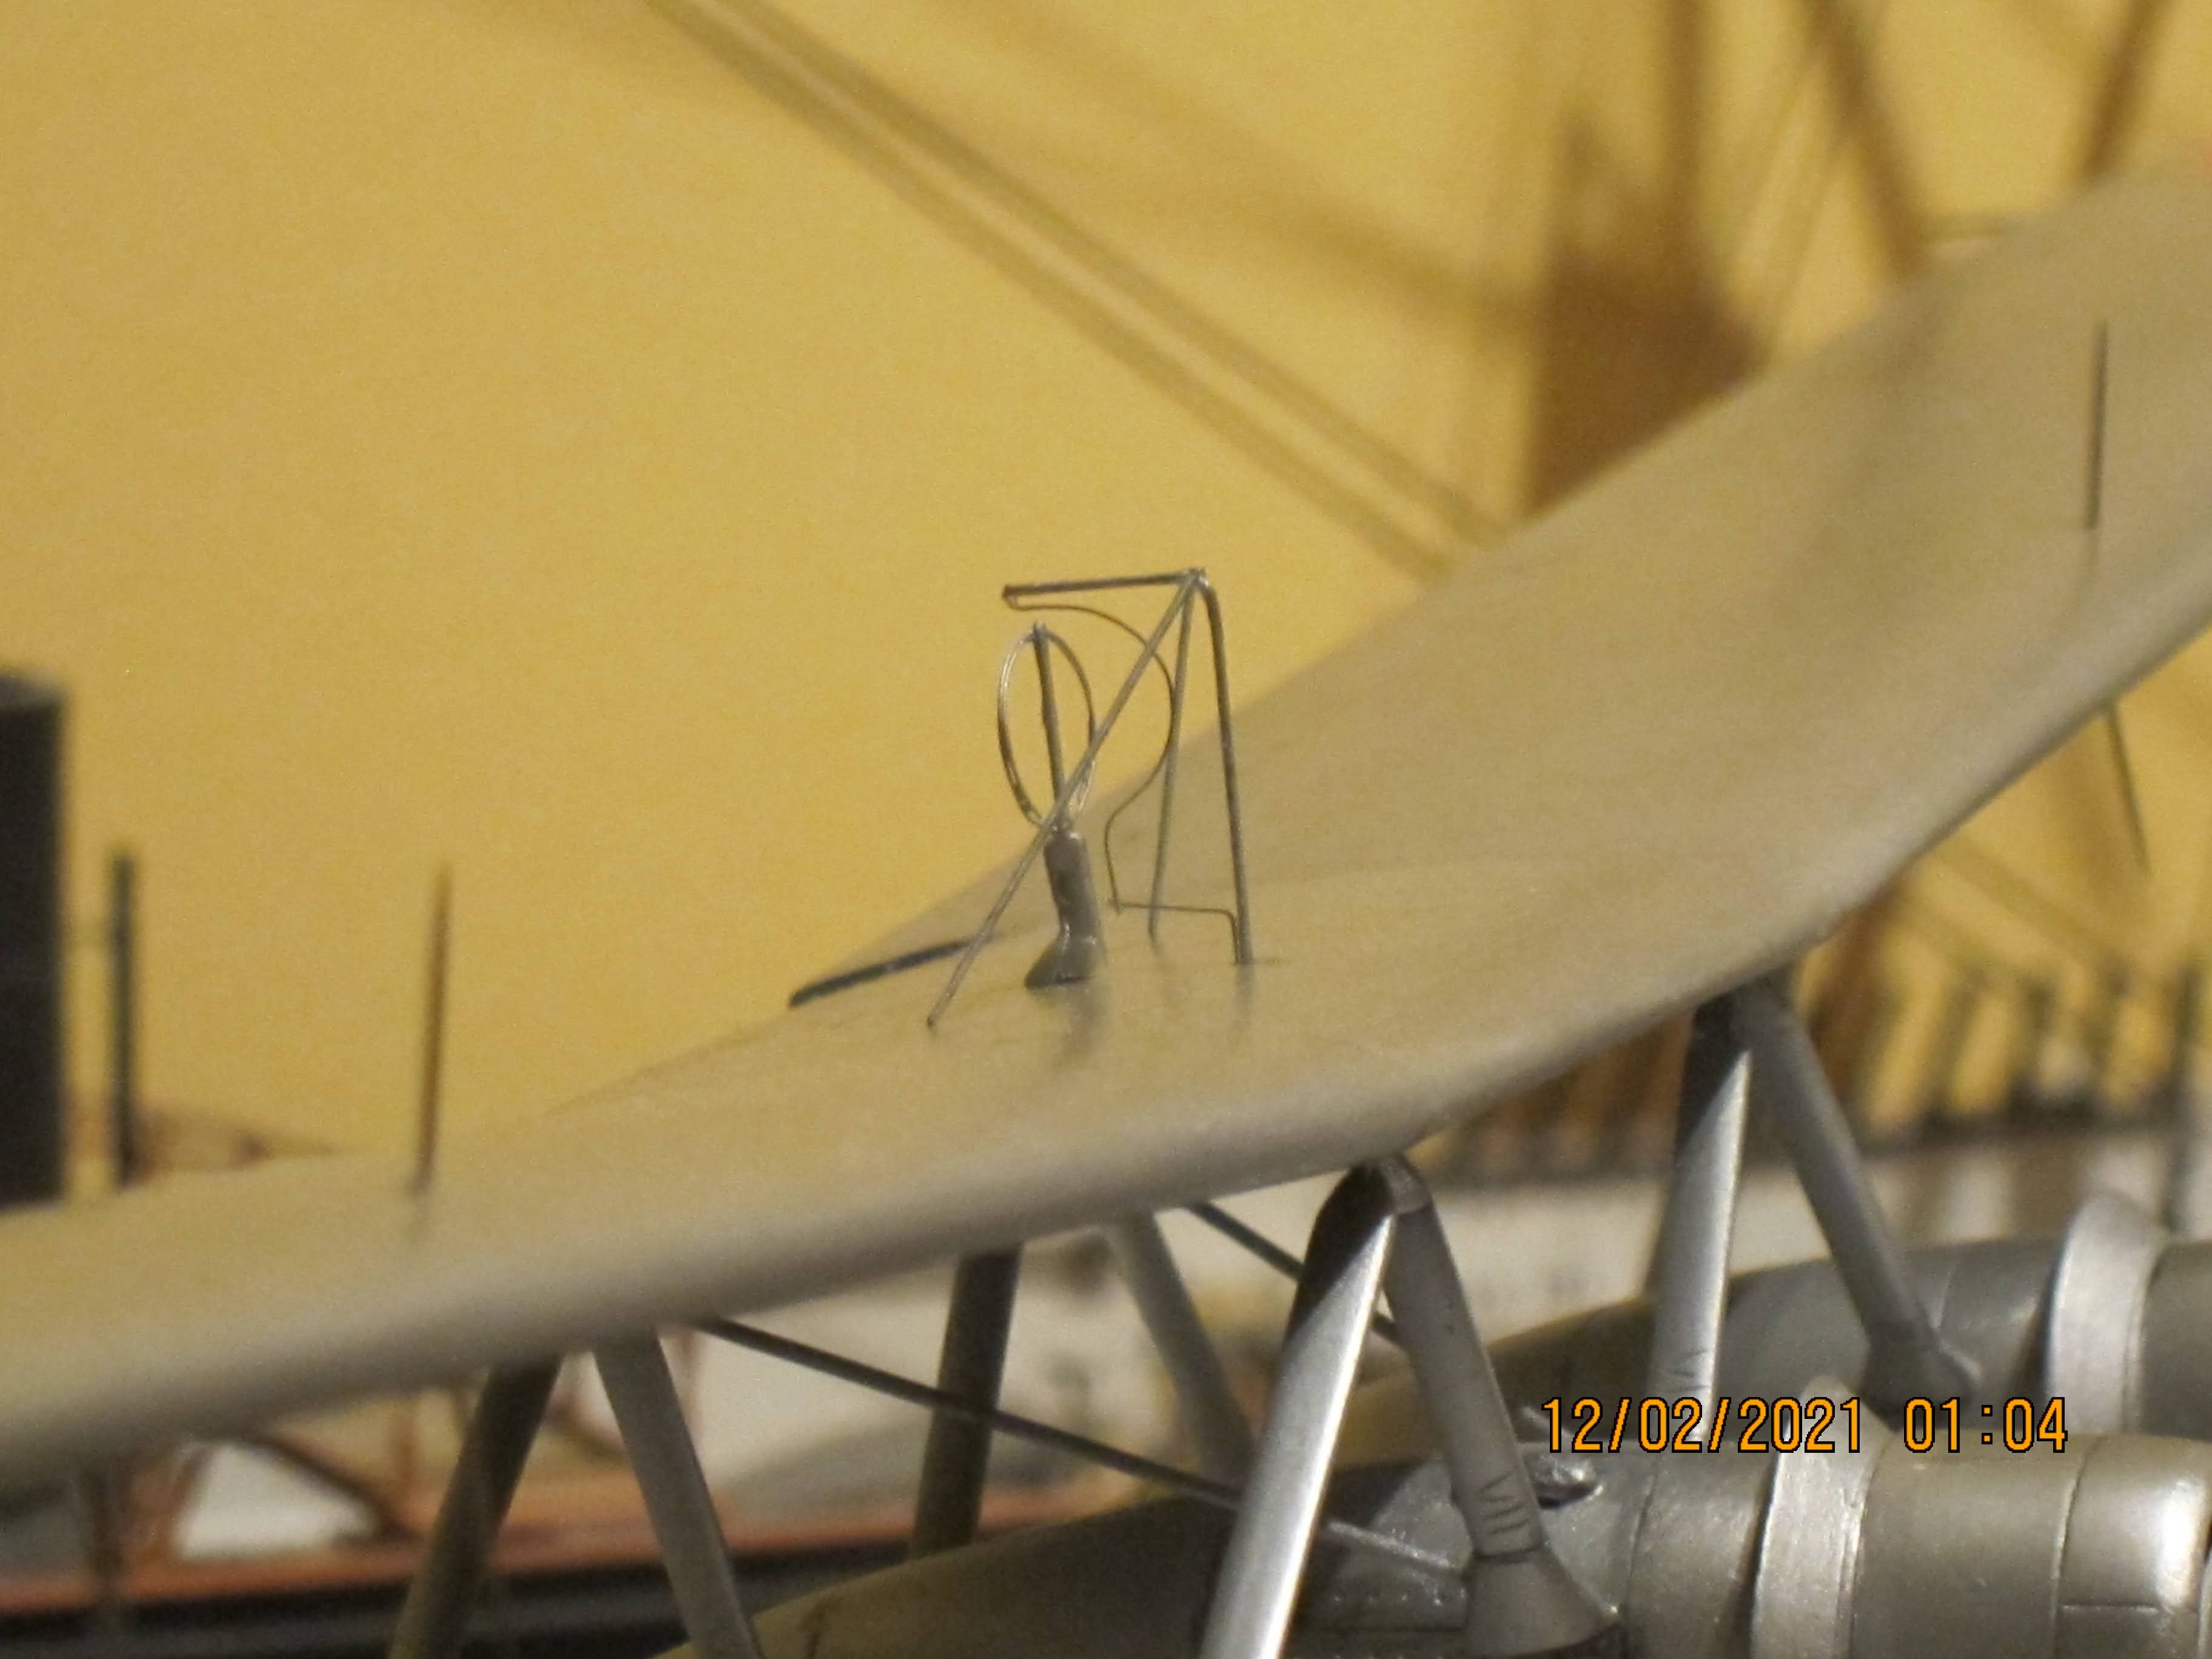
The goniometer is another mini project inside de big one.
I hope to take picture with better light and shows you in a last entry.
No comments:
Post a Comment