Breguet Br.521 Bizerte...part I
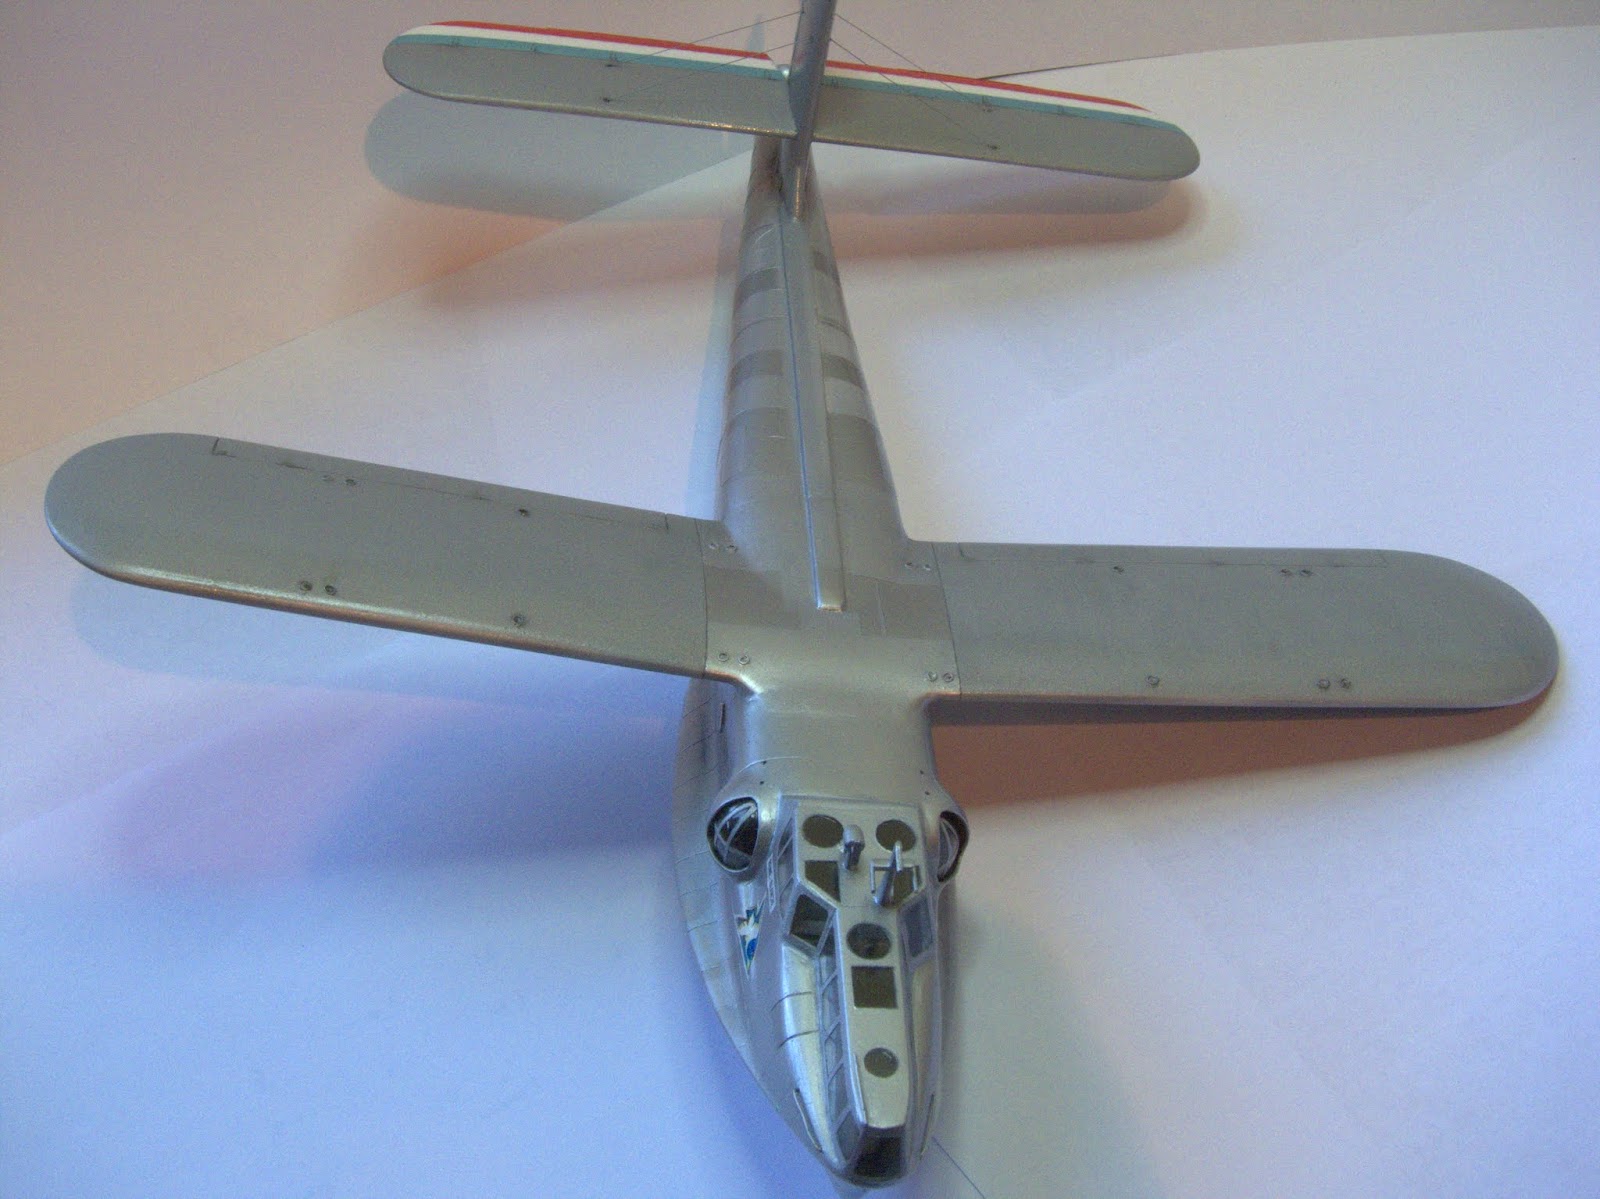
Realizing that this project is a major task and a lot of time consuming, I'd decide to show the present state of advance...this help me to get the high motivation needed to afford the next steps and the most challenging chapter in this adventure: the aligning of upper wing.This monster always fascinated me...it was a very large plane -almost 40 meters wingspan- and a extremely complex in structure. I think that Bizerte like other Breguet, Short and Handley Page big biplanes represents the maximum strength in that kind of technology. Maiden flight was in 1933, but this mean that the design was conceived at the beginning of thirties.
A challenge in construction and operation indeed.

When I saw that Hannant's was selling its remanent kits of Aerovac, mid nineties, Bizerte among them, I'd acquire my kit and a pair of Latecoere hidroplanes. Twenty years after, came time to begin this project...a real nightmare...
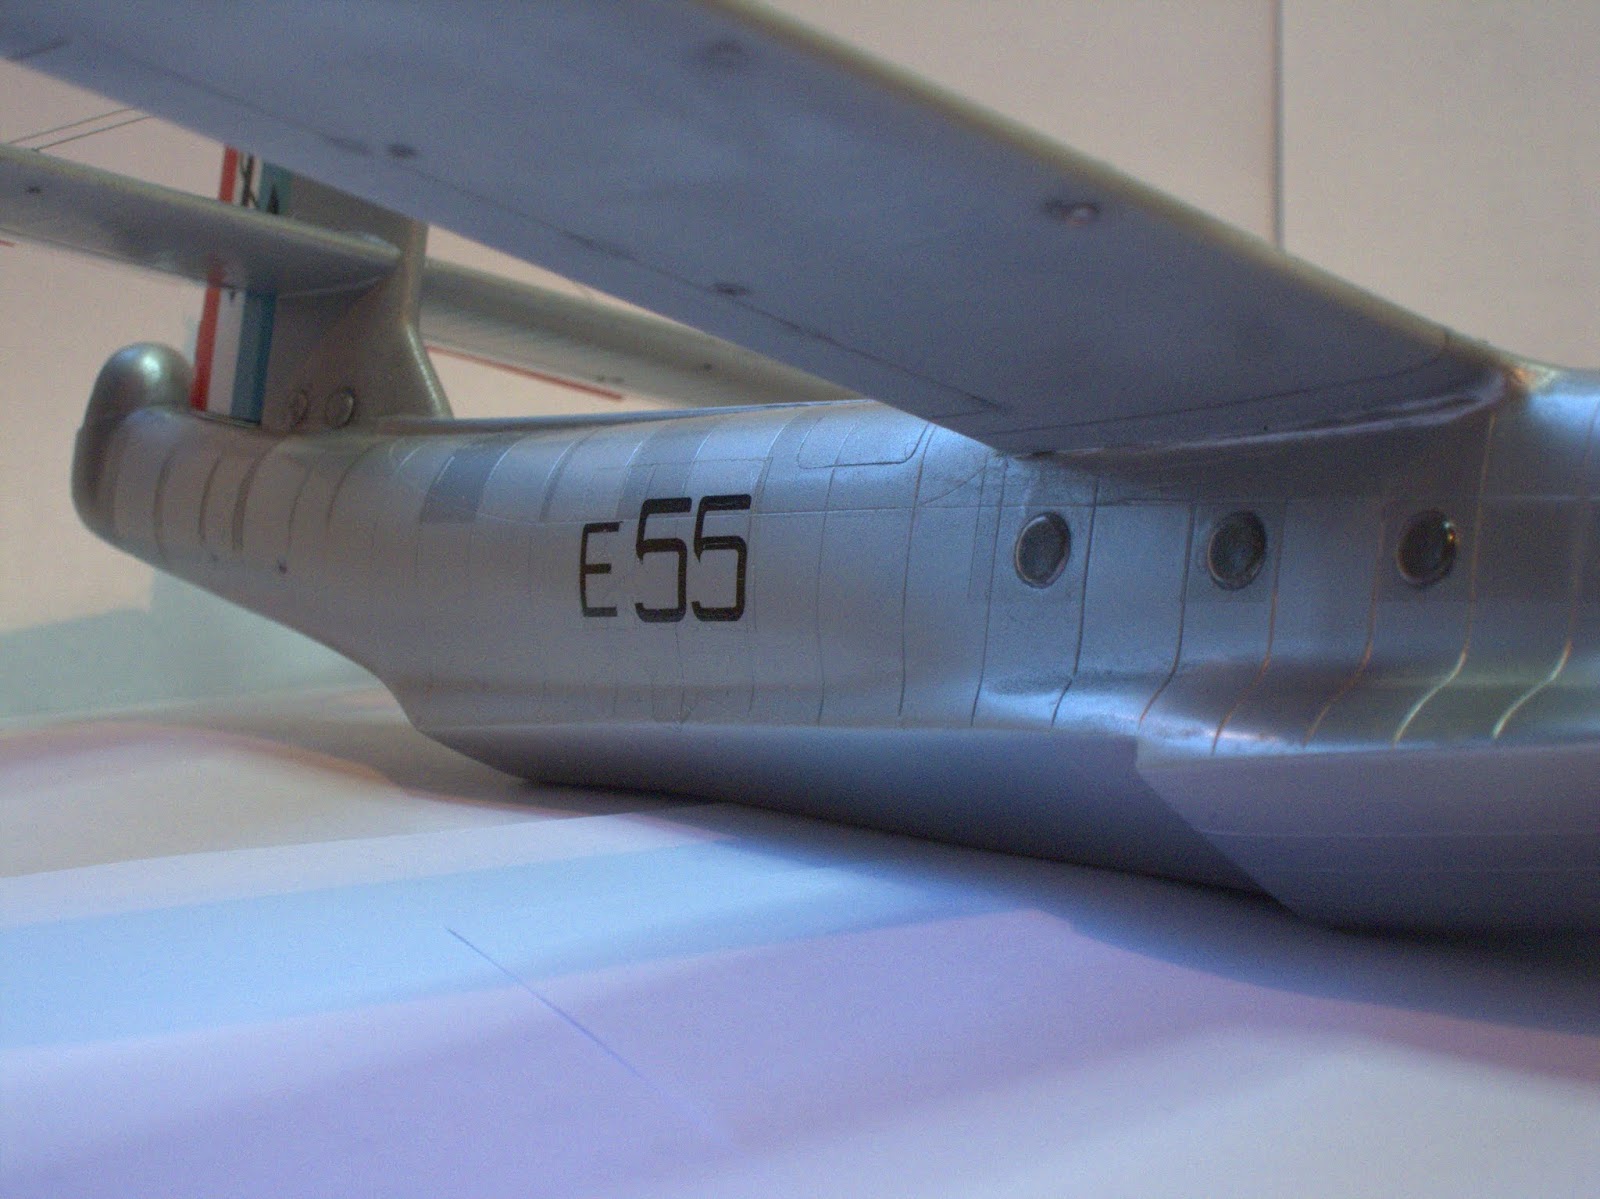
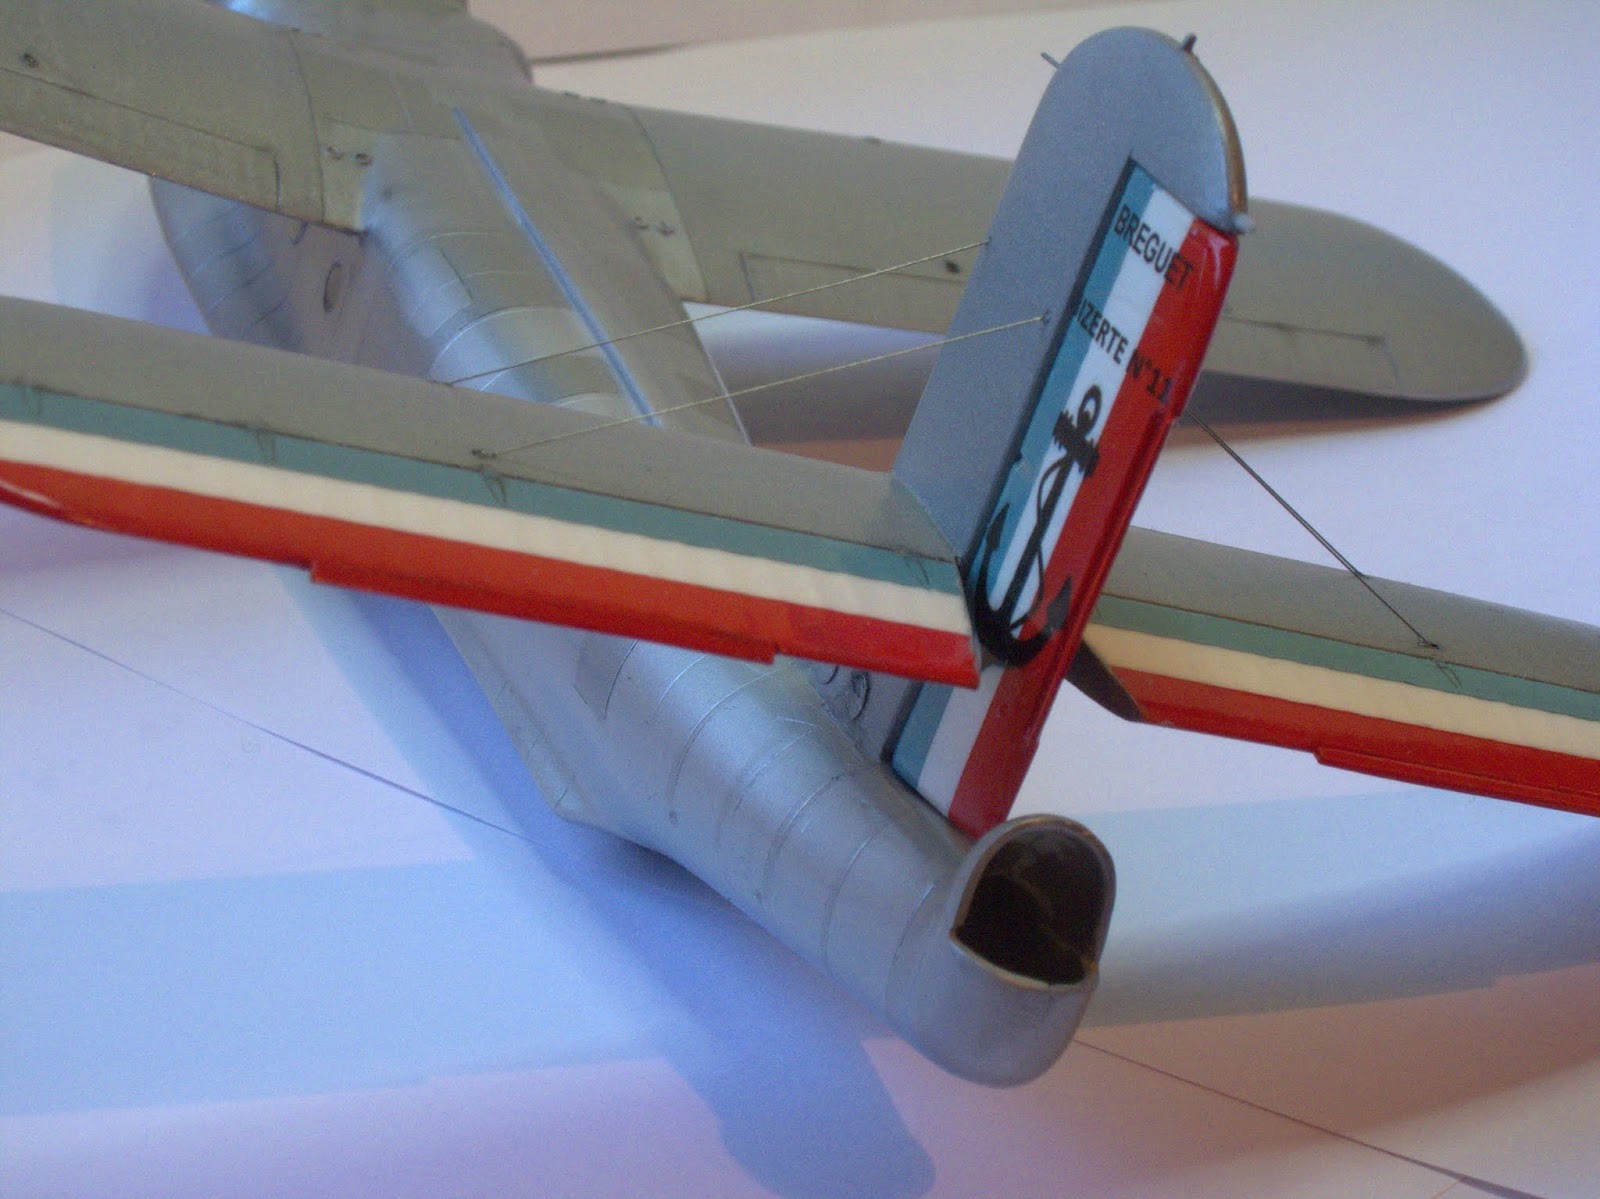
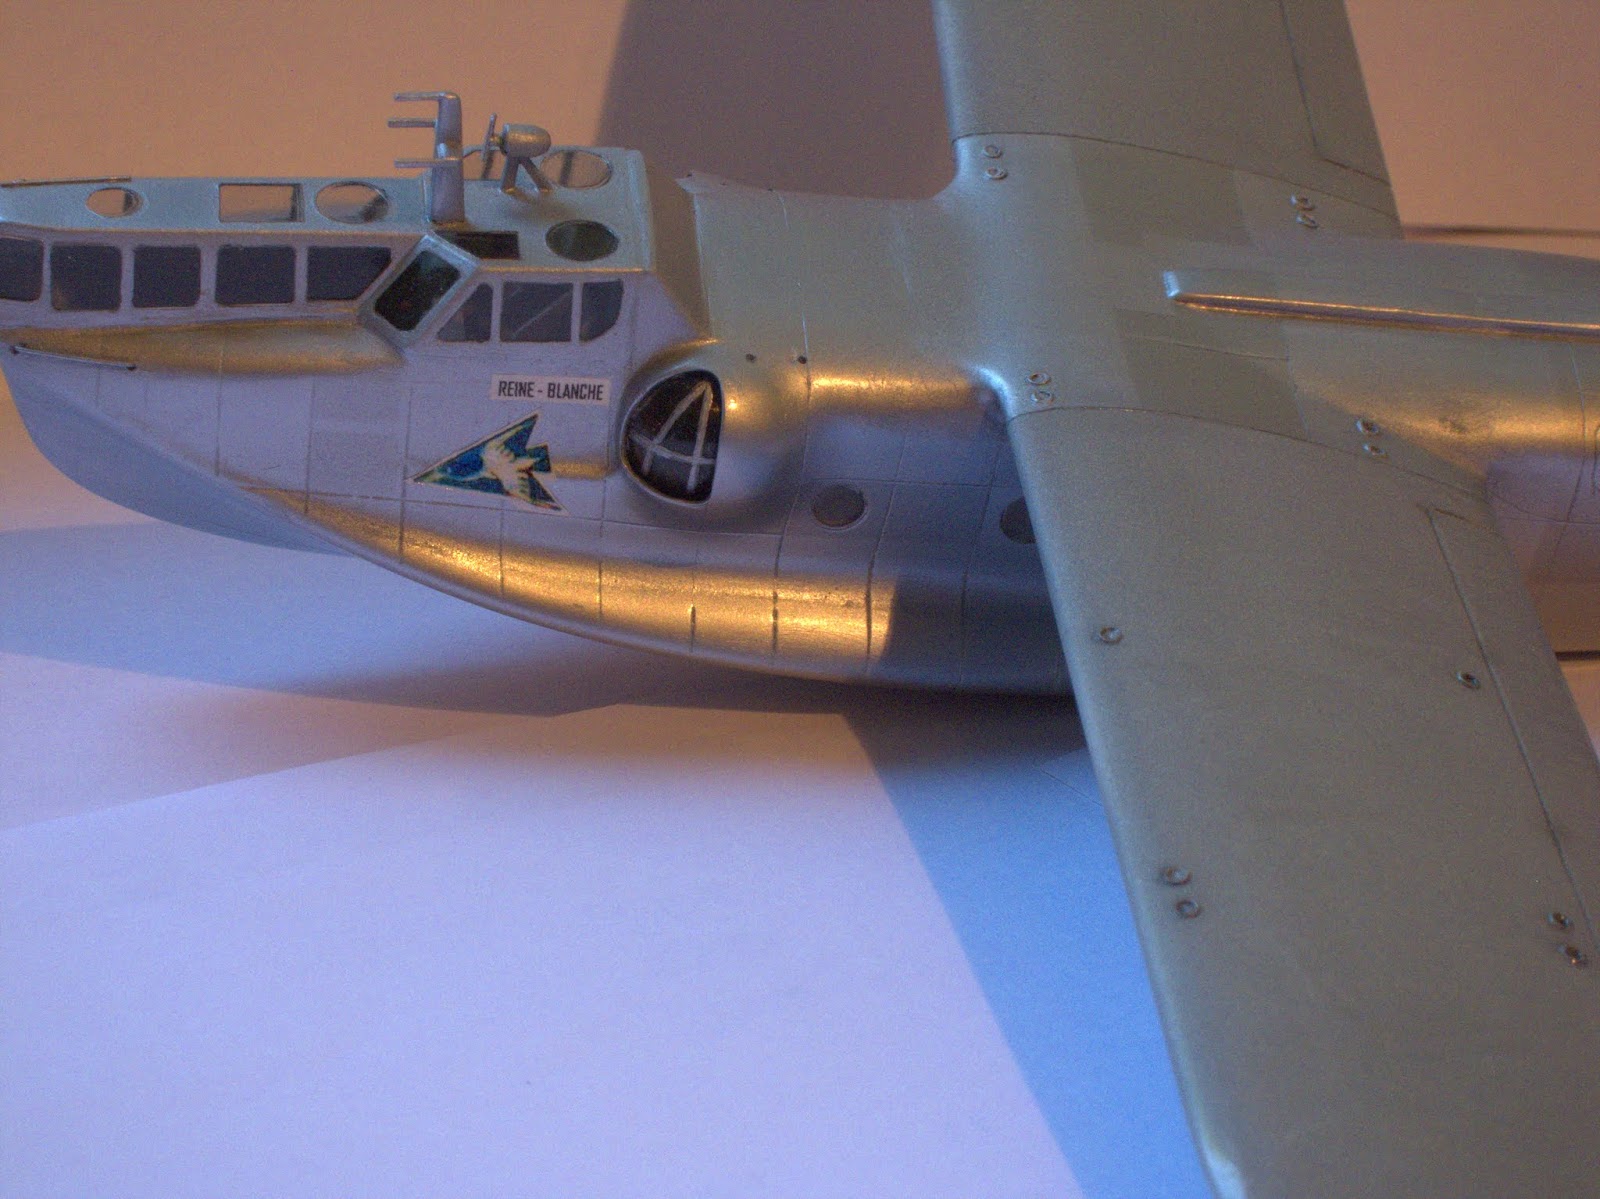
The only easy task is to cut the vacuum parts...after that, every sub asembly is a mini project per se. Each sub assembly get a lot of fun and required many hours of thinking to resolve "how to do this" before to start the job of build the sub set. No pinholes to join the parts, you need a good set of drawings. The drawings, in 1/72 scale, in the instruction sheets are invaluable because the scarce useful information in the web. Just some pictures are the only real reference. Also, there is a mere handful of scale models as a guidance. I never will know if these schemes are a perfect representation of the real plane, but until now, the model looks like a Bizerte indeed. The fabric parts are well represented as well as the fuselage halves. The fin was molded with the fuselage (rudder included), like almost every kit, but when the halves are joined, one can realize that the fin, at least in my kit, is strongly inclined to the left...then you must to cut the fin off and realign it. Before glue the fuselage, is a good idea to cut out the rudder and working apart over it.
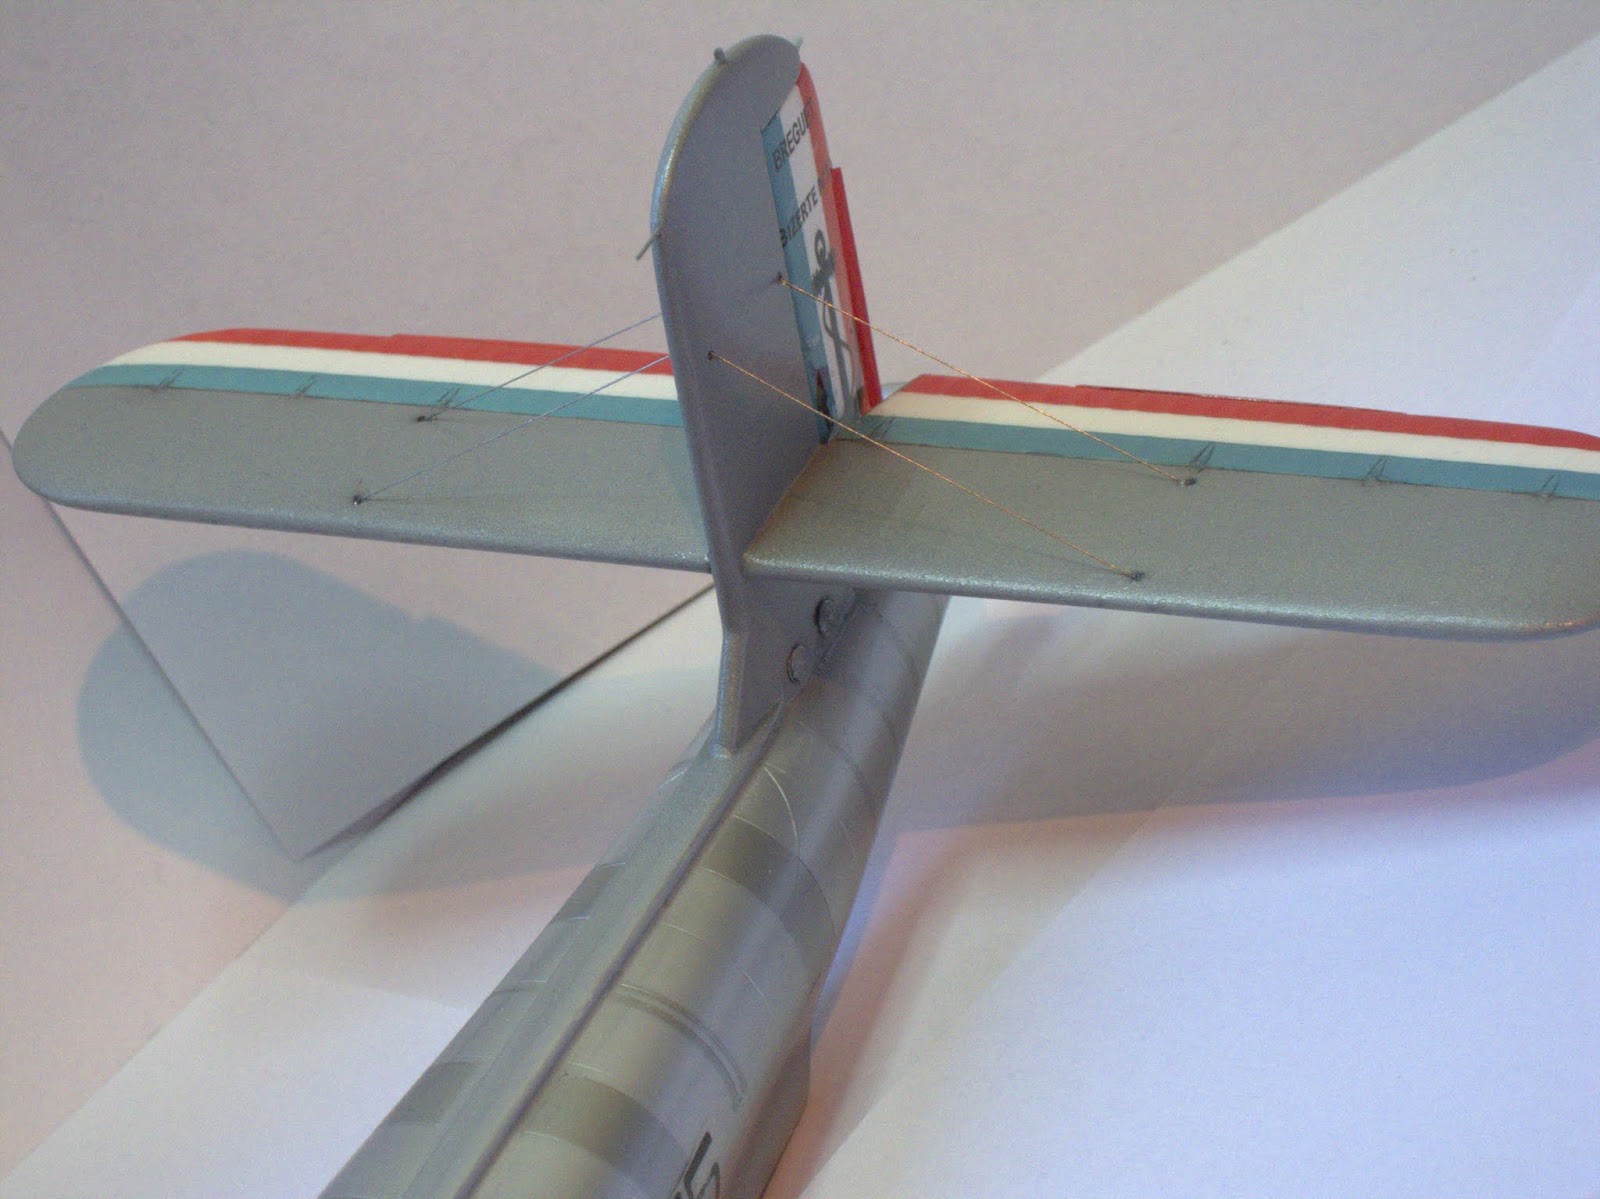
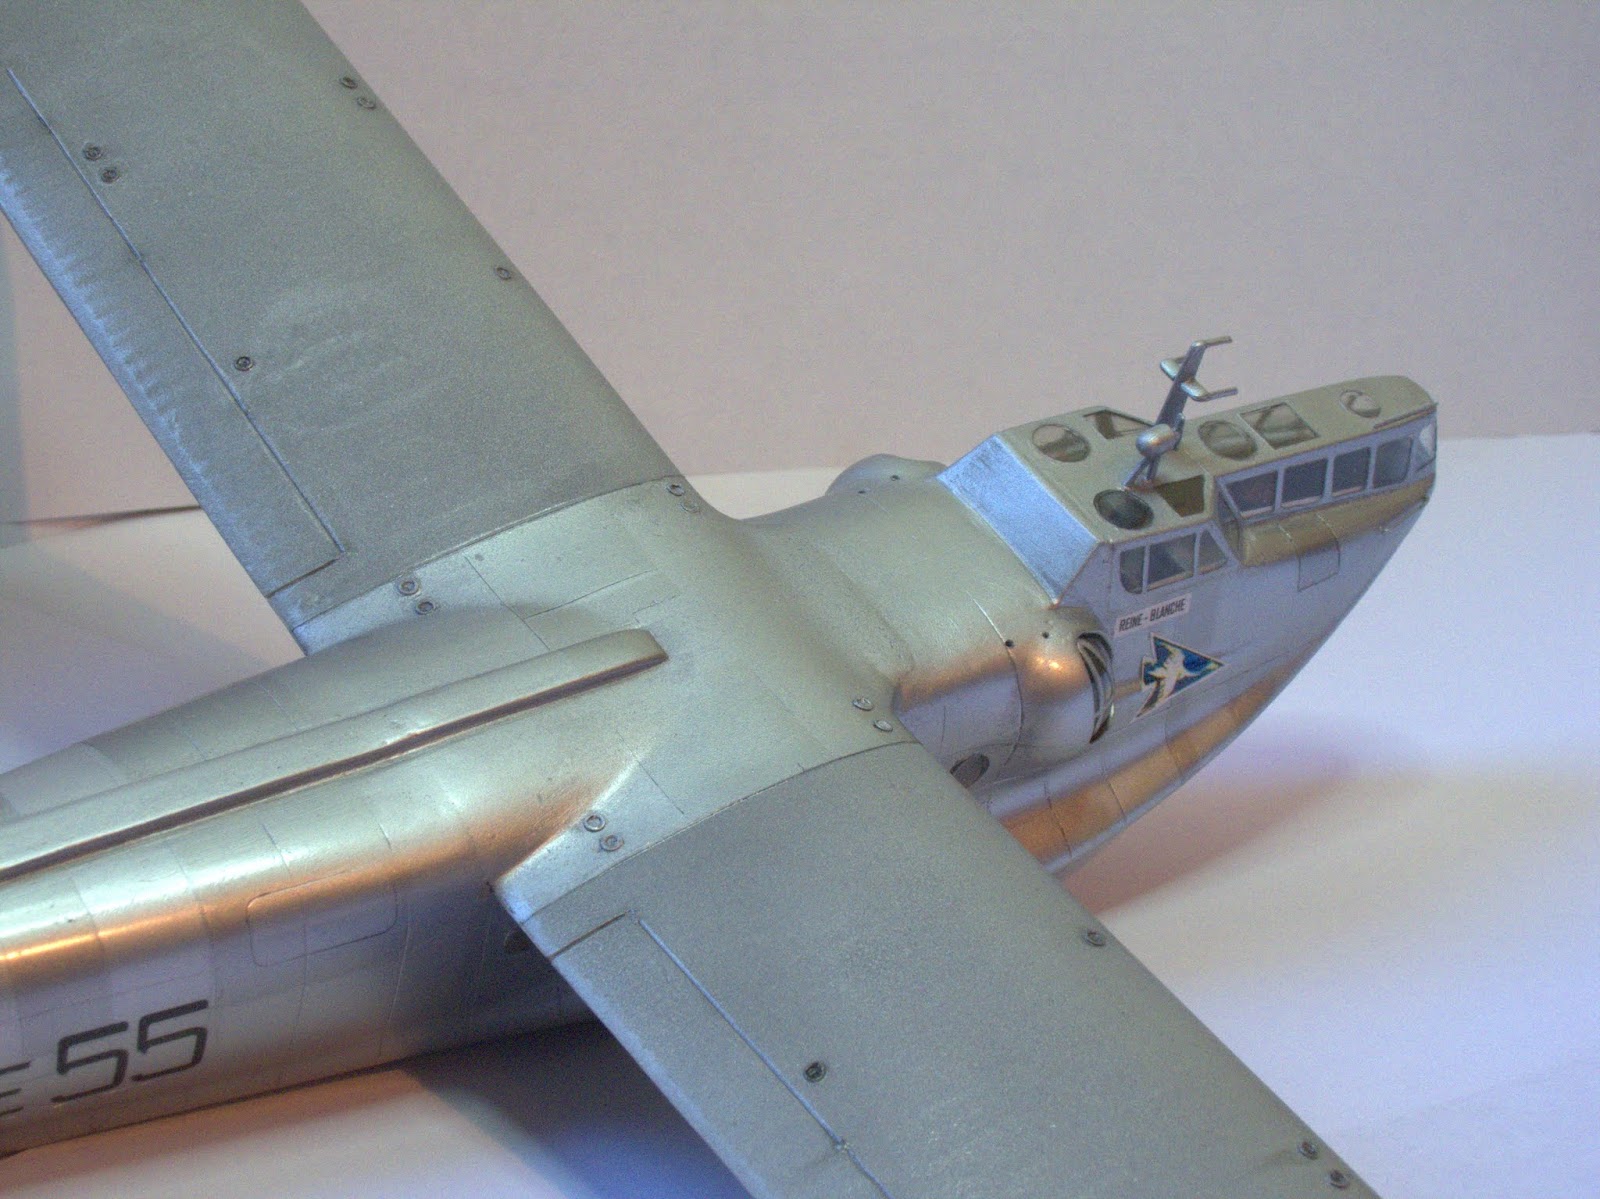
One of the challenge is to build your own decals...a lot of work but the result is very good. This particular plane "E55" was named "Reine Blanche" and Saint Google helps me to find a badge representing the escadrille 5E cocarde and I could used it as a base.
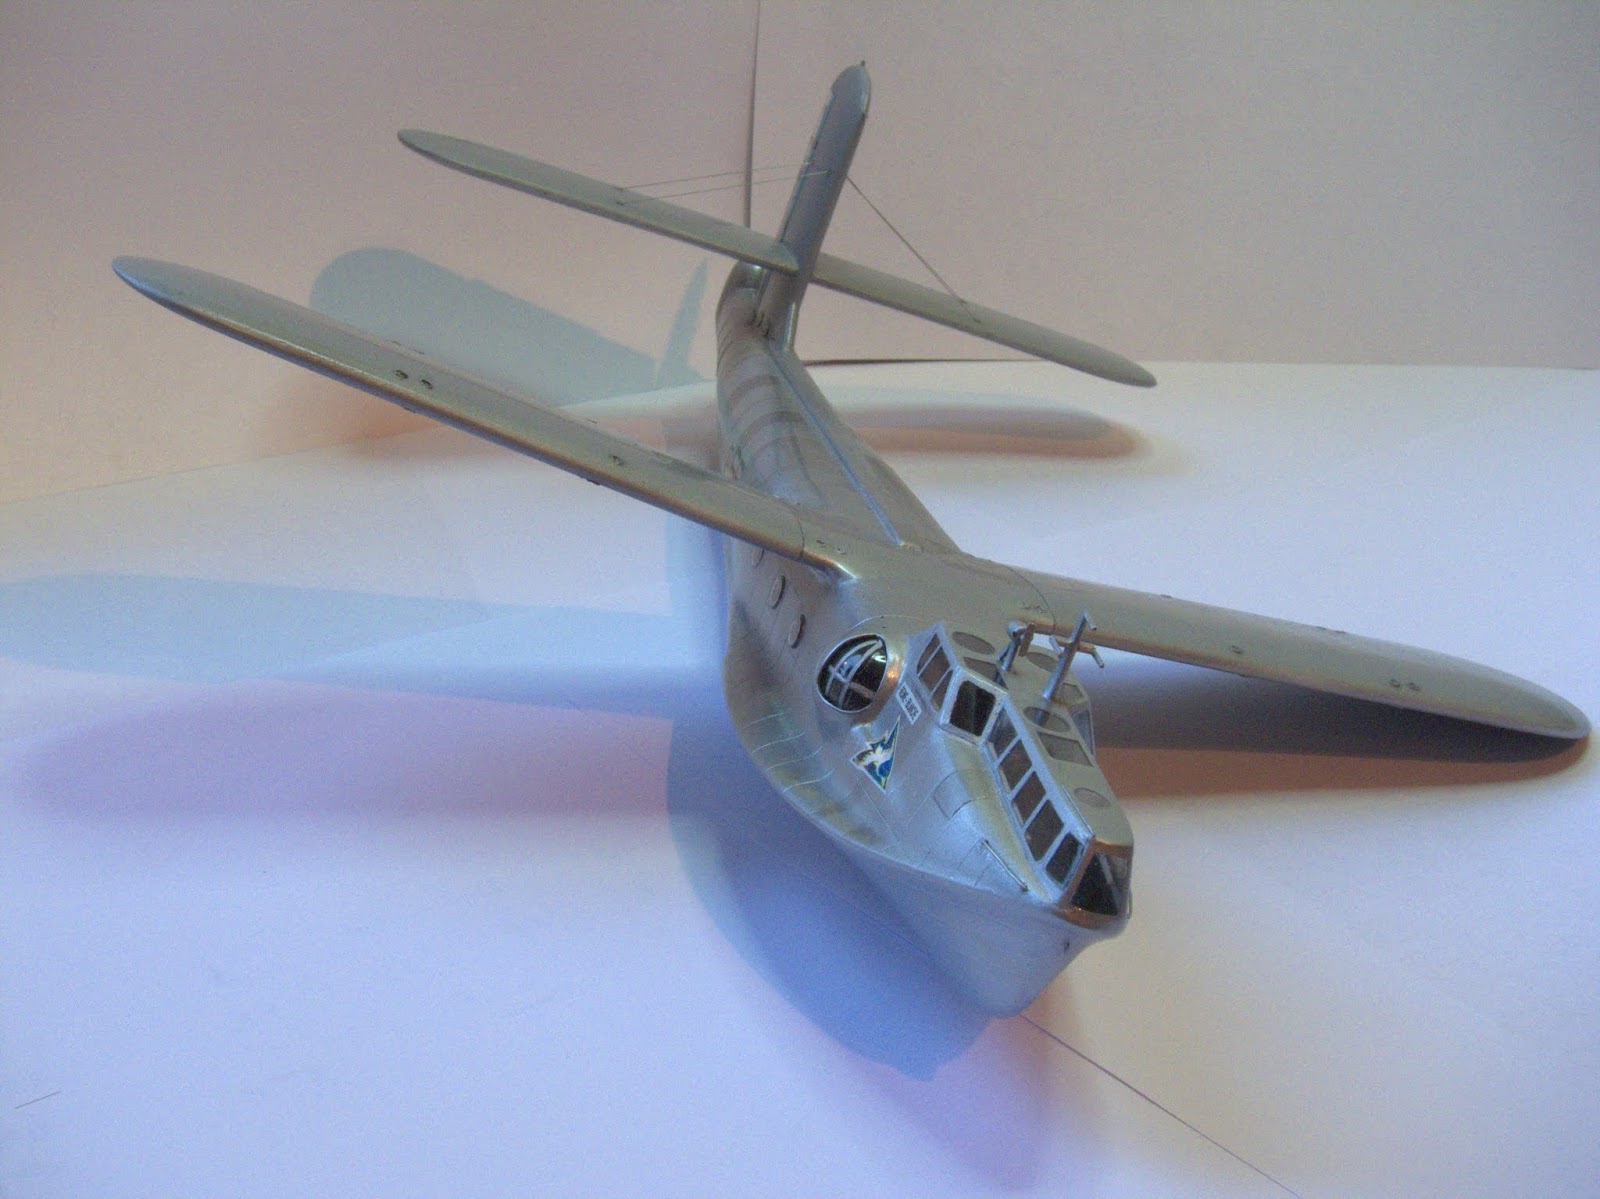
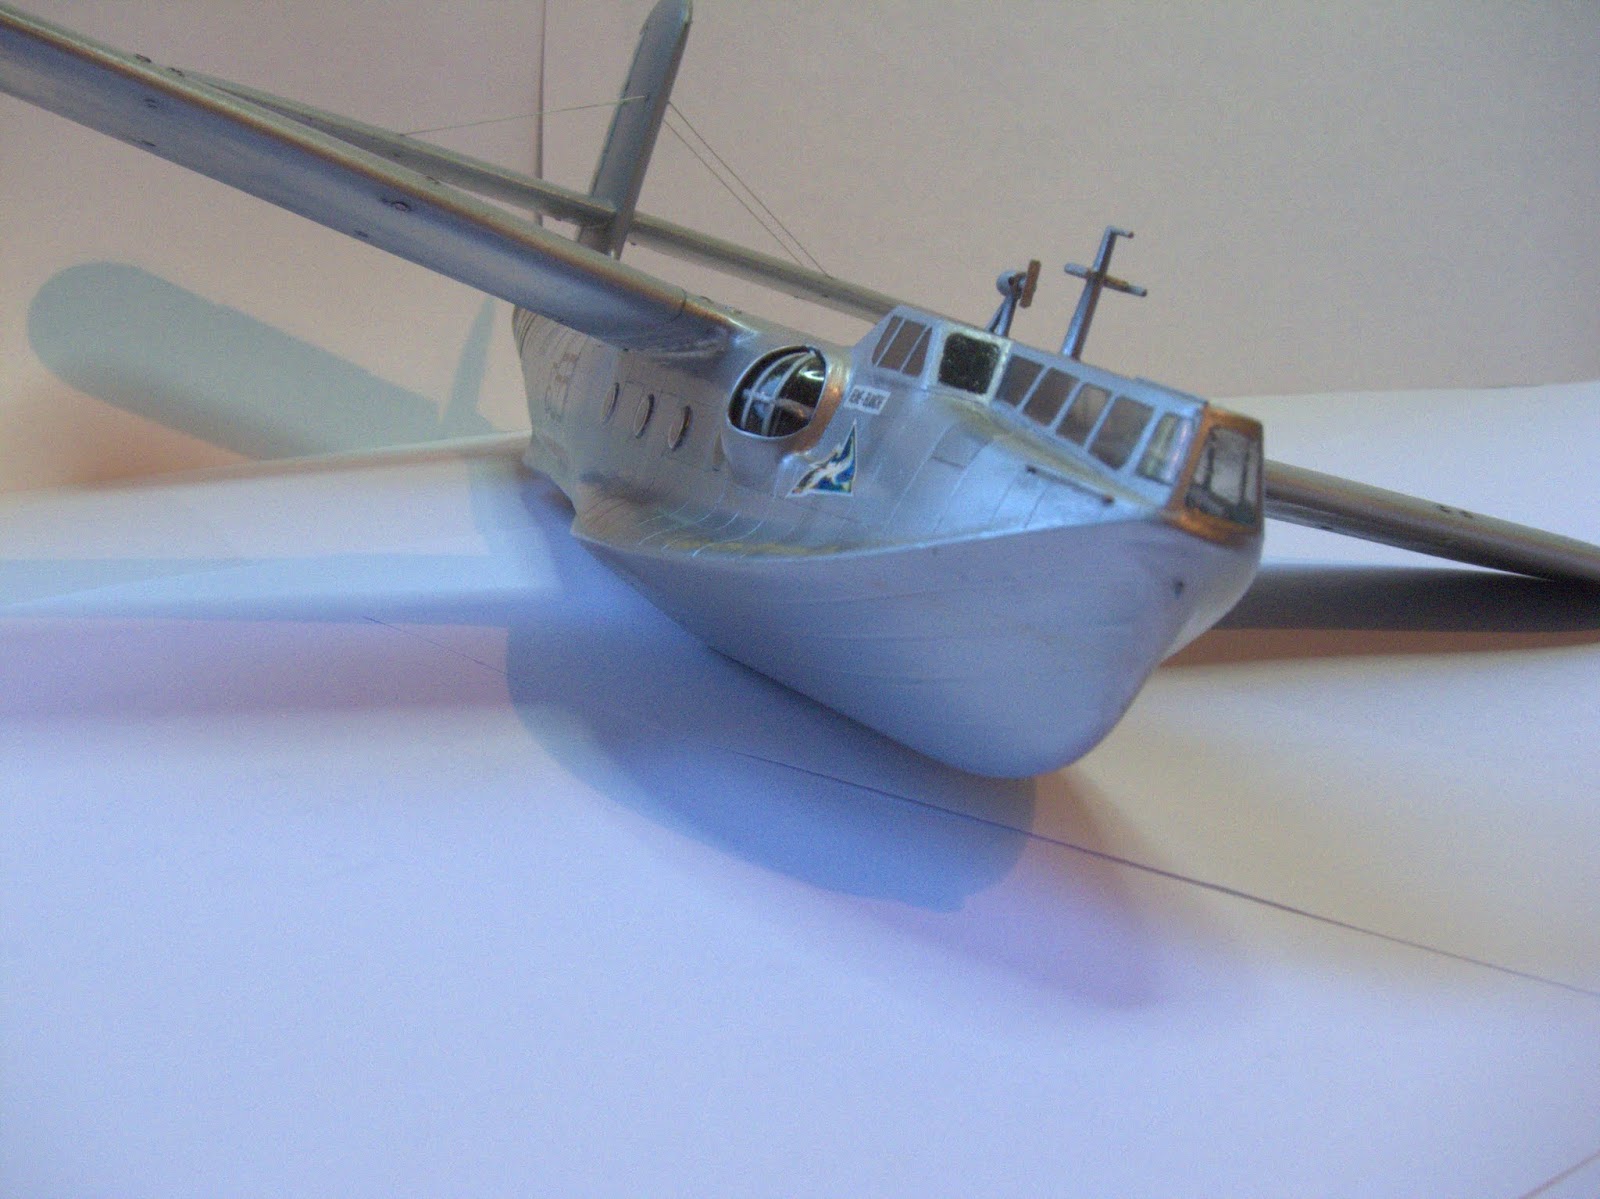
Cut the large and soft greenhouse from the mold needs determination, good pulse and "cold blood". Put over the fuselage and solve the problem of get a decent join, consumes many hours of testing.
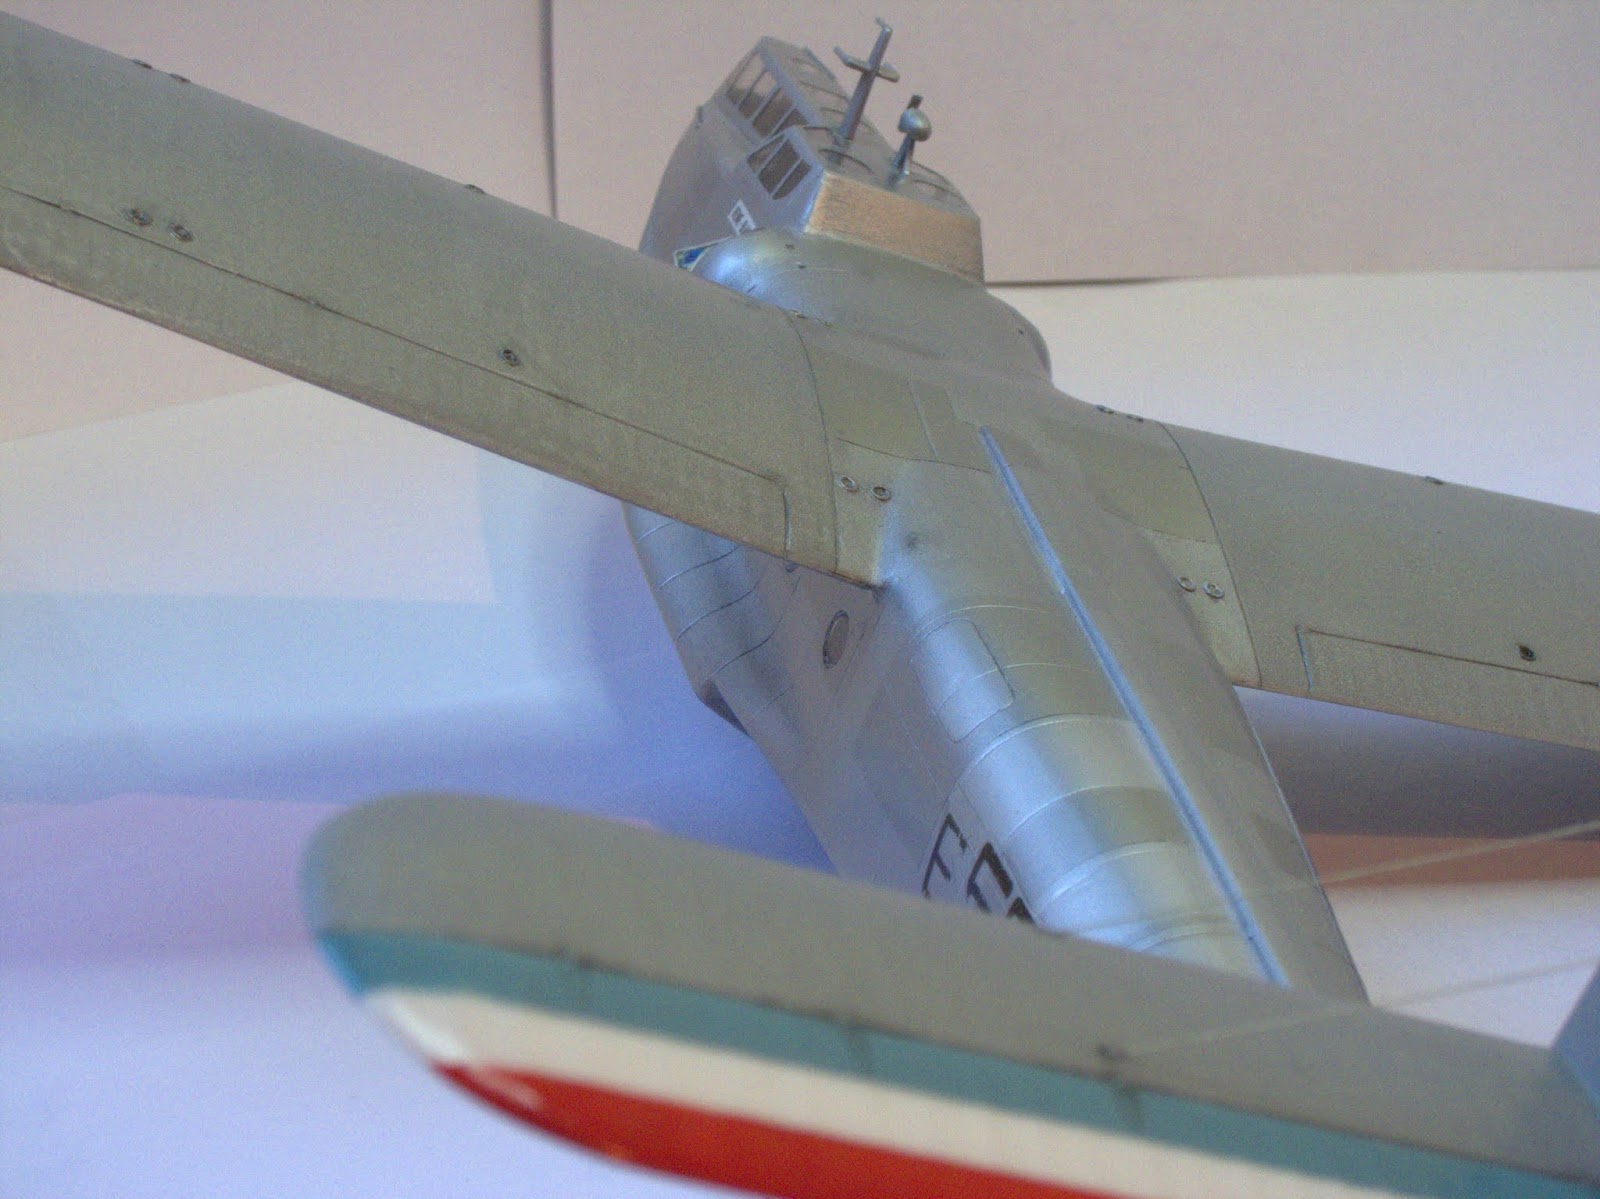
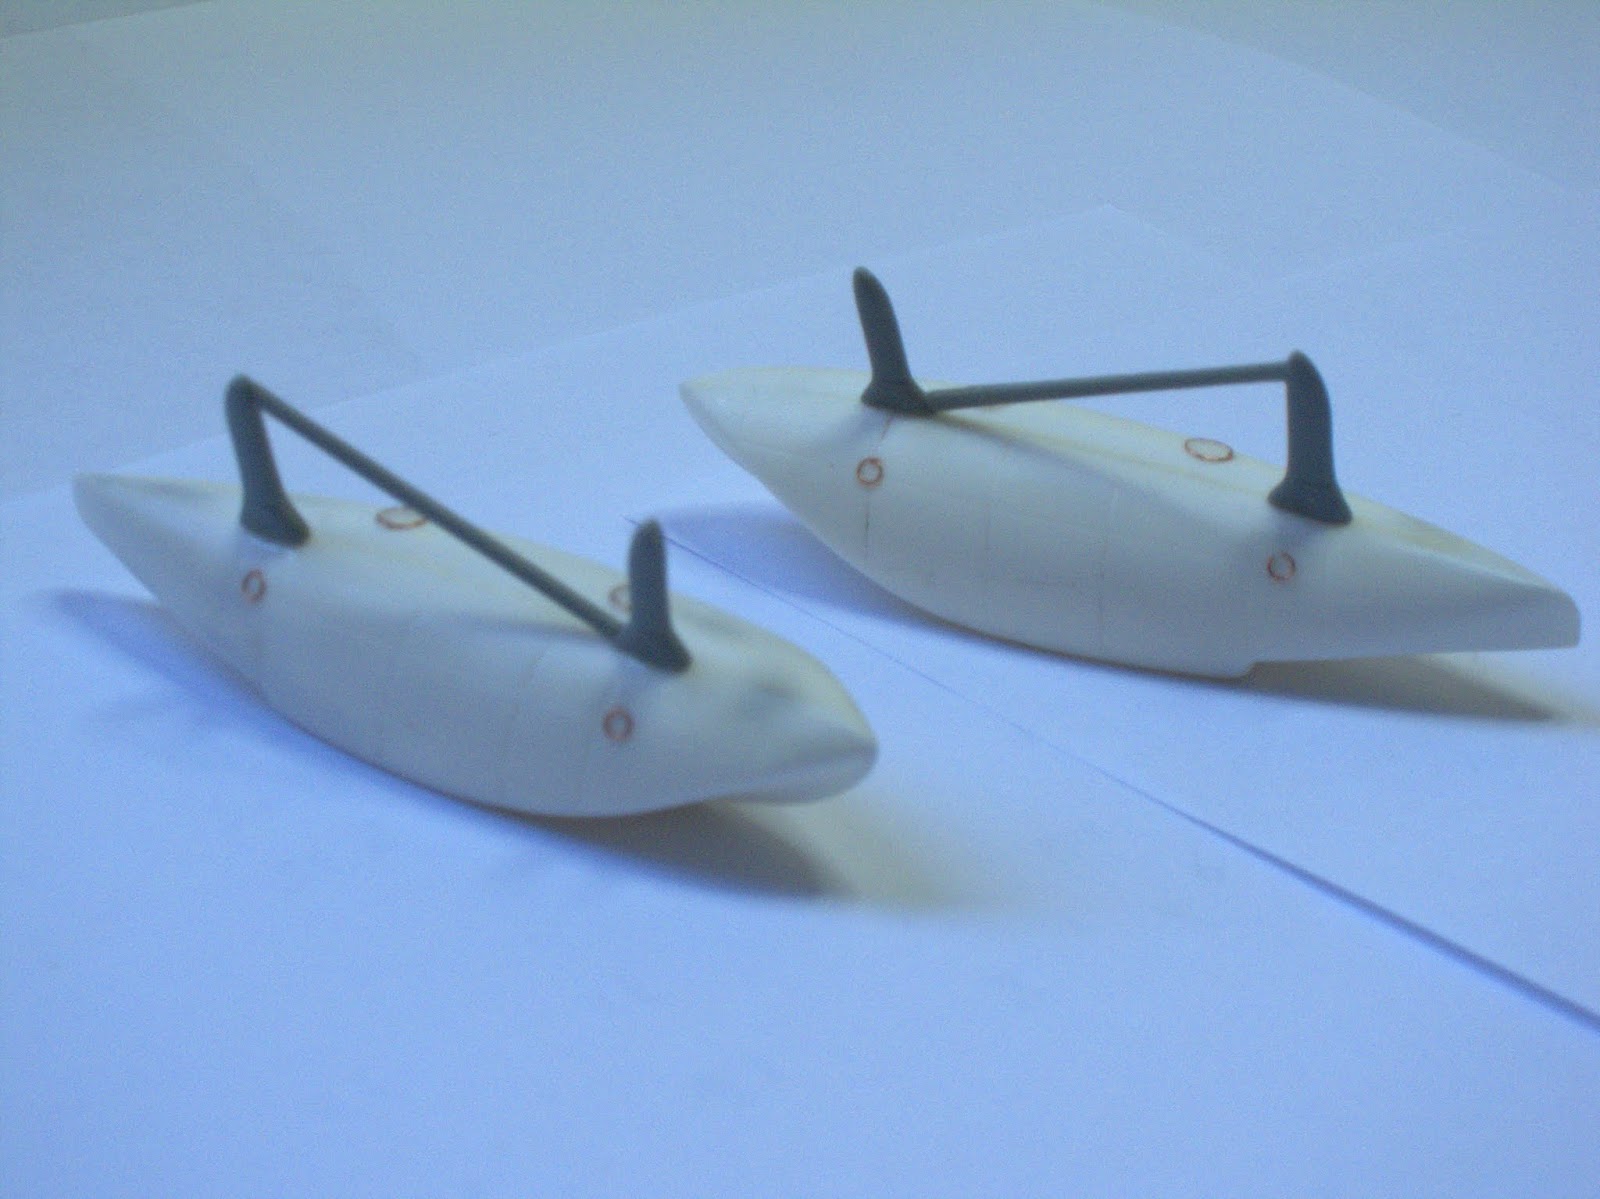
My next challenge is to mount the pontoons...from now, follow the tedious task of thinning the many thick struts. I suspect they are short...if so, I'll have to build from scratch.
Part II already published...
Hi
ReplyDeleteGreat progress, I have the same kit but haven't been brave enough to start yet. Could you help me with decals ?
Cheers Pat