Thursday, 15 April 2021

Do J Wal

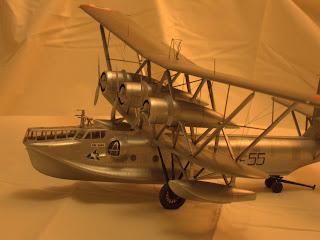
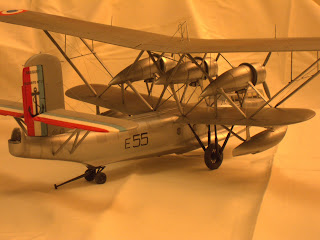
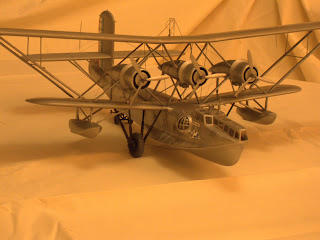
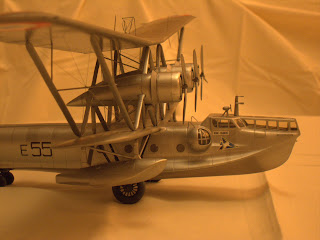
Hi guys....This is a very rare bird indeed. But extremely important in my country. Dornier Wal, at early twenties, was a step forward in the development of our naval aviation capabilities. It was a modern and sturdy aircraft and its high reliability allowed to dream with the conquest of an air route to connect the extreme south of our territory with the main cities in the middle of the country.
There are a handful set of heroes that pioneered this dangerous trips. One of them was Lt Rodolfo Marsh who named after the important chilean Navy Antarctic Base and Arturo Merino Benitez, who named after the Santiago International Airport.

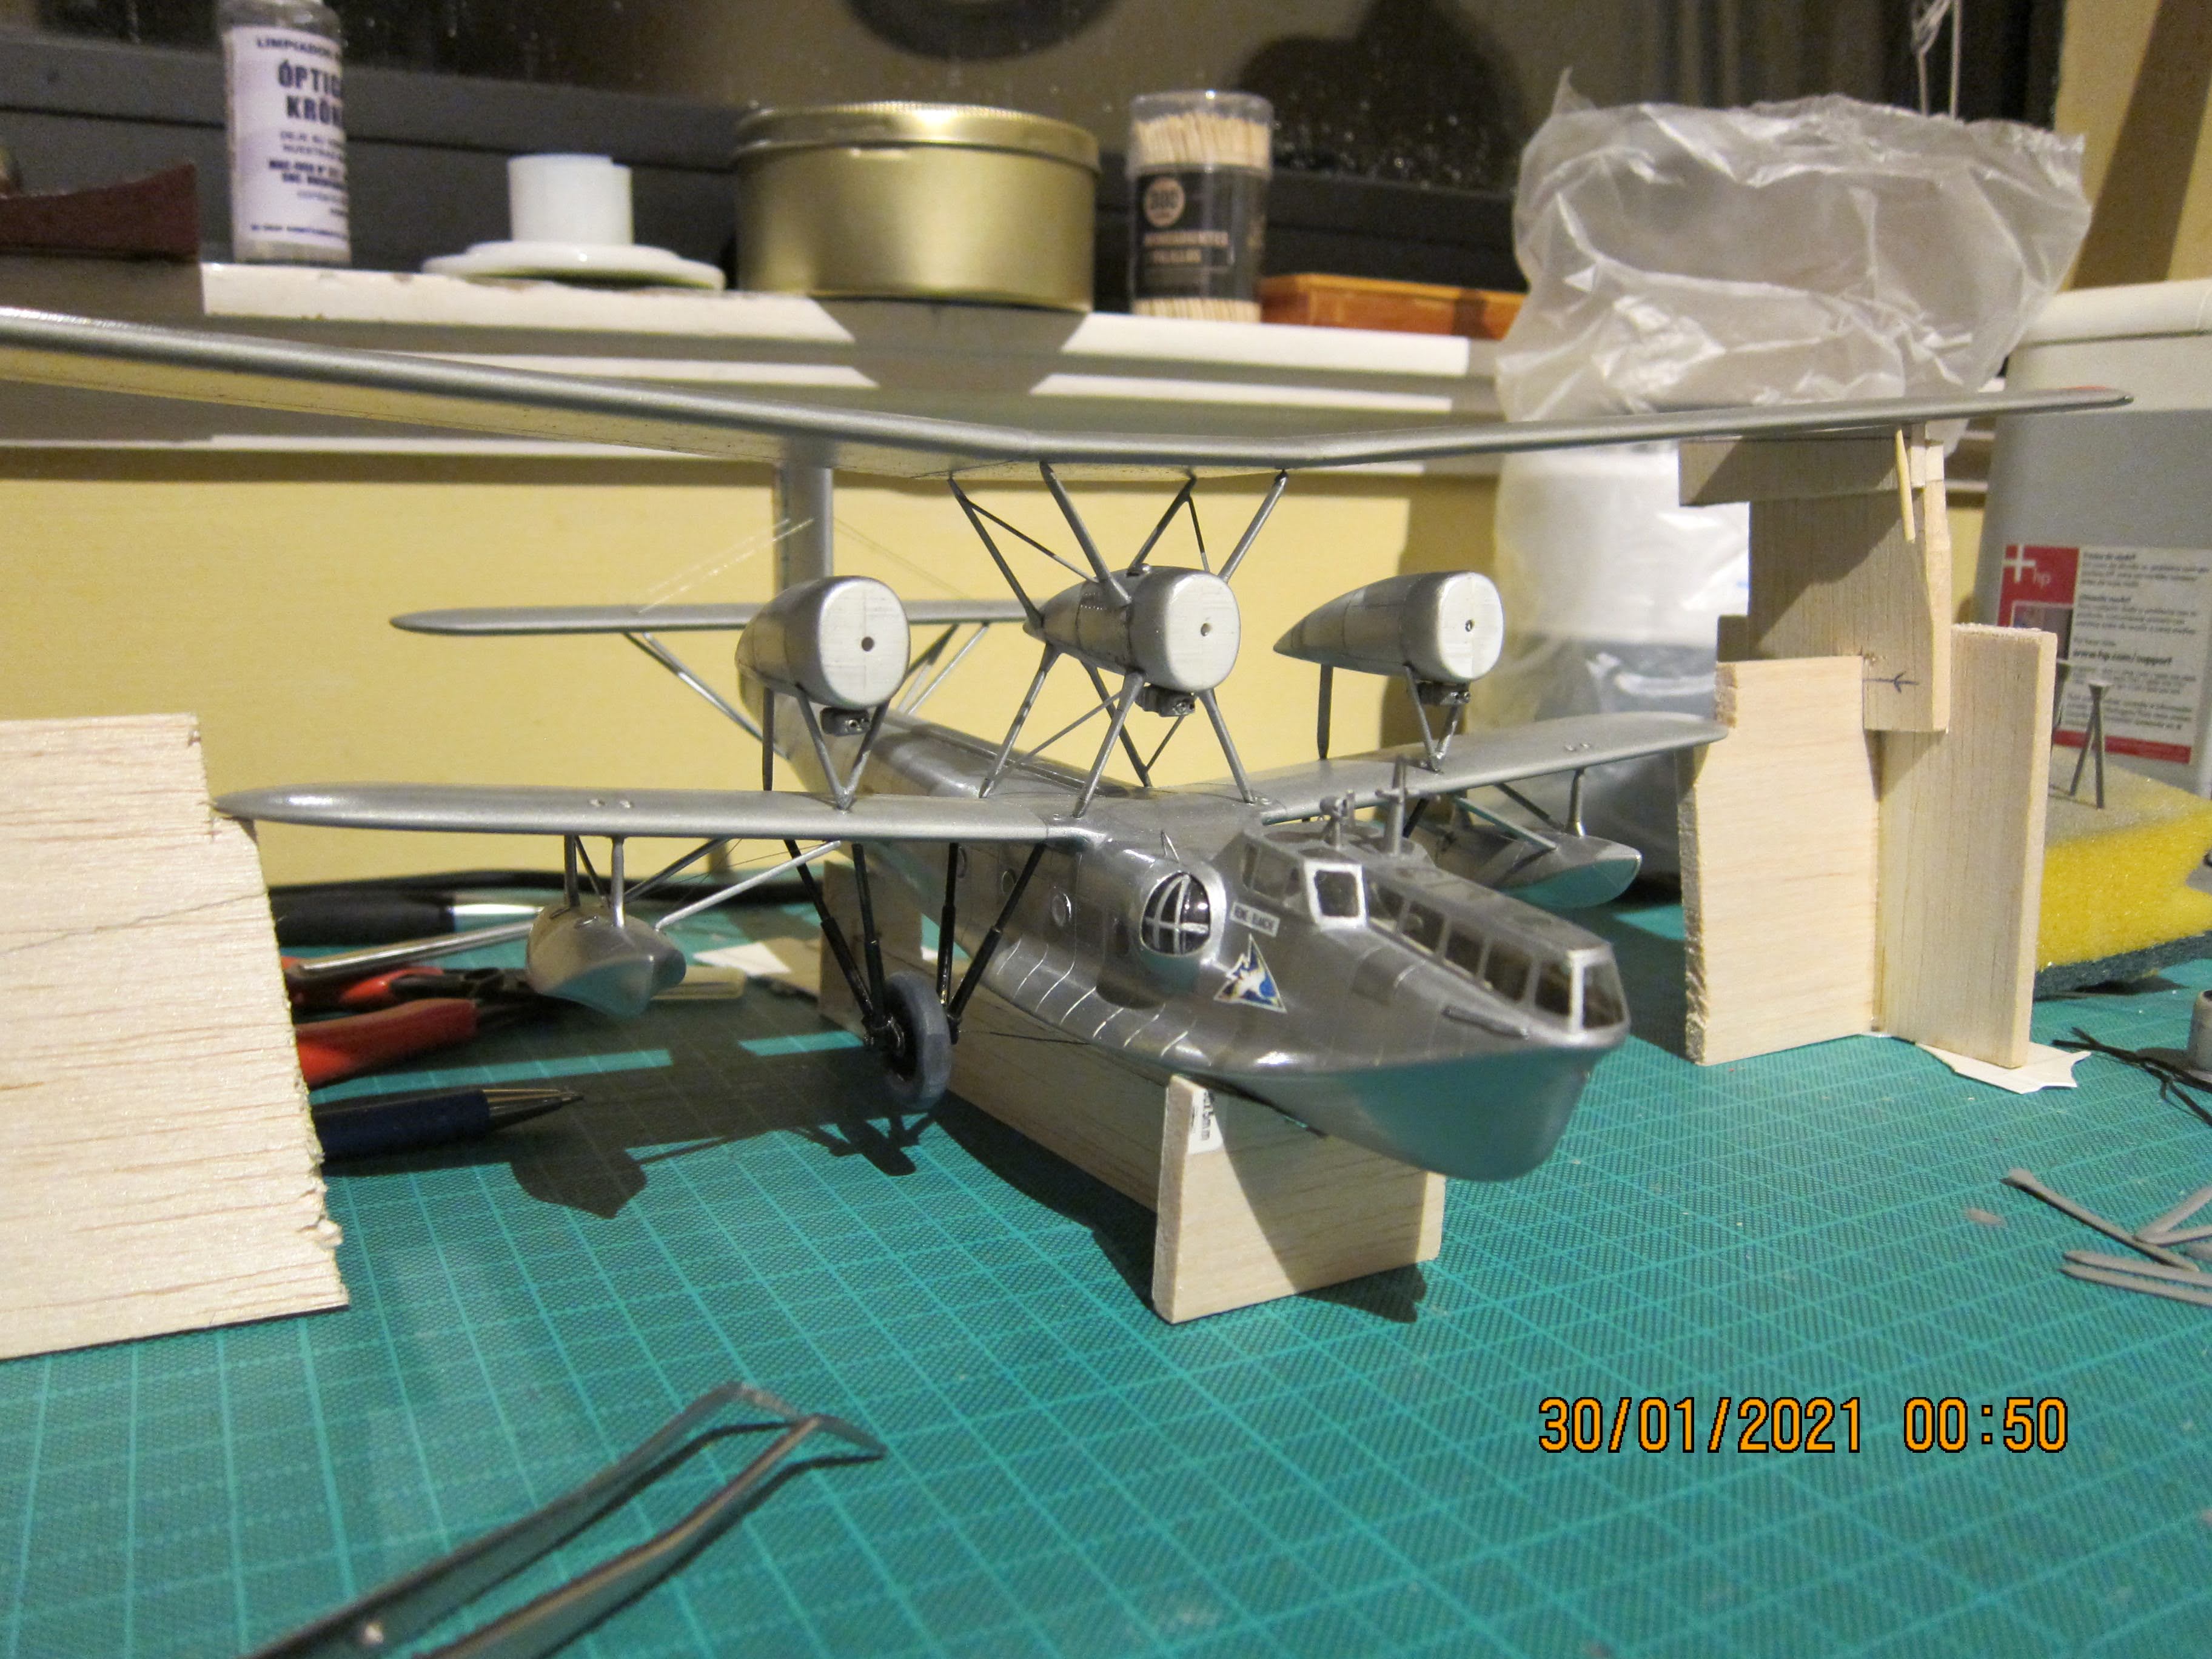
Thanks to A Models we have a decent kit of Do J Wal. Huma Do J represents the Wal II model, a different plane in many important aspects.

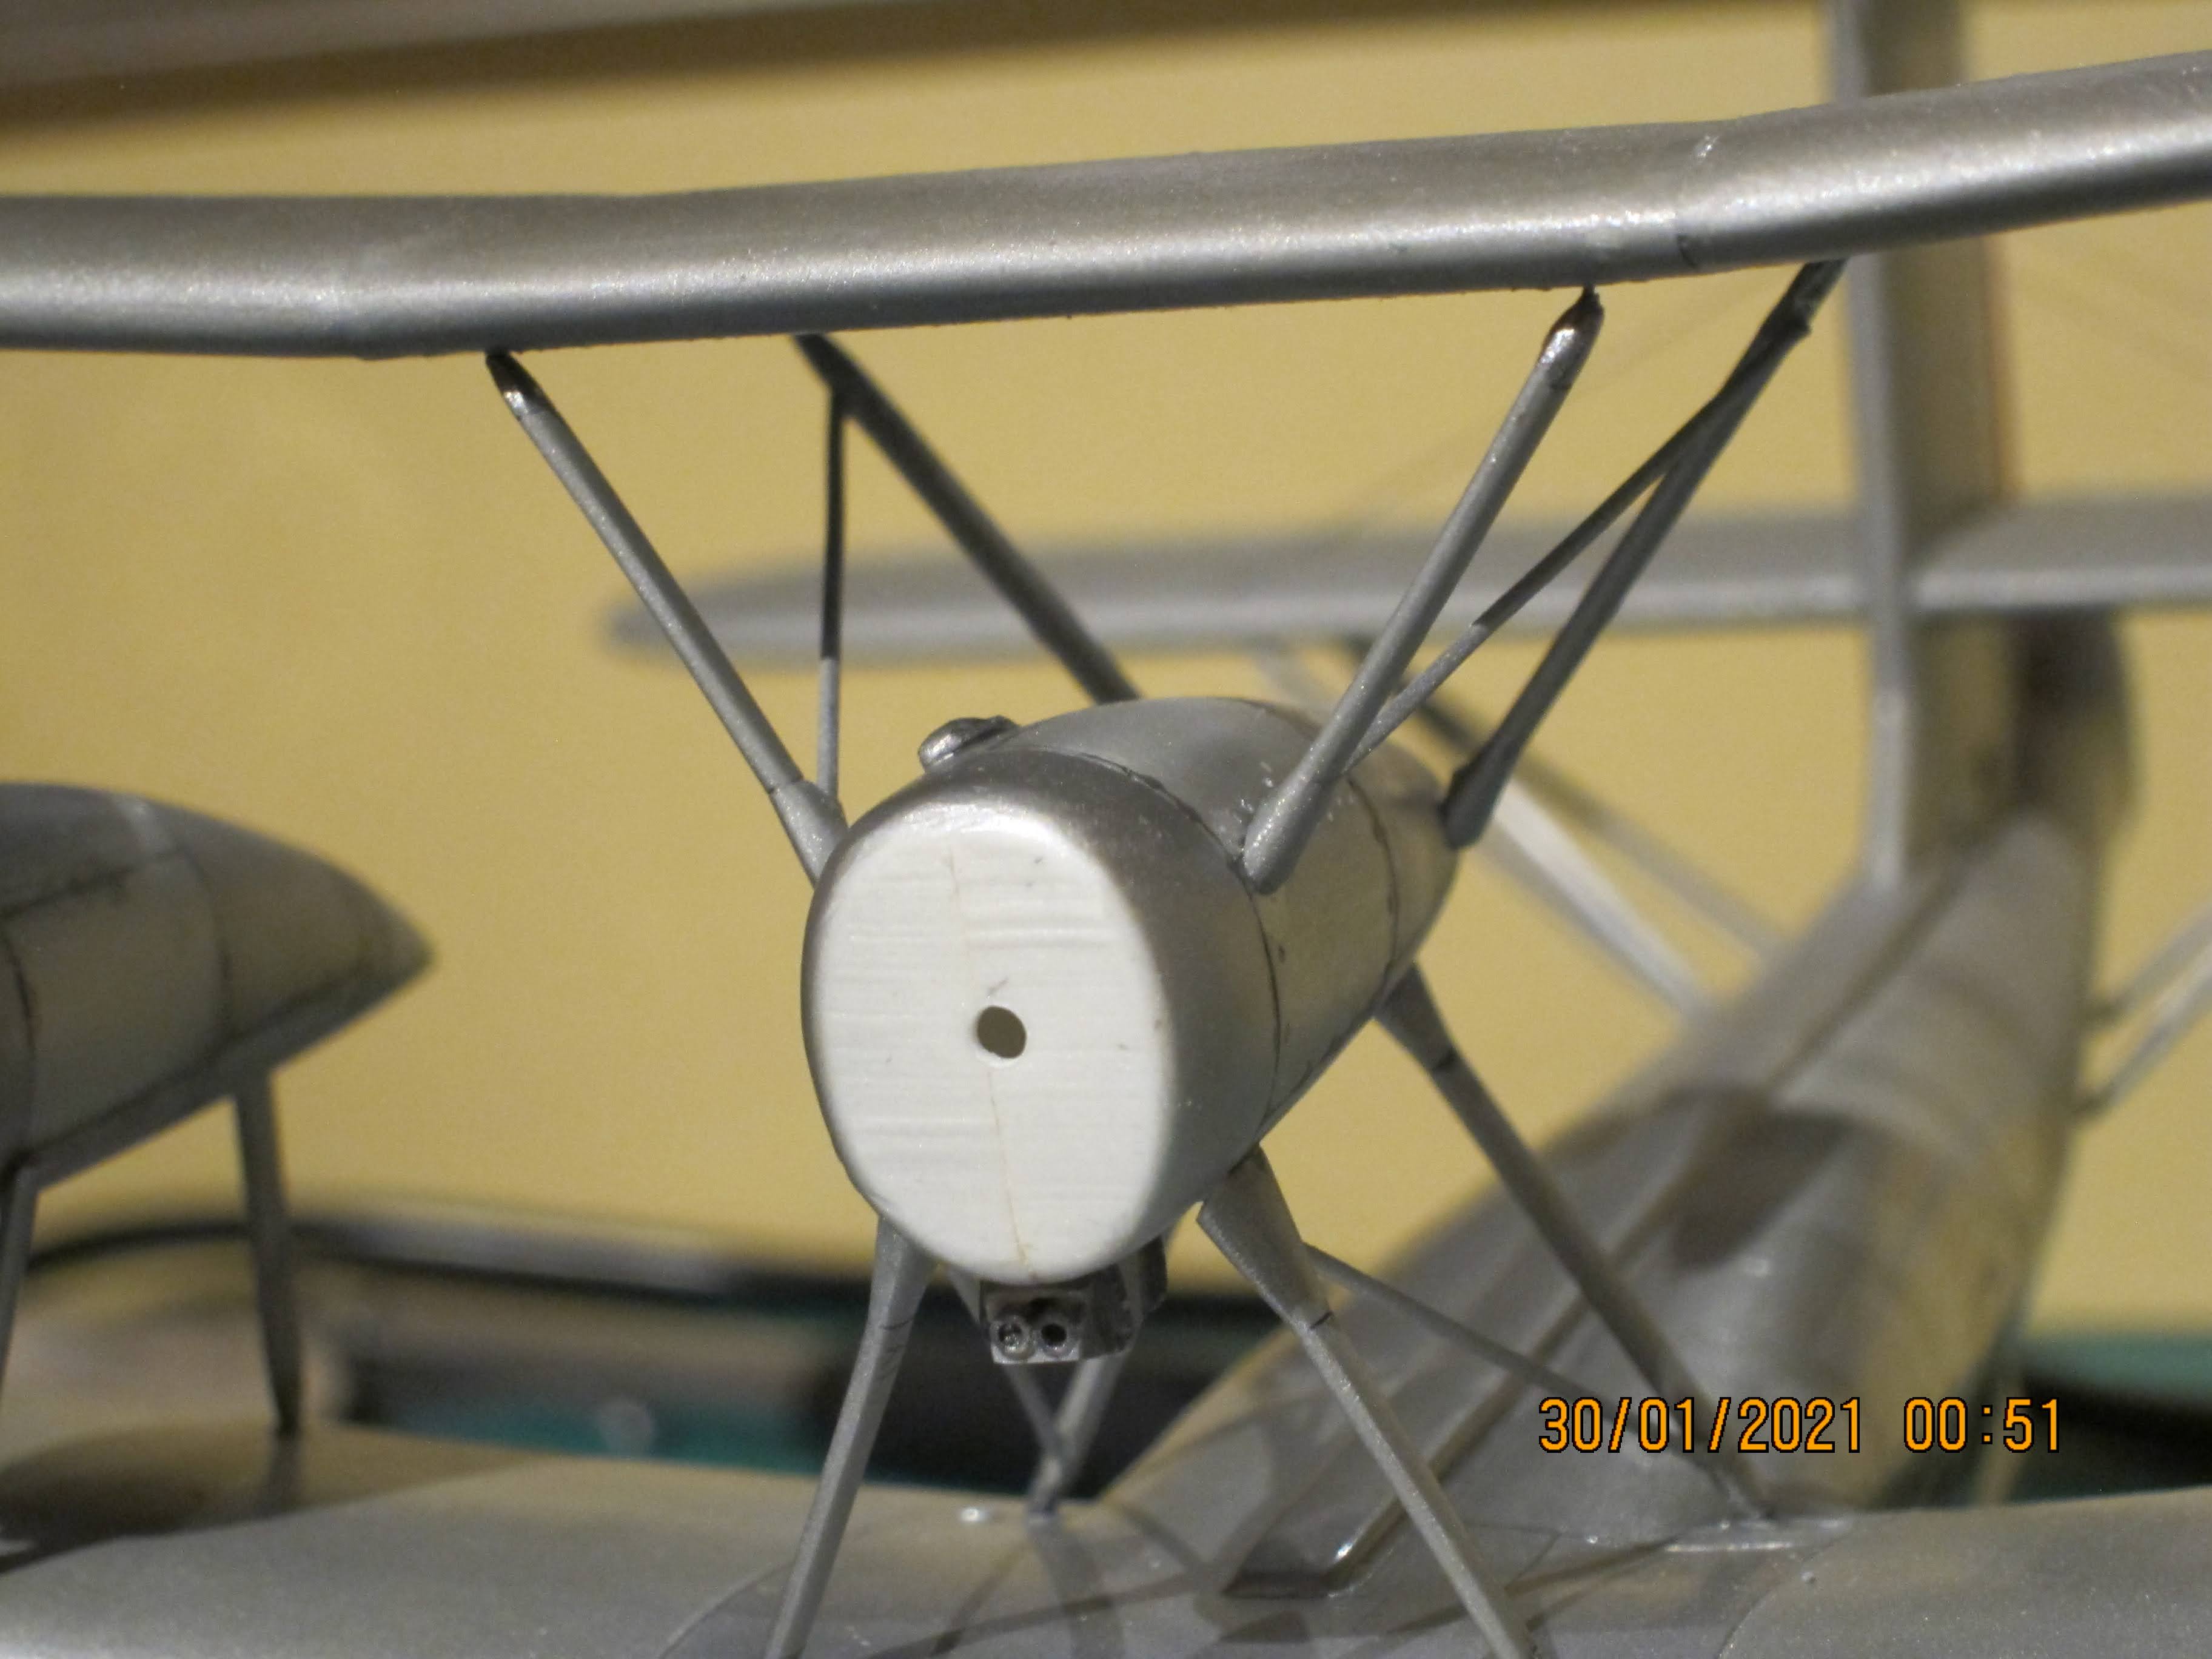
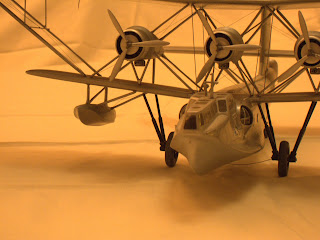
A Model Wal brings a lot of sprues designed to build many variants. From the historic point of view, there are a lot of problems: Chile received various batches of aircrafts, with different engines, different paint schemes and minor details. But the worse is the scarse number of pictures and detailed descriptions of them. 

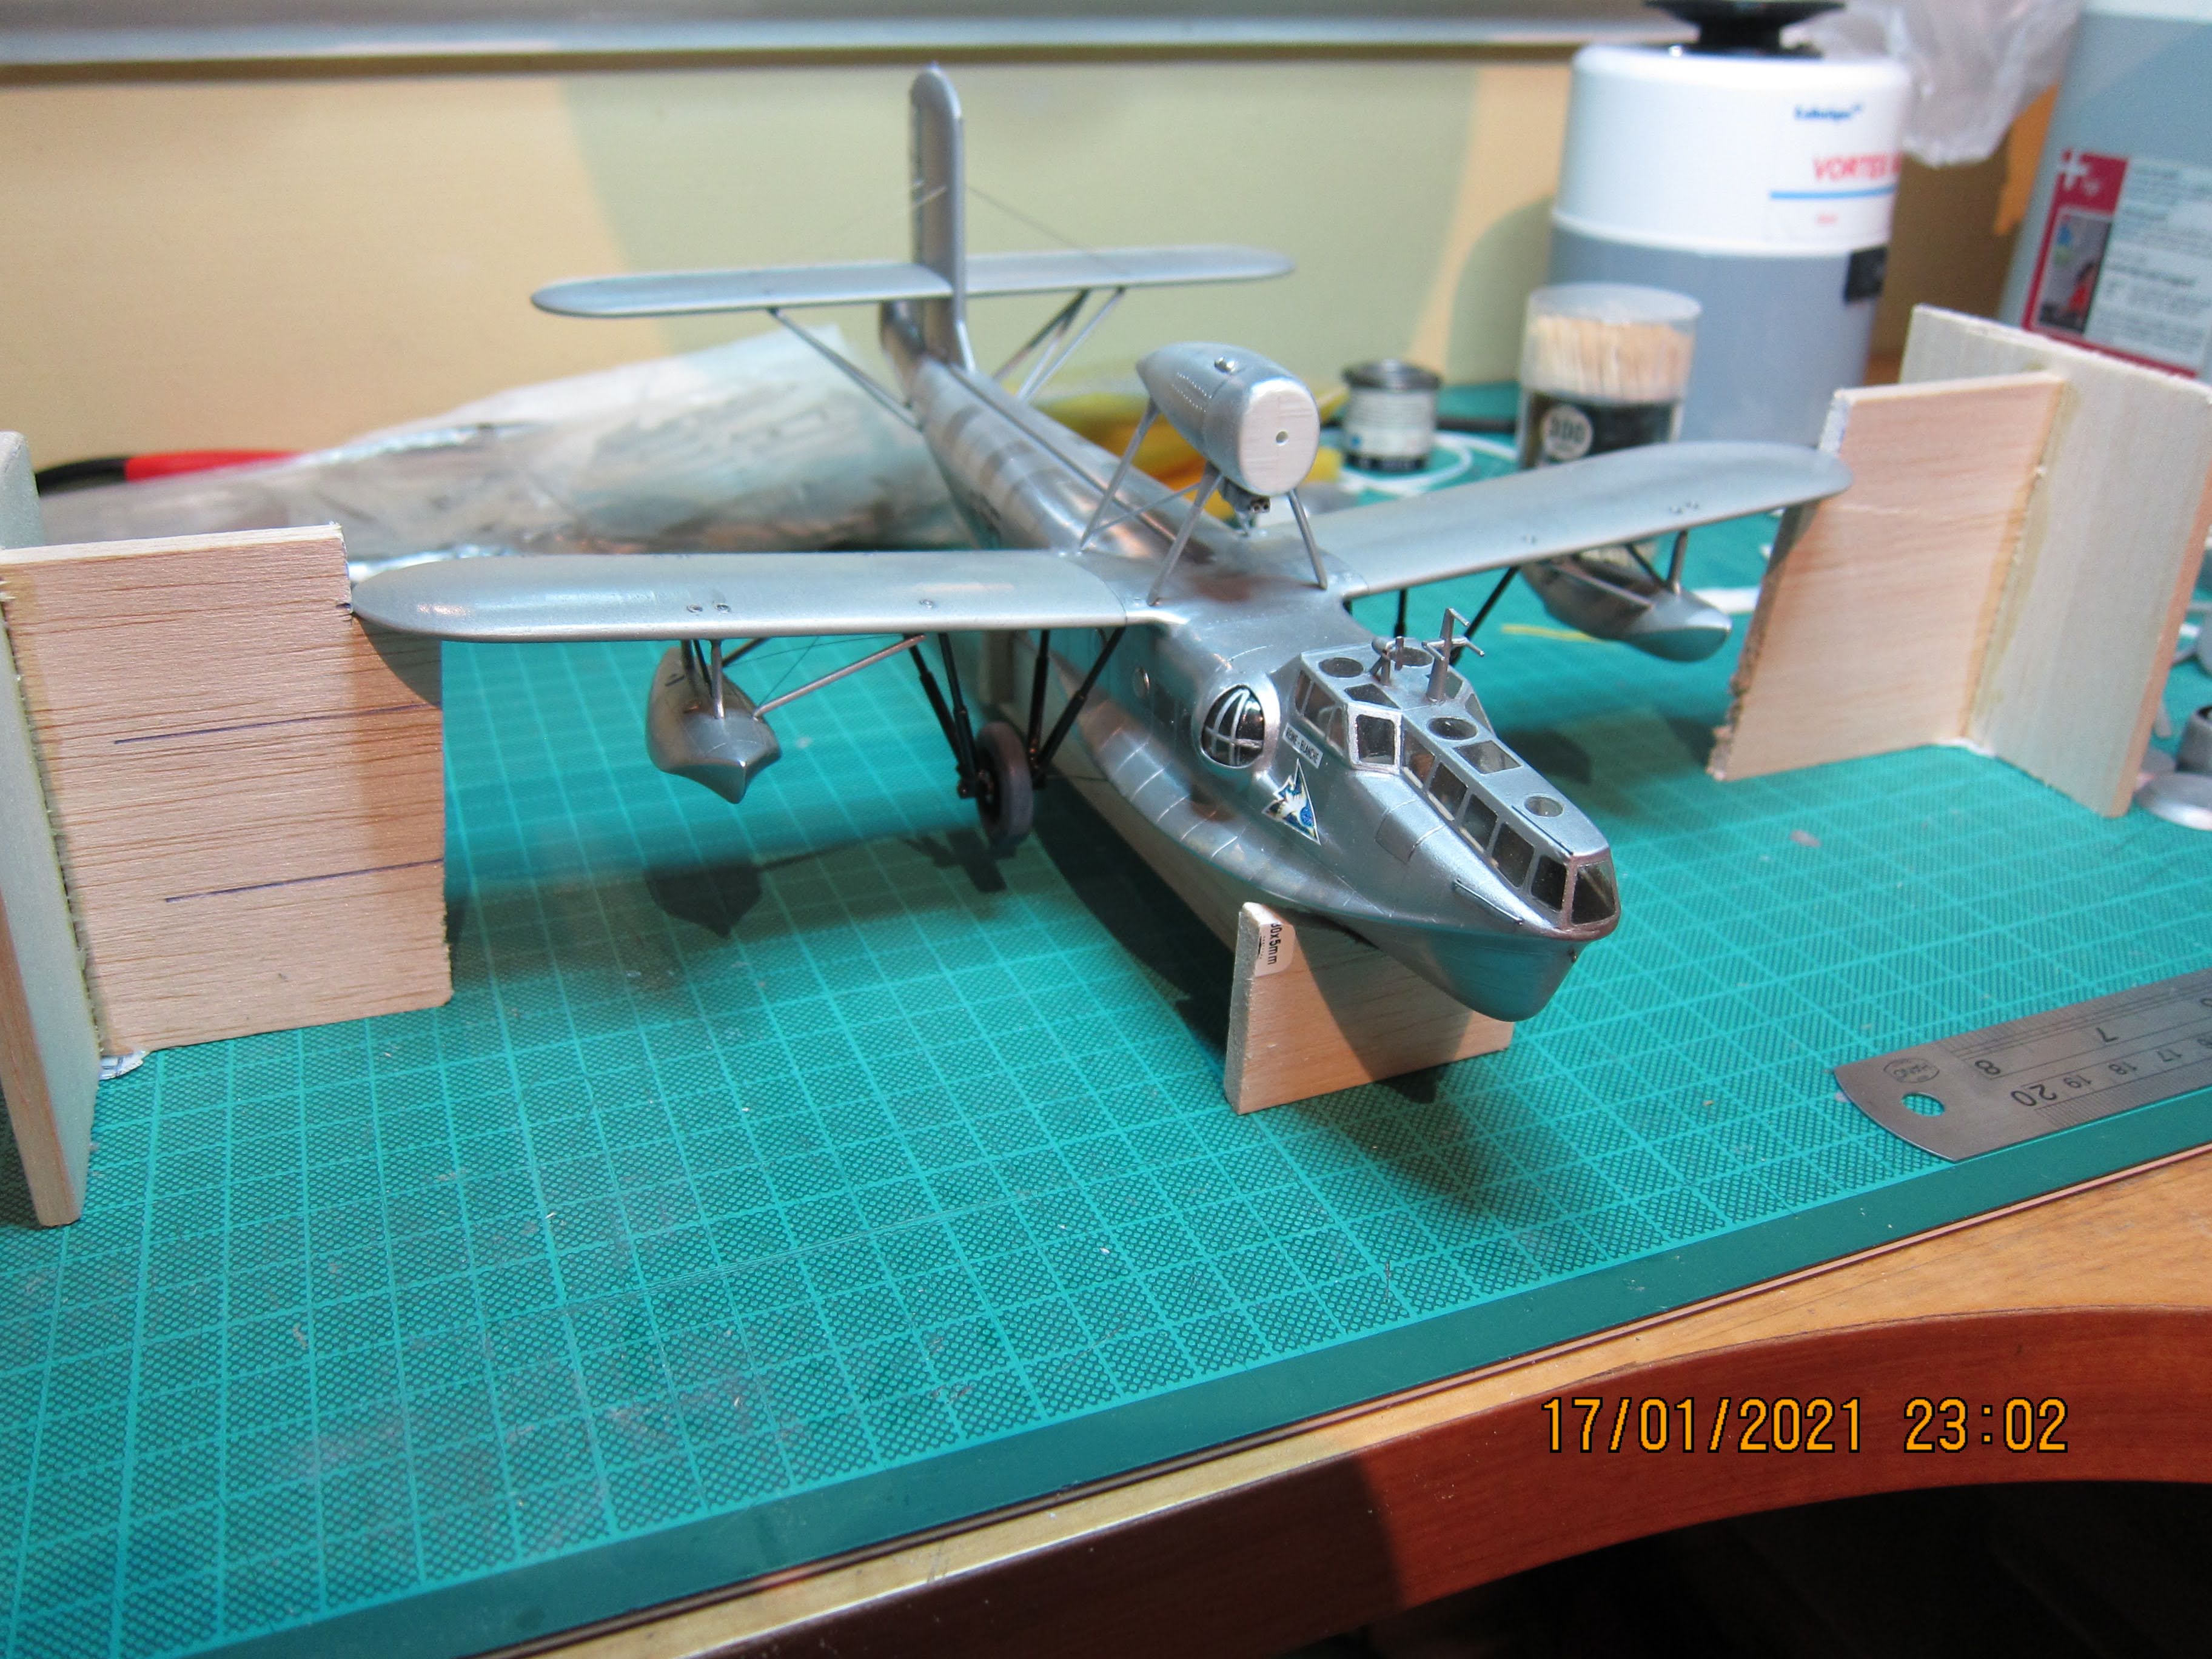
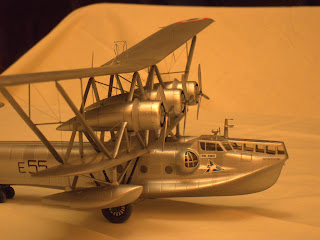
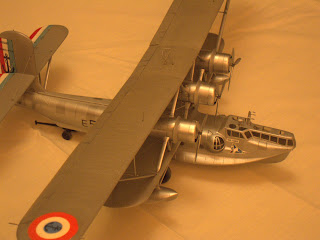
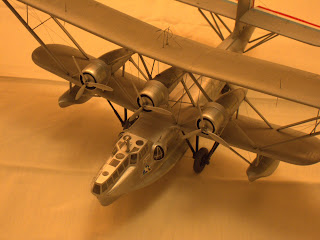
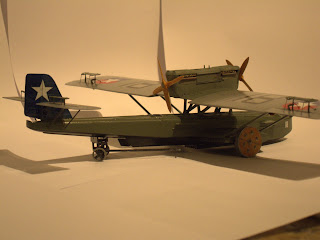
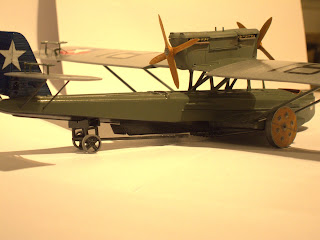
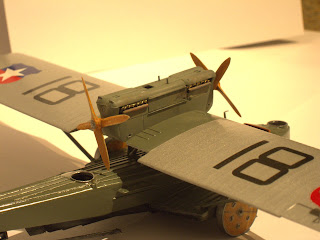
My project was to represent Do J number 18, of which is a good enough pic in the web. Specific theme of interpretation is the painting of that plane. Literature says that chilean Wal's went in base metal, in light grey scheme and in a sort of slate grey (predecessor of the RLM02 grey, I thought...RLM standard was not existent until mid thirties). The cited pic shows an obscure fuselage, then I speculate with slate grey.


Picture from Museo Aeronáutico de Chile.


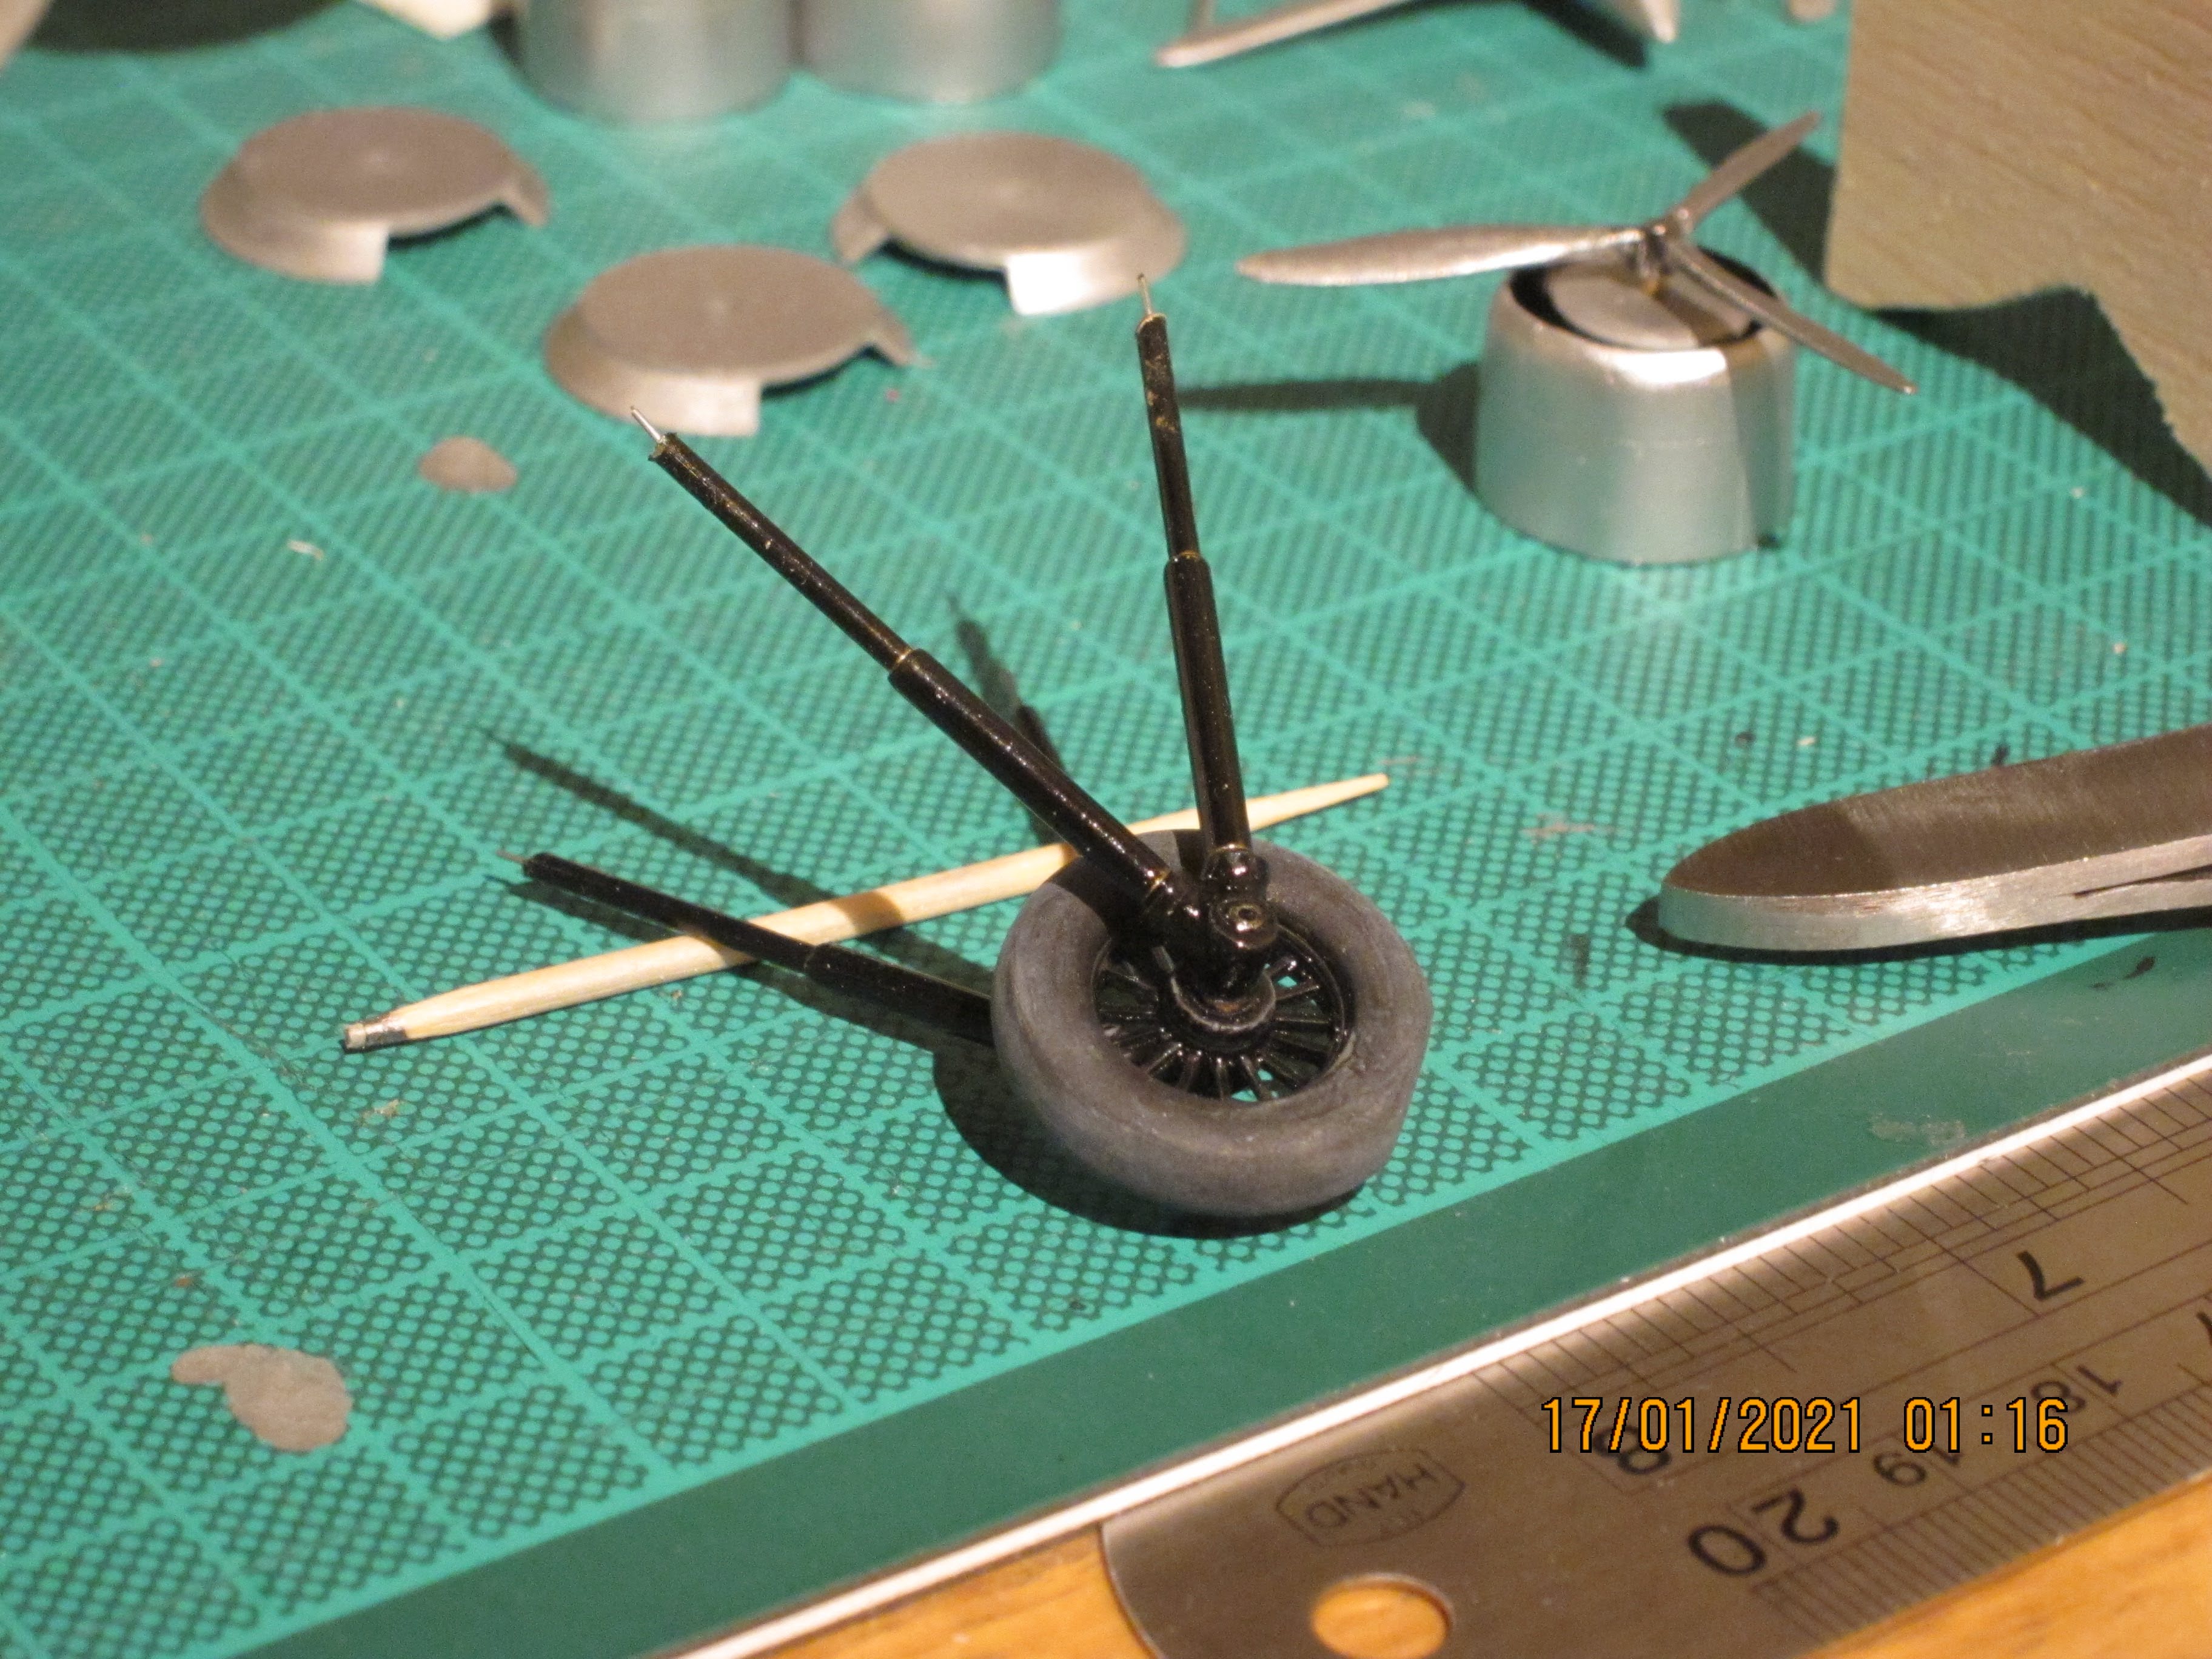
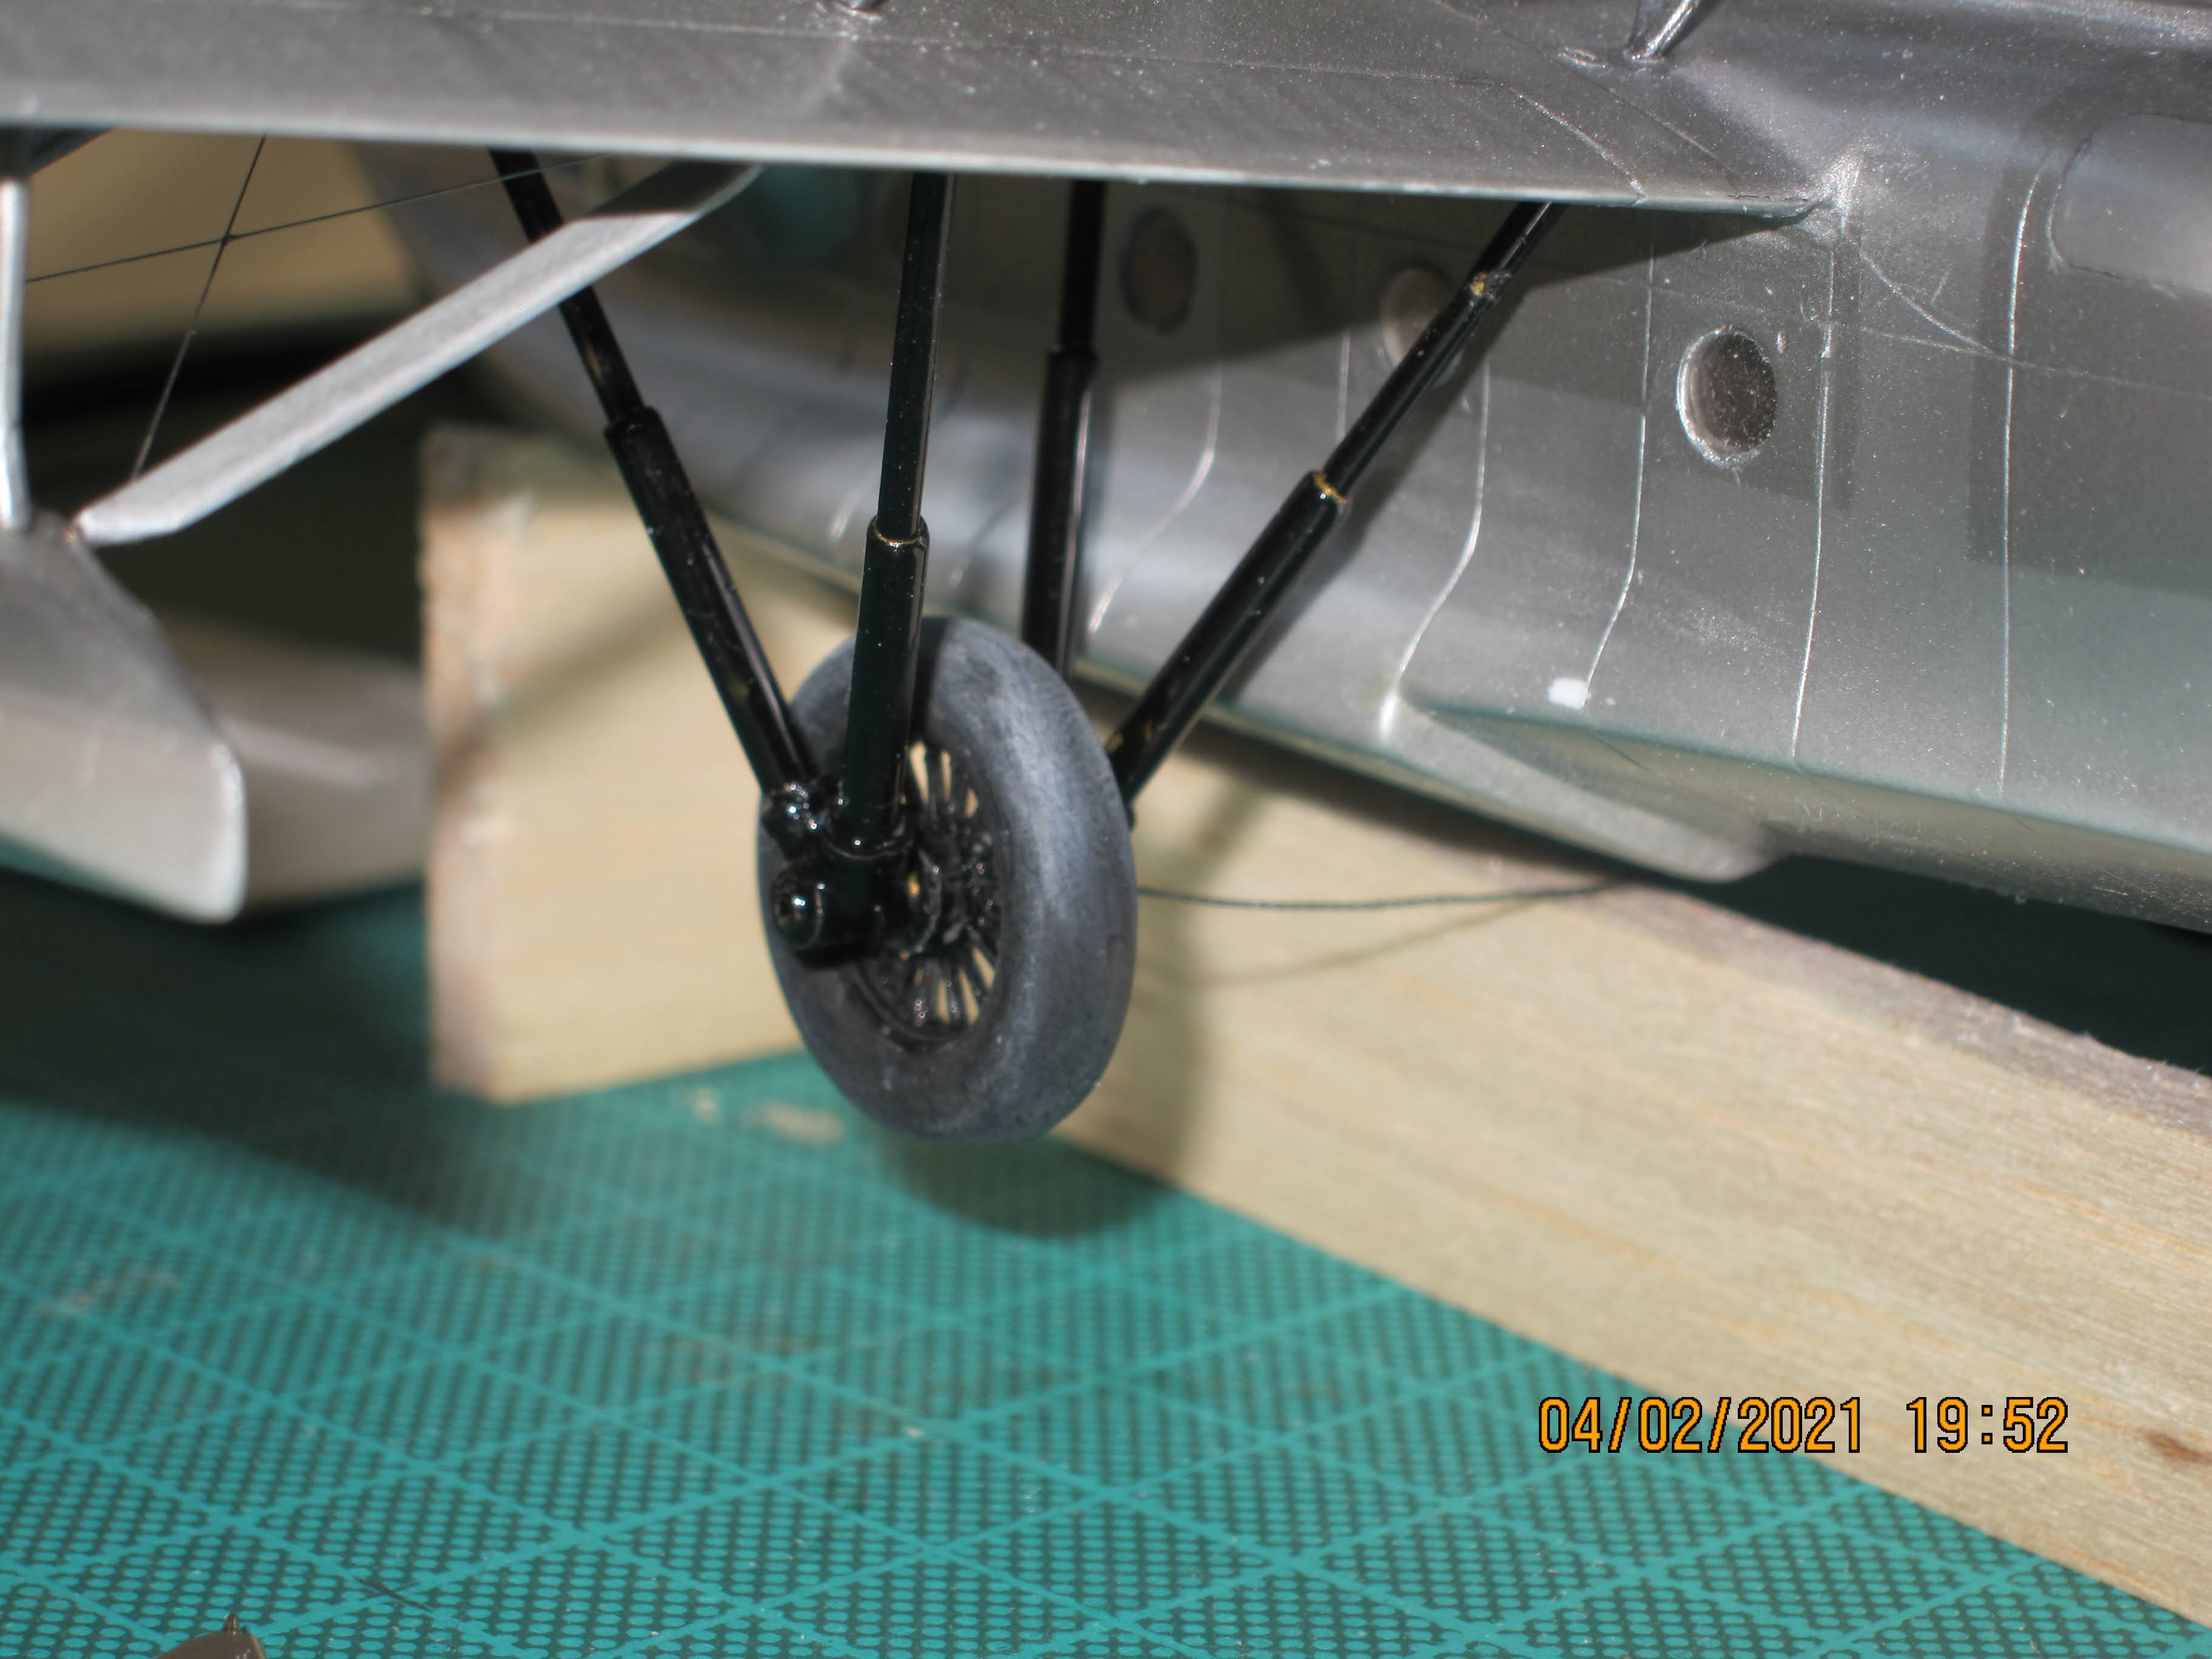
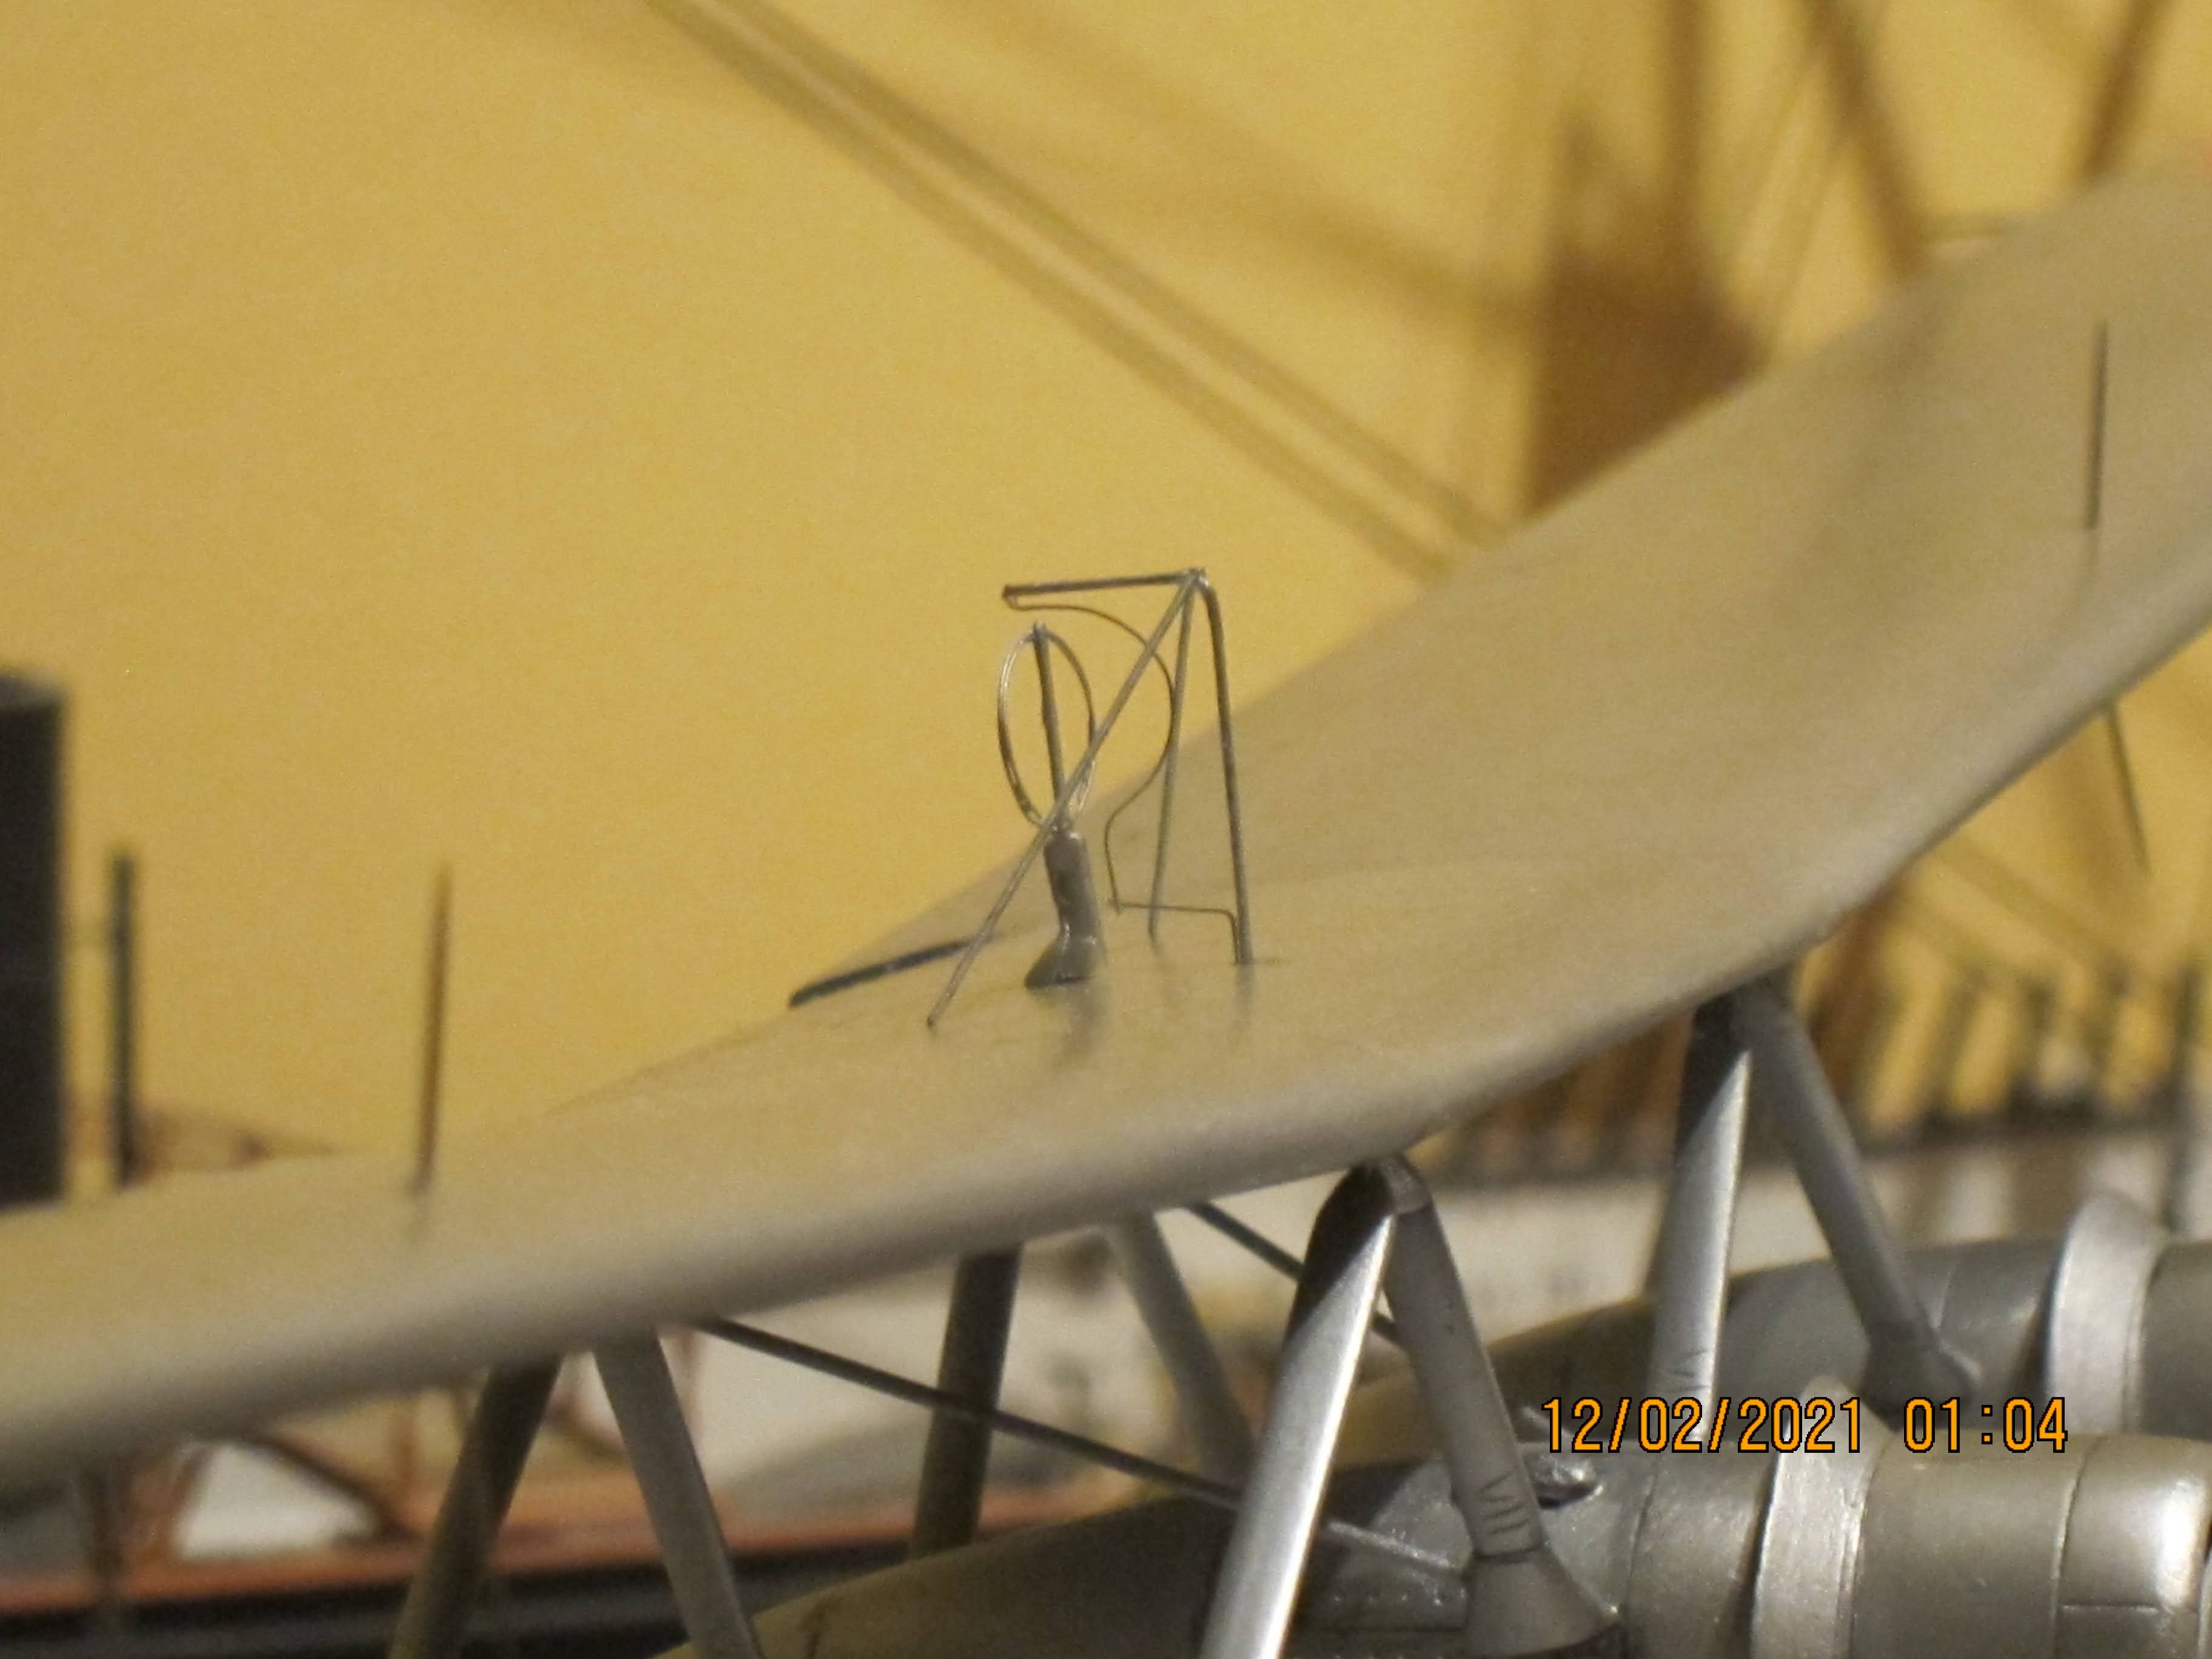
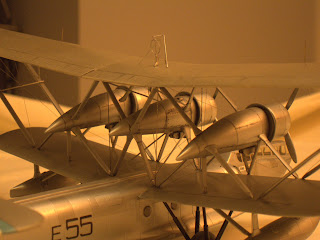
Back to the kit, I spectated a very simple task compared with the extremely complex Breguet Bizerte project, but was not so easy at all. The pieces needs a lot of trim, sanding and fitting tests.


Finally, it's a very attractive plane.


With love to fans of aircraft modeling, till to the next project...
Cheers,


Monday, 1 March 2021

Breguet Br.521 Bizerte Part 2

Hey people...after 5 years of pause with no modeling at all (c'est la vie) I'm here.
Start quitting the dust from the tools, paint cans and retake my Breguet Bizerte project...the main task was take precise measures of  the engines position, the proper length and position of the longerons. Follows a lot of work straightening the curly stringers, some of them cutting in 3 pieces and rejoin together, lot and lot of cyanoacrylate and putting to rebuilding them, with a very acceptable result.
The undercarriage legs has no solution...you must build a new ones with fine tubes from RC stock. This is a little project in its own merit...the result is outstanding:


Take in account that the outside legs are a bit larger than the inside ones.

The gloss black of the frames looks great and contrasting well with the pneumatic color (mate black over painted with white chalk dust direct from finger).

A special care was to assemble the undercarriage assuring a free wheel...this is important because you not know what is the correct position of the sanded part of the wheels respect of the legs when the completed project was ready.

The engines are very odd looking, but doesn't care if you want to put the water protector disks in front of the cowlings like my choose. Be careful, the cowling front are not properly rounded nor aligned...you will notice that when put the discs on position.

Assemble the upper wing is not really a hard task...of course, you need to assure the correct dihedral angle. Follow the blueprint and make two internal spars with large tubes, glued with the central part of the wing. Insert the external parts and fill the joins with putty. With a normal dose of patience, the result is great.

Then, the real terrific challenge is in front of you. To me, the key element is to set correctly the central engine over the bottom wing. To do that, follow again the angle from the blueprint and make a little jig to maintain the legs in position (angle and horizontal distance at the bottom) while you set the engine mounting over it. Some sanding in the top of the support are needed to sit the mounting...then, cyano and just in one movement you must glued the set.
Ensuring the right position in the Y axe is a must. The jigs in the picture are ugly indeed but millimetricaly adjusted.


The next step is to make the jigs to sit the upper wing at the right distance respect the bottom wing (blueprint again), and glue the front stringer with the rear one using a fat wire like the blueprint indicates. Is not an easy task, because you need to assure the angle between them (the rear stringers join the motor mounting at a narrow distance that the front ones). When this job is finished, you will see the fantastic result of all that neurotic obsession with the measurements.

Rightly setting of the central engine is the supreme clue to warrant a descent night sleeping over the next weeks...you can see the light at the end of the tunnel.

 Next step is siting the other engines mountings on the short bottom stringers.


Then, follows a lot of stringers test and a bored period wasted in straight them (some are very curly).


But, the effort is compensated with a very pleasant development of the project.

Finally, the last difficult is the rigging because the space to work on it is scant.


The goniometer is another mini project inside de big one.


I hope to take picture with better light and shows you in a last entry.


Saturday, 12 November 2016

Polikarpov I-16....

This is the 1/72 scale Hasegawa kit of I-61 Type 18 variant. This little fighter was a step ahead in fighter design in mid 30's using retractable wheels and variable pitch propeller.
Its baptism in combat was in the Spanish Civil War when Stalin send the ultimate Type 5 version. It was a nasty surprise for Germans when they realize that this diminutive bird was a superior combat machine over the He-51, the main attack combat plane send to Nationalist Spain by Germany.
This fact accelerated the delivery of Bf109 to Franco's forces, who retaken the air supremacy.
When the Germans invaded the Soviet Union in 1941, the then obsolescent I-16 was still the main fighter force.
The I-16 Type 18 kit, like almost all Hasegawa kits, is easy to build and is a very good representation of the real plane.


Saturday, 5 November 2016

Spitfire Mk.XIV...

One special note to say about this plane, Mk.XIV was the first member of this extraordinary family in use the powerful Griffon engine (specially designed for Spitfire with two superchargers), representing a big step ahead in performance with respect the Mk.IX variant.

This is the Academy kit in 1/72 scale, one of the better kits of this important company. A real pleasure to build, needs no putty, perfect alignment, excellent level of detailing...if you want, may thin the filters edges (I did not). Painting by hand the propeller blades was a mistake, a light pass with airbrush would had been better (thinner than hand brushing).